Firstly, I had the centres soda-blasted. Saved me the messiness of using paint stripper and hours of sanding:
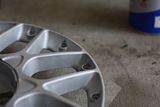
The finish was damn clean, it was tempting to rock raw alloy, but I would've needed to finish off polishing the lips and I just couldn't be bothered at that point.
On goes the primer grey. The same was done for the pink:
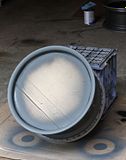
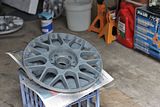
I also pulled apart the centre lock:

And used what I had left of the wrinkle paint:
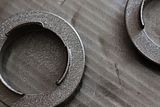
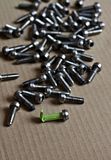
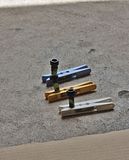
Bolts were cleaned, taped up and sprayed black (ghetto, I know):
Bolted them back up together, and this was the result (minus tyres):

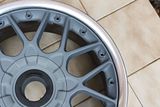
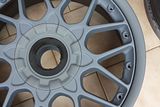
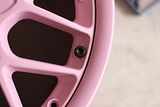
To be honest, I was going nuts over the grey centre with polished lip, as well as the pale pink of the spray putty.
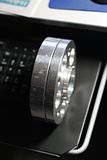
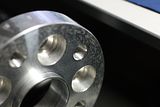
Anyway, I managed to find those conical bolts for the adapters - I had to have 10 of them shortened for the 15mm adapter as they would poke through and foul on the mounting surface of the rotor. Here are the adapters:
To tie it all up, I had to get a set of no-compromise tyres, something that would stretch beautifully over the 17x8's and provide me the clearance I needed for the rears (sitting at ET10 on stock guards). I found a set of Pirelli Pzero Neros in 195/40R17, a rare size in Australia. 205/40's are readily available but I was going to settle for those.
When I went to pick them up, I was amazed by how small the sidewall looked! But mounted up, they had a nice stretch and looked awesome:
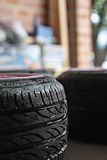
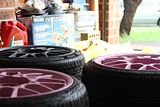
So next was to fit them onto the Mk3 and rock it down to Melbourne:
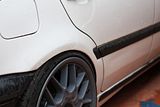
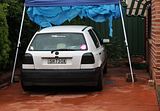
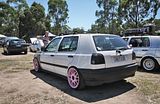
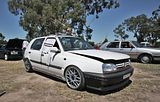
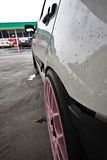
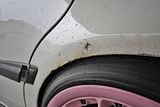
Rear tyres were raped by the guards though. But like they all say, if you ain't rubbin'...
No comments:
Post a Comment