Welcome to RAW Works. My name is Raymond and I live in the western suburbs of Sydney. This blog will be a portal for me to photo-document the wheels I refurbish and repaint. This is only a side hobby for me so there won't be any crazy custom jobs! My skills have only stretched so far as to using body repair materials, resprays and polishing, so anything that requires welding and unbuckling will be beyond what I can do. I hope to improve on my current skills as I go along, and as a lover of wheels, it's a way for me to express my art side as well as giving life to some tired wheels again.

At the moment, I'm just scouring through eBay for damaged wheels selling for cheap. If you have any wheels you don't need anymore, throw me an email/comment. At the moment I'm just buying sets of wheels to refurb then sell them off. I prefer not to do personal jobs/requests as I don't trust myself with that yet! But that said, pass me an email/comment if you need any help wheel-wise.

My Facebook page is @ http://www.facebook.com/raysalloywheelworks/, please "like" it!

Cheers.

Dec 11, 2011

BBS RS001 - Part 3

After the bolts were torqued down, all that was left to do was seal up the wheels.  Now, I've seen many people seal the inside section of the pieces, i.e. they lay a bead towards the inside where the inner meets the centre and the outer meets the centre.  I honestly don't see the need for this.  The sealant is supposed to act just that, seal the section between a beaded tyre and wheel, and is not supposed to act as an adhesive.  That said, a thick bead over the mating sections of the pieces (bolts torqued down already) is all that is needed to seal the wheels up.

So I previously used a manual caulking gun (those hand-pumping ones you see at Bunnings) and they were horrible to use - hard to get a consistent bead and a mad workout on the forearm muscles.  So I bought a pneumatic caulking gun.  Sealing 3-piece wheels is something I'm not willing to cheap out on, and after seeing my wheel specialist use one for one of his jobs I decided it was something that I needed too.


And what a massive difference it made.  It took all of 20 seconds to completely bead the wheel.  A smear over the bead using my thumb finished it off.


And that's done.  Took two days to cure (still felt soft after leaving it overnight).  Here are some pics of the wheels in its completed form:


Black chrome bolts weren't really chrome at all, more of a satin-look, but I prefer that.

Wrinkle-black cap.

And finally some pics with 195/45R15 tyres mounted up and on Tony's EK.


Final specs ended up being 15x8 ET12.3 with a 2" stepped lip.

Cheers.

BBS RS001 - Part 2

Sorry for the slow updates, I've been a busy man, finishing final assessments for uni and jumping straight into 50 hour work weeks.  Anyway, a quick debrief on what had transpired since Part 1 - I replied to a WTB thread on JDMST for some low offset 15x8 wheels in 4x100 and the OP was interested, deposit received and work on completing the wheels began.  As of now, the wheels have been completely paid off, shod with 195/45R15 tyres and new owner Tony now rolls around like a boss!  So here in Part 2 I'll be picking up from where I left off in Part 1 and covering up to the bolt torquing stage.

Tony was pretty keen on having the wheels ready for an OzHonda meet at JDMYard on the 26th November, so he helped me out as much as he could with the rebuilding of the wheels.  The centrecaps were sanded down from 120 grit to 600 grit, and any gashes were covered up with Selleys Metal Knead-It putty.  I chose this specific putty as it was convenient to use, quick to set, and easy to sand down.


VHT's engine enamel primer was applied before spraying on some thick coats of VHT's wrinkle black paint.


Usually the wrinkle black takes an eternity to dry and wrinkle in normal temperatures as three thick, heavy coats in cross-hatching spray patterns are recommended, but I enlisted the help of a heat gun to accelerate the wrinkling process.


This was what the centrecaps looked like after ~3 minutes of continuous heating:


And about a minute later, the wrinkling sped up vastly and it looked like this within a matter of seconds:

Note some slight inconsistencies in the reflection of the paint - these spots were still quite wet underneath the top wrinkle layer.

I should mention that from the beginning of sanding all the way to the wrinkling of the paint took a couple of days, as I gave the putty overnight to dry as well as the primer.

Next up was a thorough metal polishing of the lips.  Once the bolts are on, it'll be extremely hard to polish in between the bolts so it's best to give it a decent polish before they get mounted.  It's hard to capture it in the pics but the new lips out of the box had some very very fine sand marks in it.  Of course this is quite normal unless you paid for a mirror polished product, so the aim of polishing it again yourself is to try and maintain and get rid of those excess hairline scratches.  This is the result of two complete thorough polishes (Autoglym's Metal Polish was used):


Once all the lips were polished up, Wheel Wax was applied to the centres.  I don't believe we applied it to the lips but we should have, along with the inners.  This is just so the wheels have an extra layer of protection and allow for an easier ordeal when it comes to cleaning the wheels.

Once the maintenance was done, it was time to mount the pieces back together using the new black bolts.  I'd recommended tightening the bolts with the nuts hand tight (grip on to sockets instead of the bare hardware for better leverage) and ensure they are bolted on in a star pattern.  I usually bolt them up in a 4 point star pattern (similar to bolting up a 4-stud wheel).  Here are some fancy shots half-way through:


Once all the hand-tightened bolts and nuts are in place, I then use an appropriate torque wrench and torque up the nuts to 24 ft lbs.  The bolts are usually held down securely as they should have been done hand-tight already.  I had new nuts for one wheel and reused the old nuts for the other three.  No Loctite was used but the nuts are holding up fine.

A helper isn't really needed here, but it will definitely make the time go by faster!

Tony helping out with the torquing!

Once all the bolts for all the wheels were torqued down, the next step was to seal.  Check out Part 3 here.

Oct 20, 2011

BBS RS001 - Part I

Seems like I'm on a bit of a streak here, one wheel project per year.  Fuck I'm lazy.

I finally managed to track down some 
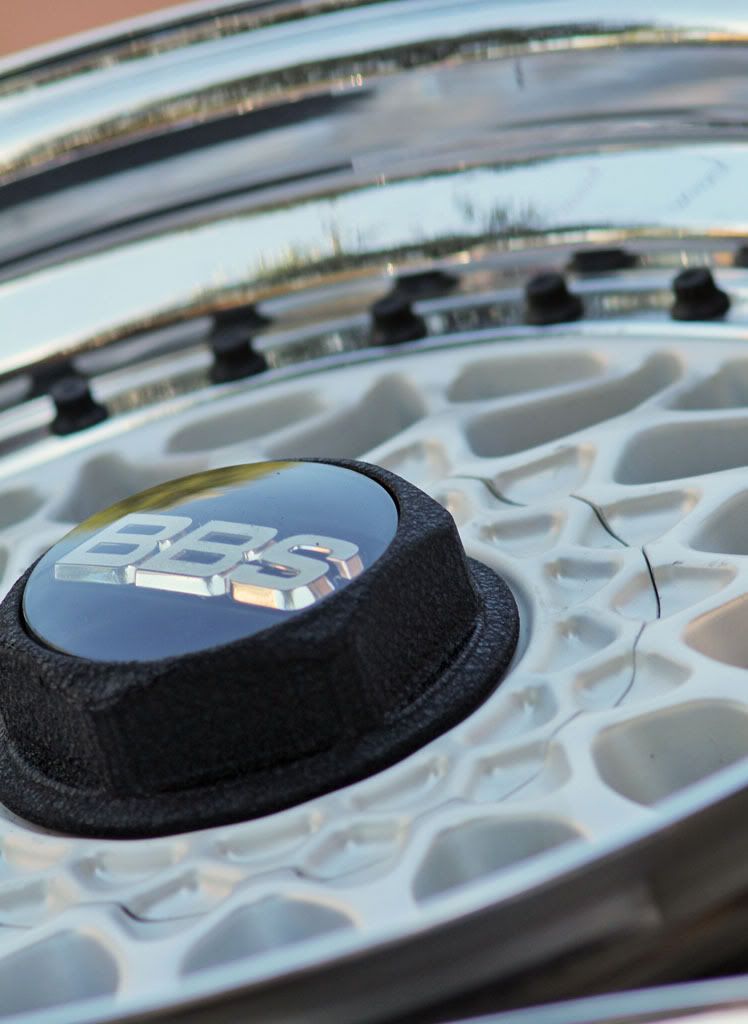
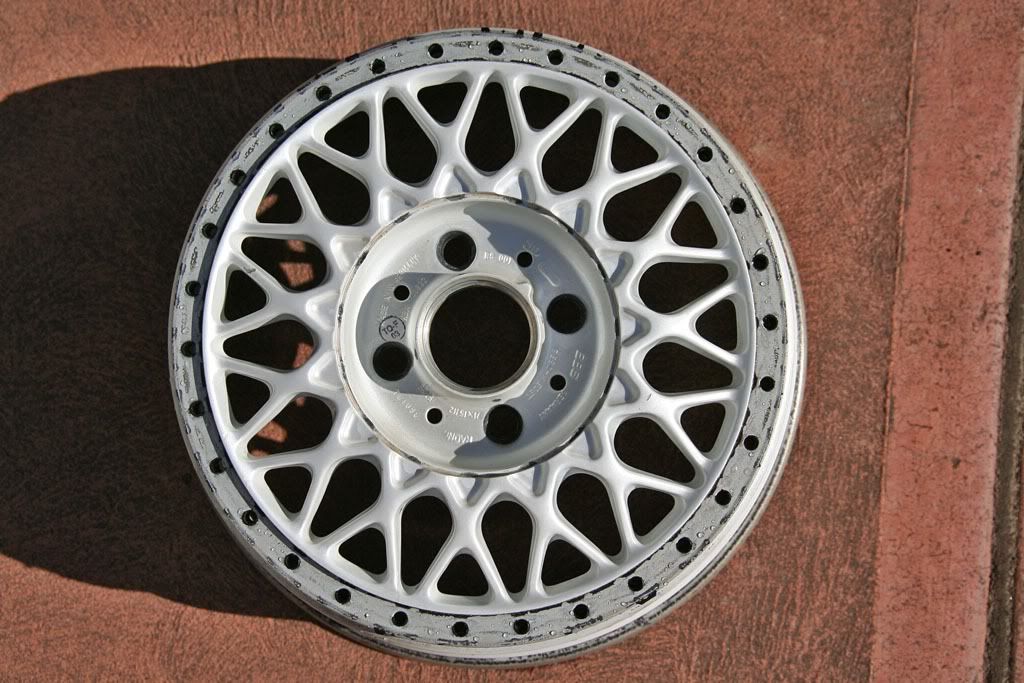
BBS RS001.  I've always wanted to own a cult set of BBS RS, whether it's these 001, 003 (which I actually have a pair of, but more on that when I find another pair), or 301.  They were in shitty condition though - lips were oxidised and bent (fortunately the inners aren't out of shape), centres were caked with brake dust and some of the stains aren't washable, the centre plates and hexes are chipped and scuffed and the badges are all scratched.  These wheels had a very tough life, but hopefully under my ownership they'll be able to somewhat shine again.

I didn't take any pics when I received them as I was out of a camera for a while, but I recently bought one so I'll be documenting the build process with plenty of pics.

The project officially started a few weeks ago when I placed an order for 
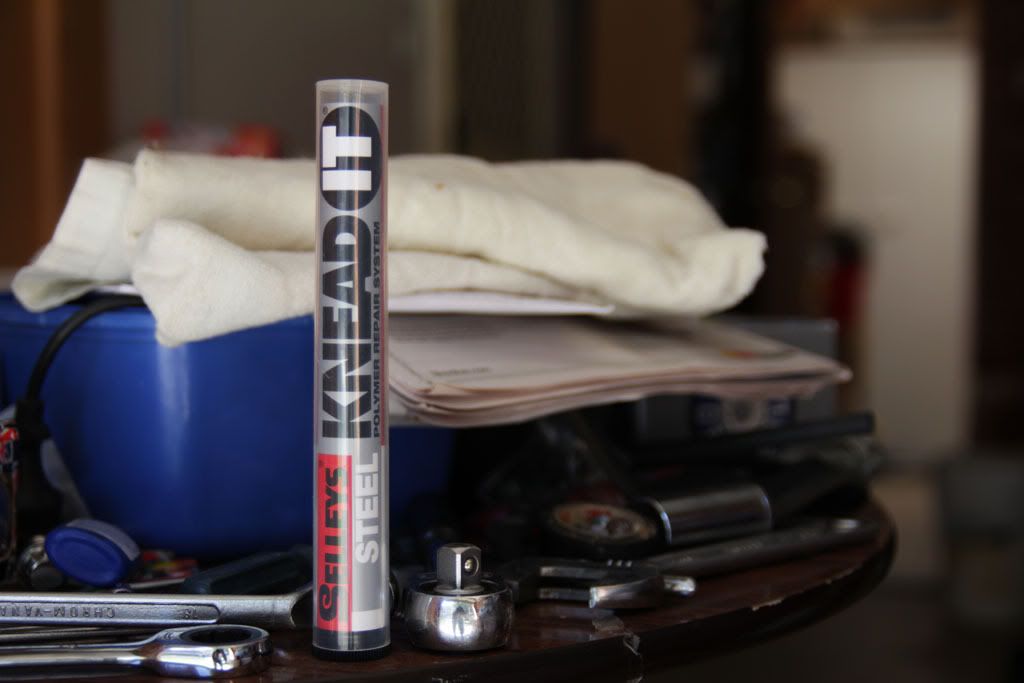
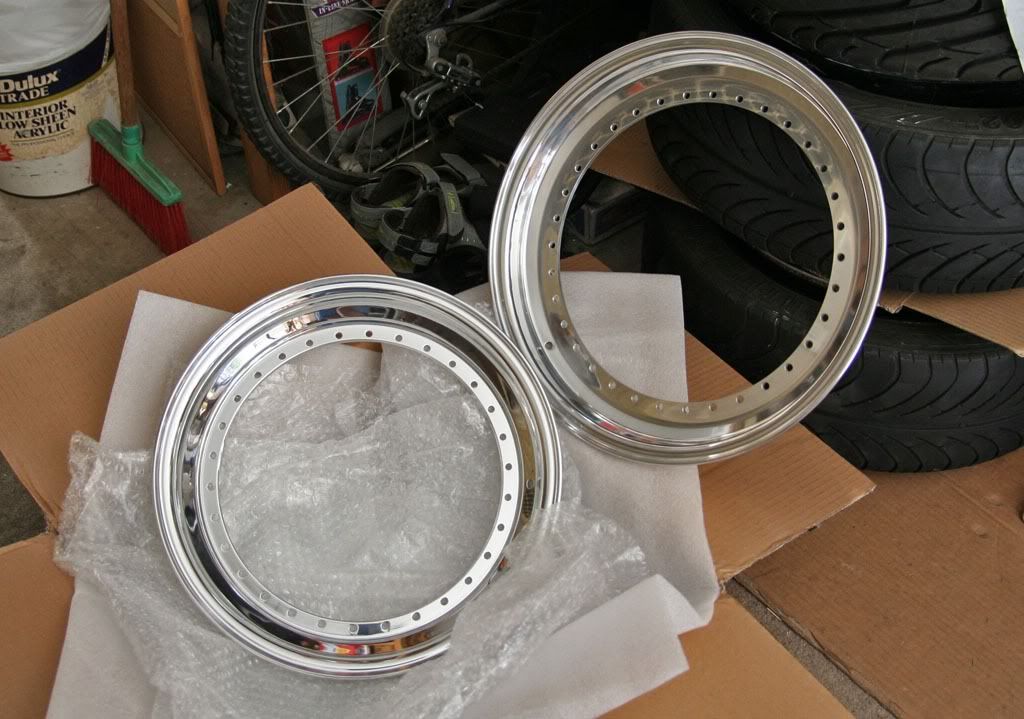
15x2" lips from Kirsten @ felgenfuchs.de but more on that later.  First thing to do was to 
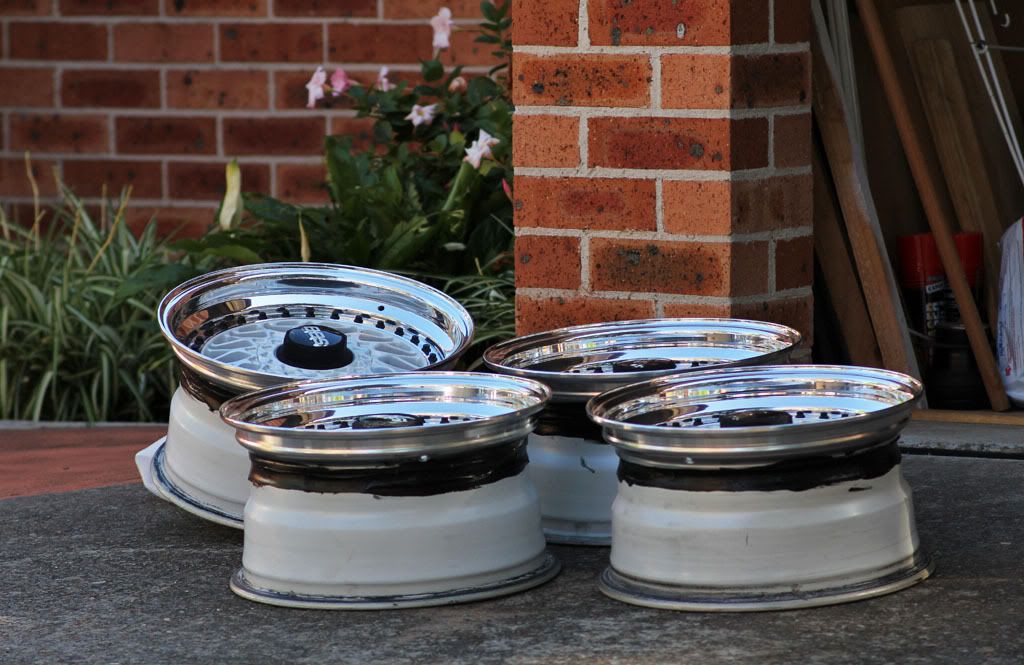
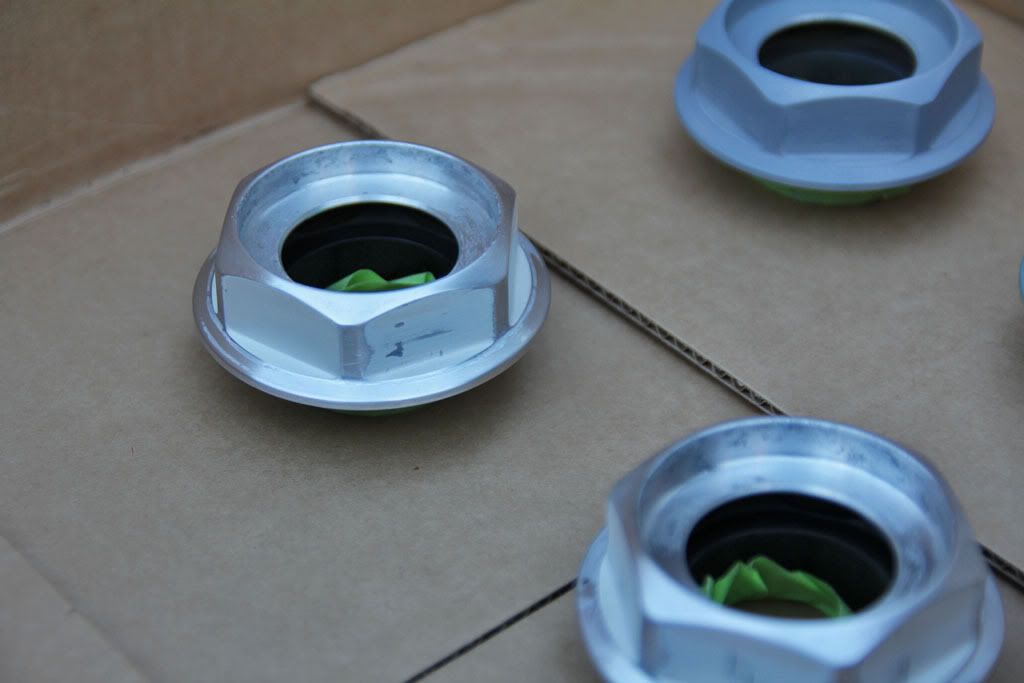
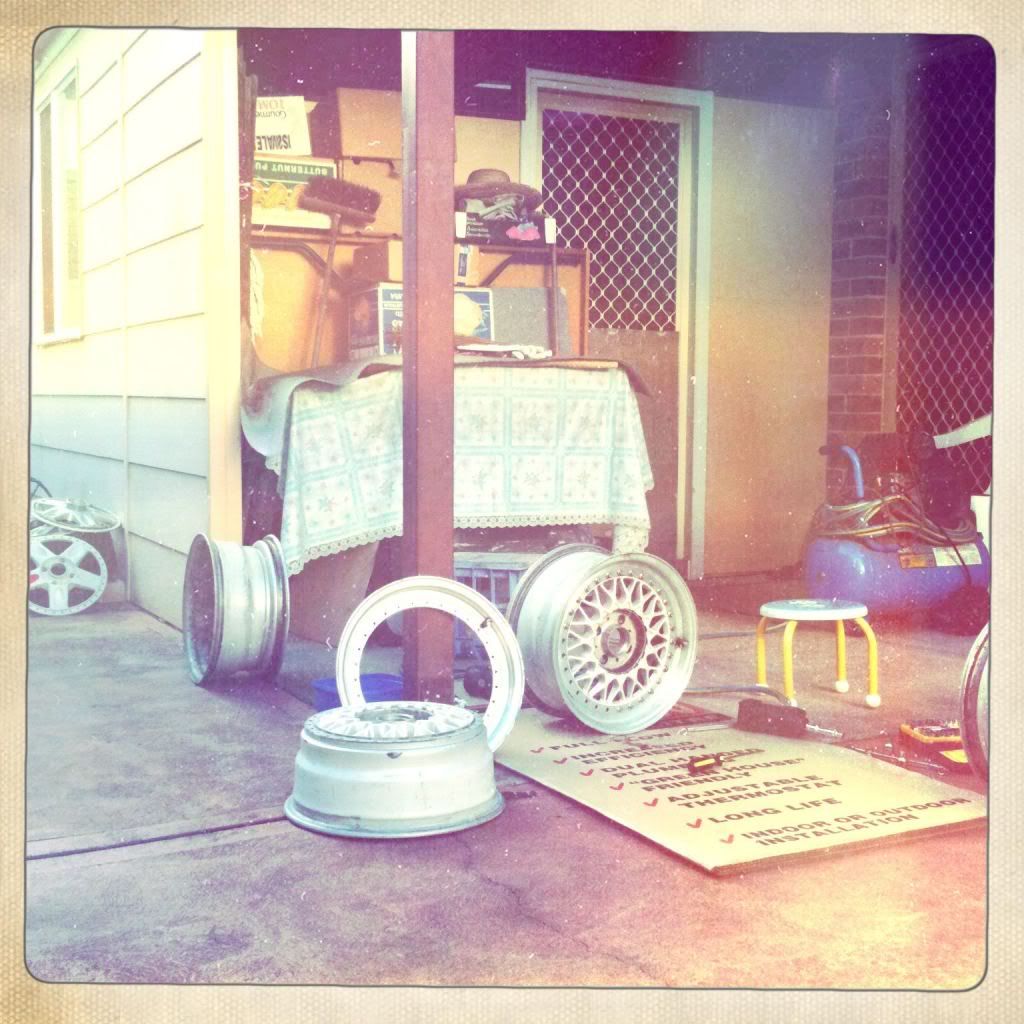
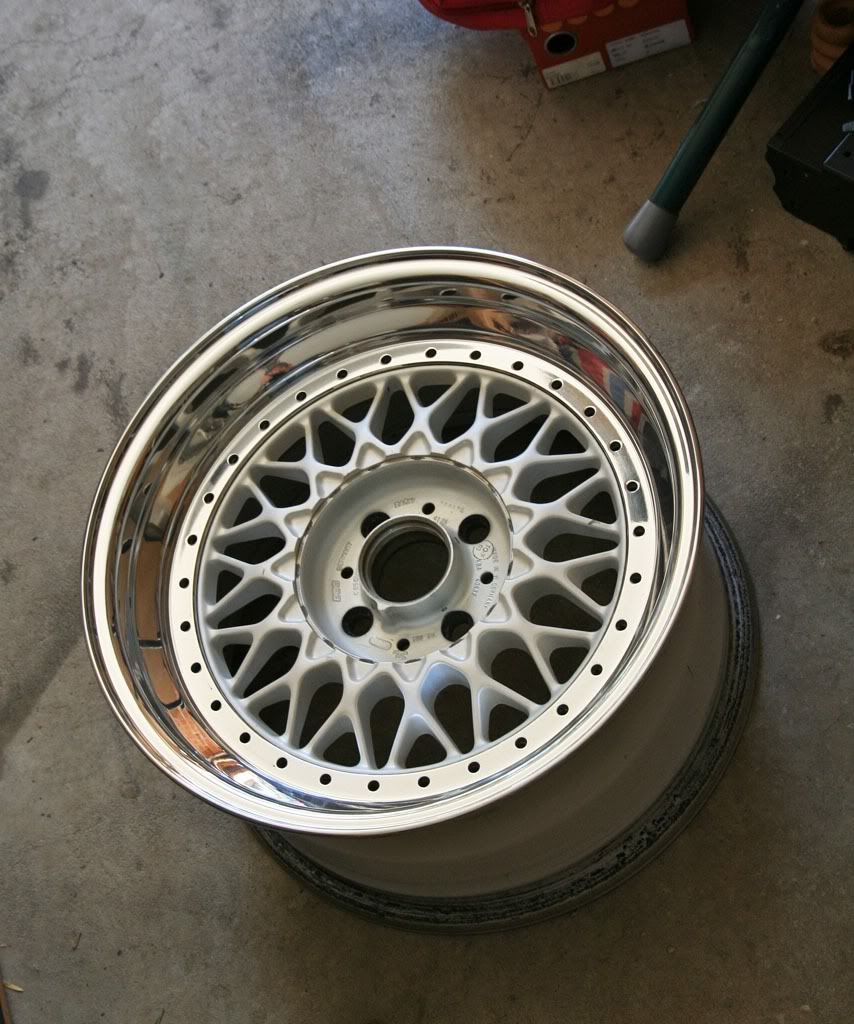
disassemble the wheels.  10mm 12pt nuts and 5/16" 12pt bolts.  Used an air impact which took no time at all.  Knocked off the lips with a couple of hits with a rubber mallet, but the inners didn't want to budge.  I ended up keeping them there so they're kinda like a pseudo-BBS RM setup right now.  Not the proper way to do things but it'll do.


The bolts were in pretty bad condition, some with bungs in them and some that seem rounded.  Don't know if it'll be worth wire brushing all 120 of them down.

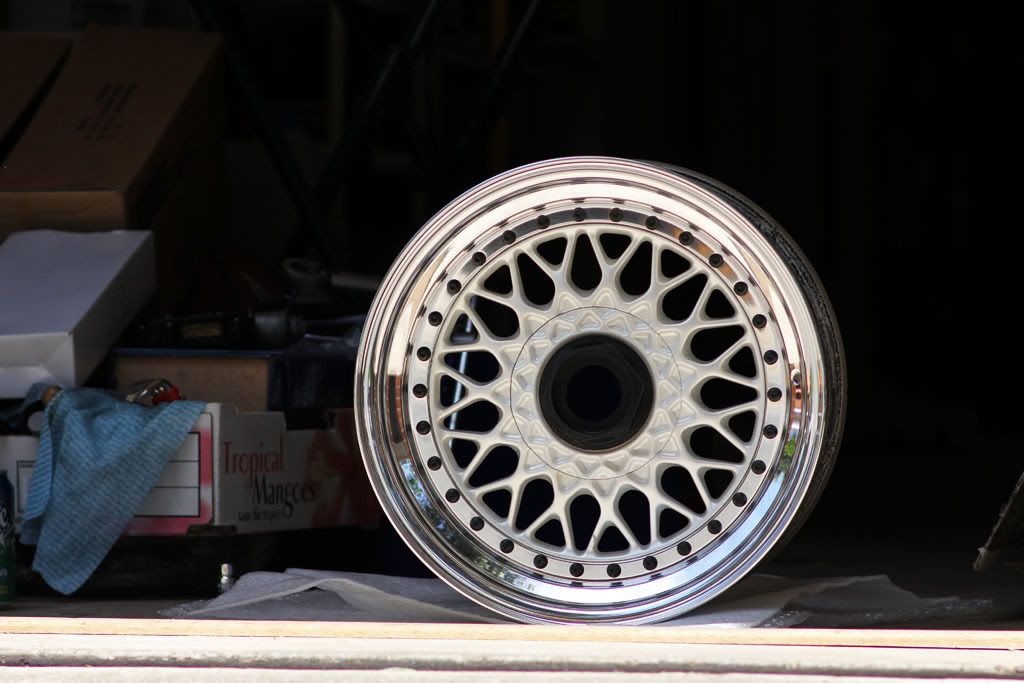
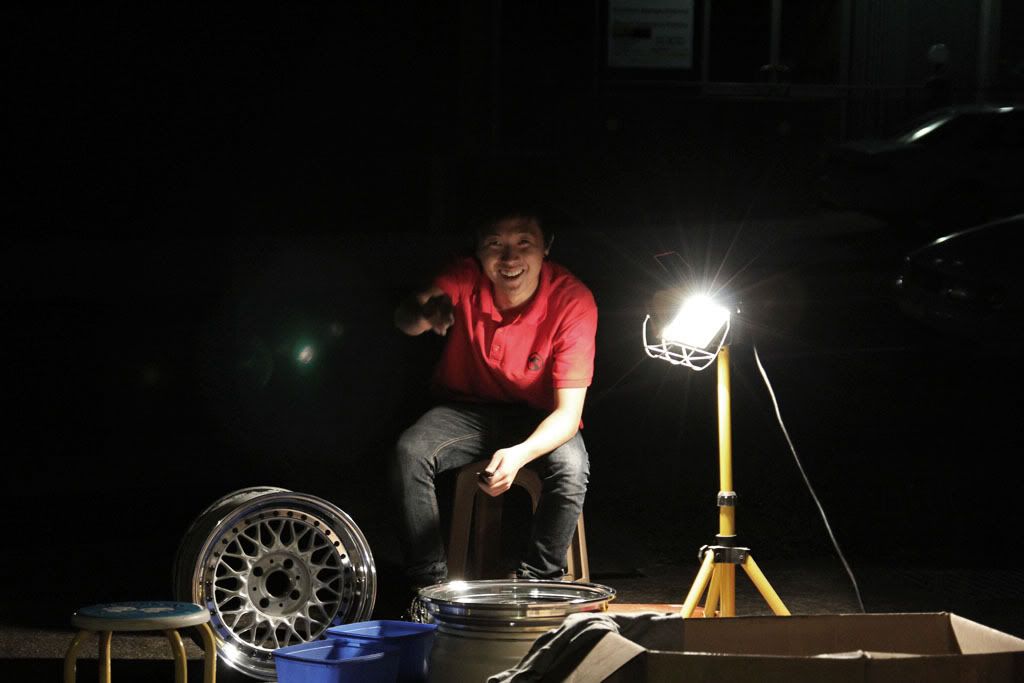
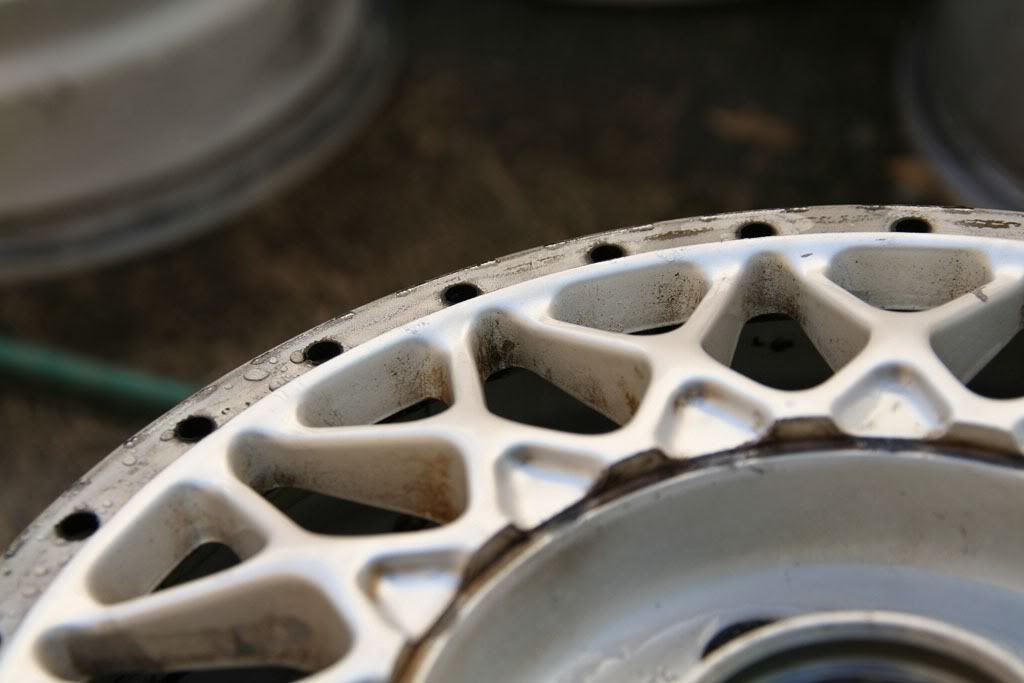
I left the wheels aside for a while before coming back to them one sunny weekend to clean them up.  I've been spending a minimum of 2 hrs each wheel cleaning them up.  Unfortunately, the previous owners seem to have neglected the wheels as there was a lot of dirt and brake dust build up.


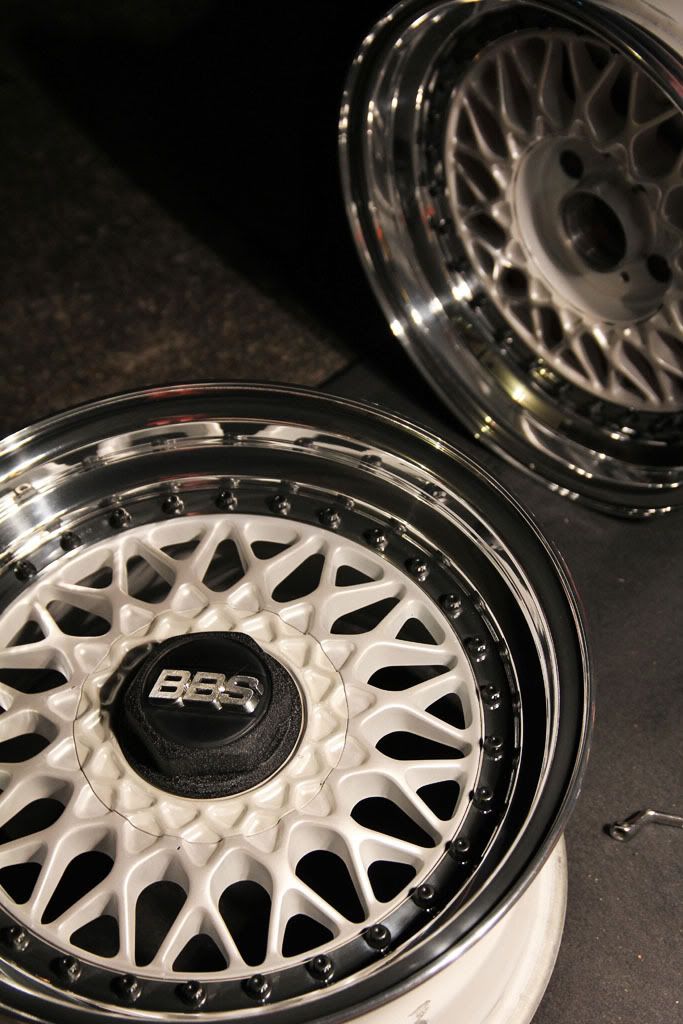
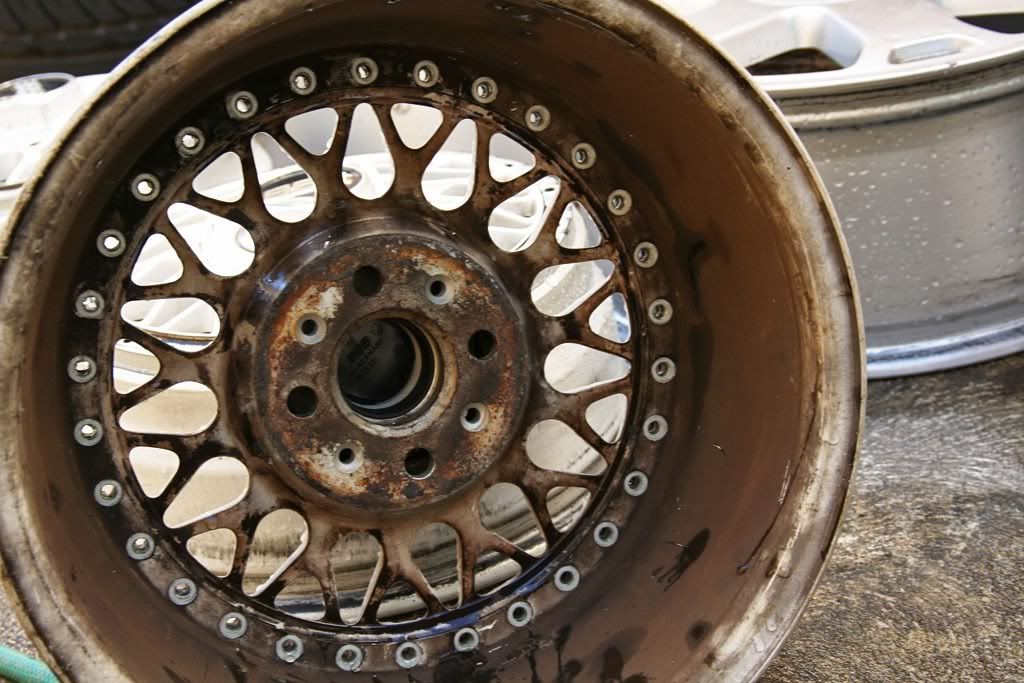
A decent clean produced the silver centres but the in-between parts of the spokes were all caked with etched brake dust.


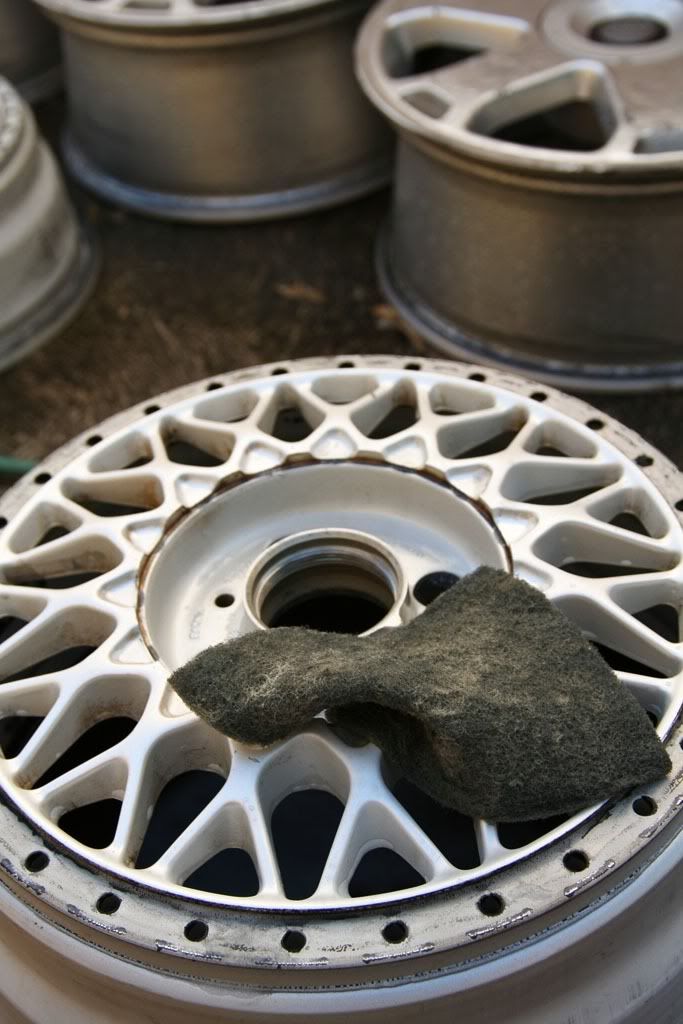
No amount of regular cleaning would remove them, so I decided to use some Scotchbrite pads on them.  I knew the finish won't be glossy silver anymore, but I decided to give it a go.  The other plan was to just send them to the powdercoaters and have them sodablasted, but I wanted to keep this build as cost-effective as possible.


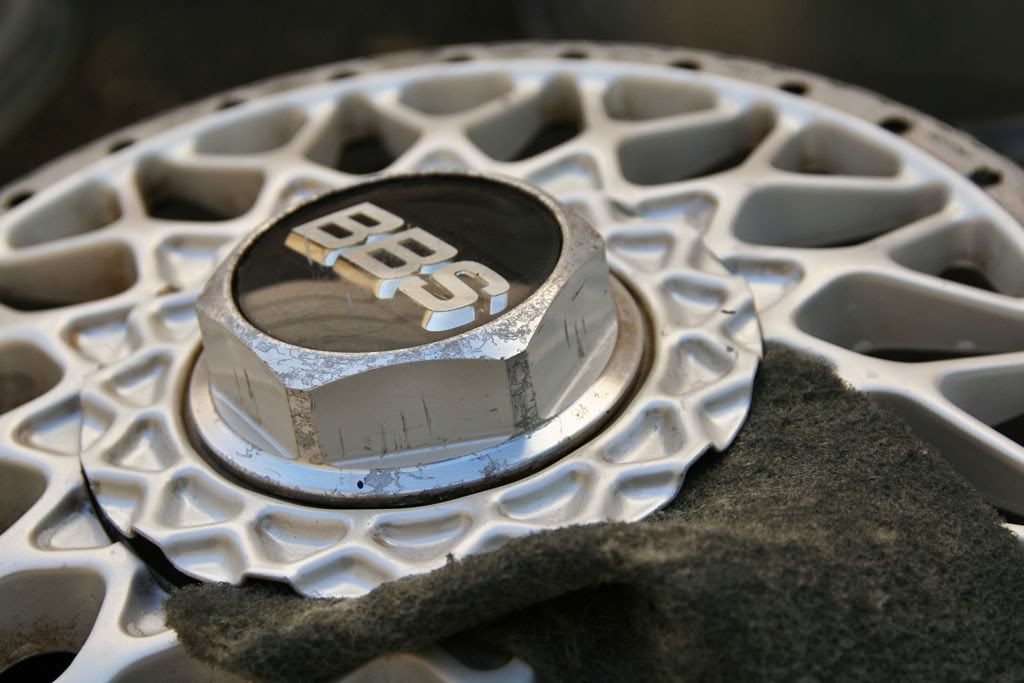
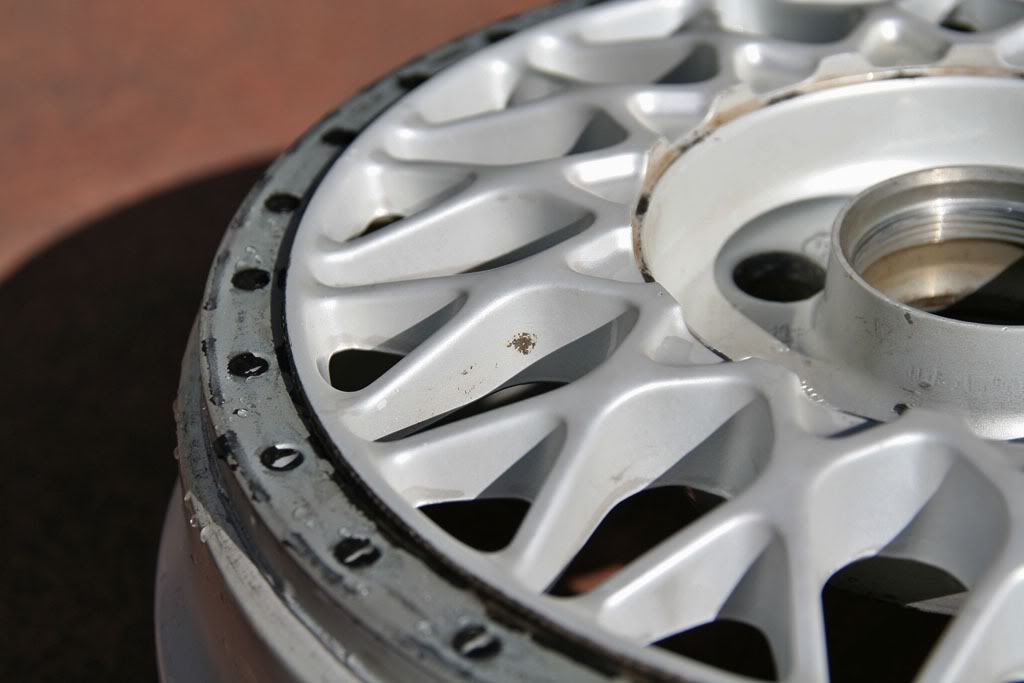
Note the oxidation and scoring of the hex.  What kind of sick person would neglect their BBSs like this?!

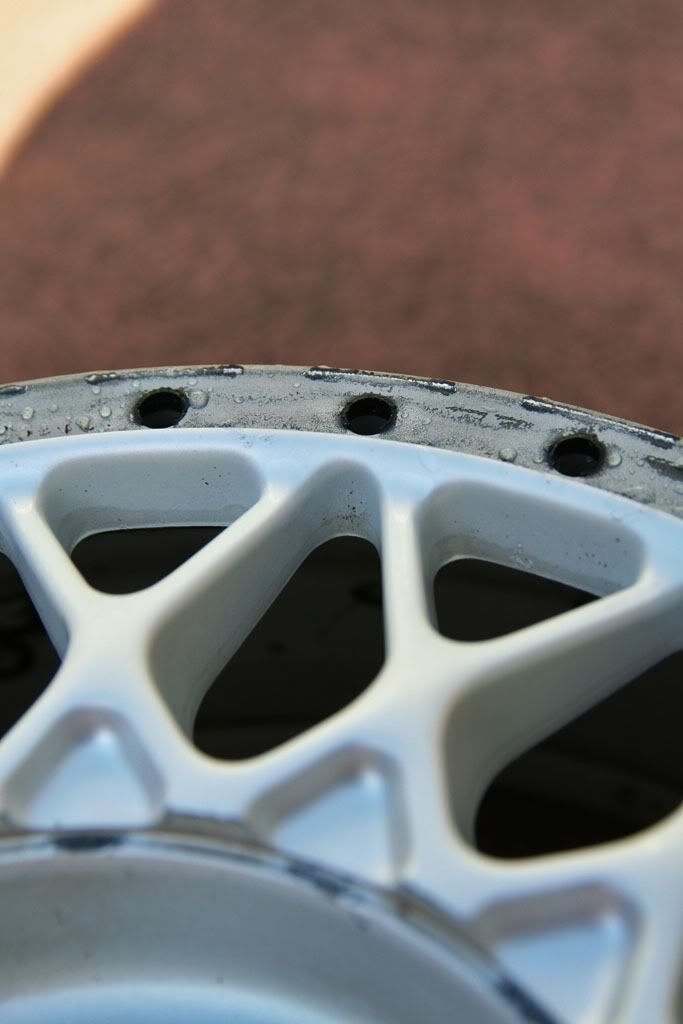
A bit of scrubbing quickly eroded the baked bits.  Not much of the clearcoat/paint was compromised as a result.  The outcome was a little surprising actually - the loss of glossiness gave a satin effect to the silver.  The shade became a lot lighter, and in the sun it almost looked white.  To be honest, I was quite happy with how they turned out, and I think they look better than the standard BBS silver.


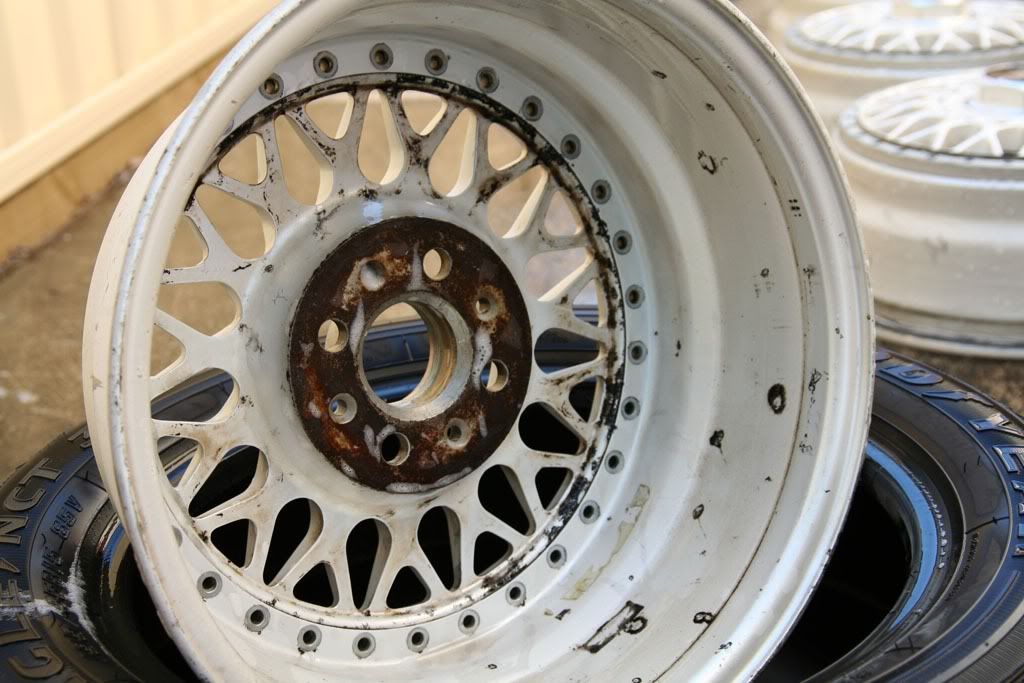
Cleaning the wheels a spoke at a time really allowed me to get up close and notice all the crappy imperfections.  Some of the worst were deep gouges.  I really don't know how the previous owner damage them so much, he must've decided to throw some pieces of metal at it while they were rolling or something. There were also parts of the paint that the Scotchbrite couldn't take out.


As of this date, I've cleaned two.  Will be cleaning the other two some time this week too.

Now back to the lips.  I know that I mentioned I wanted this build to be cost-effective, and the purchase of new lips certainly isn't.  Well, I was debating for a while whether to get the lips back to perfect shape again and hand polish them myself, but that would be quite a bit of money and a shitload of time anyway, so I thought why not hit two birds with one stone and fork out a little for some new polished - and wider - lips?  A mate was rebuilding his set too so we went on a joint buy to save on shipping.  Kirsten was a great bloke to deal with, providing us with a good discount on the lips as well as a sweet shipping deal to boot.  I'm currently in the works to buy more stuff from him too, some relating to this build, so I'll be keeping this blog updated when that happens.

Anyway, here they are.  It was like fuckin' Christmas already.


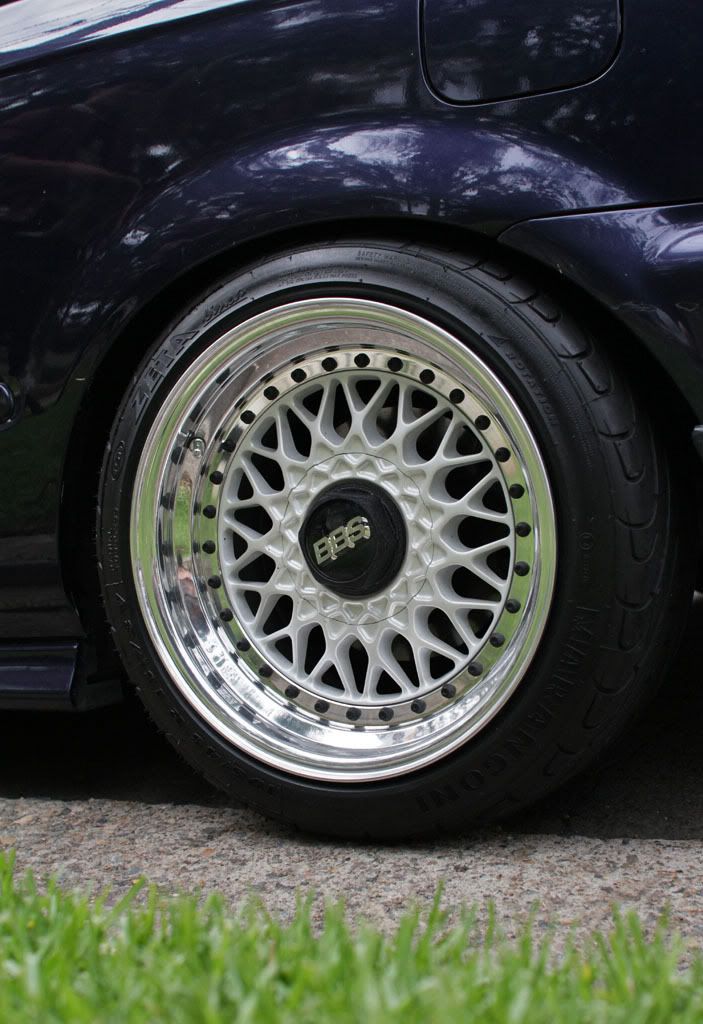
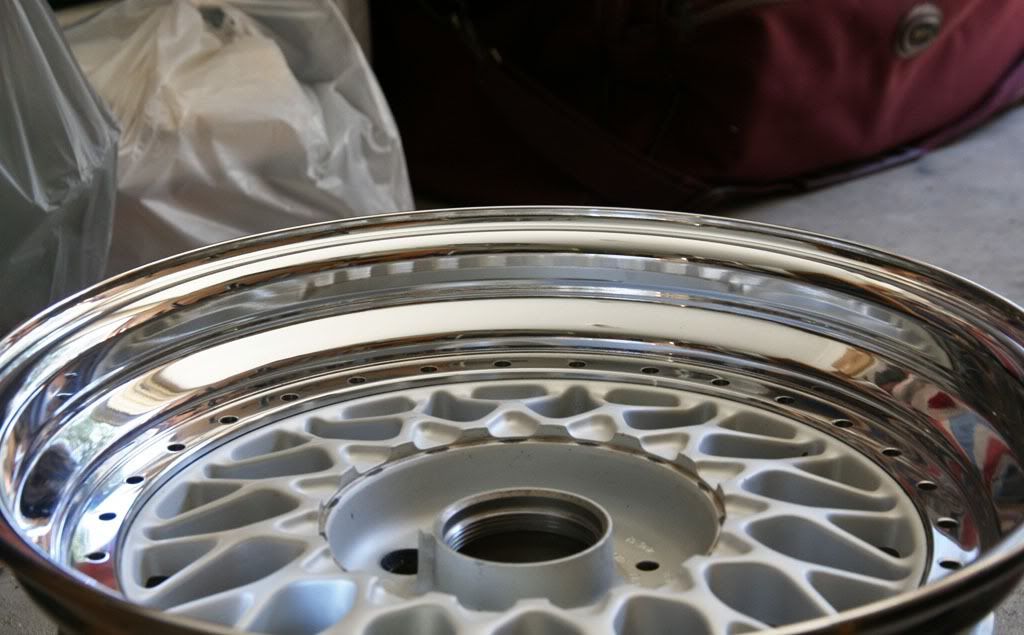
And I couldn't resist a test fit.


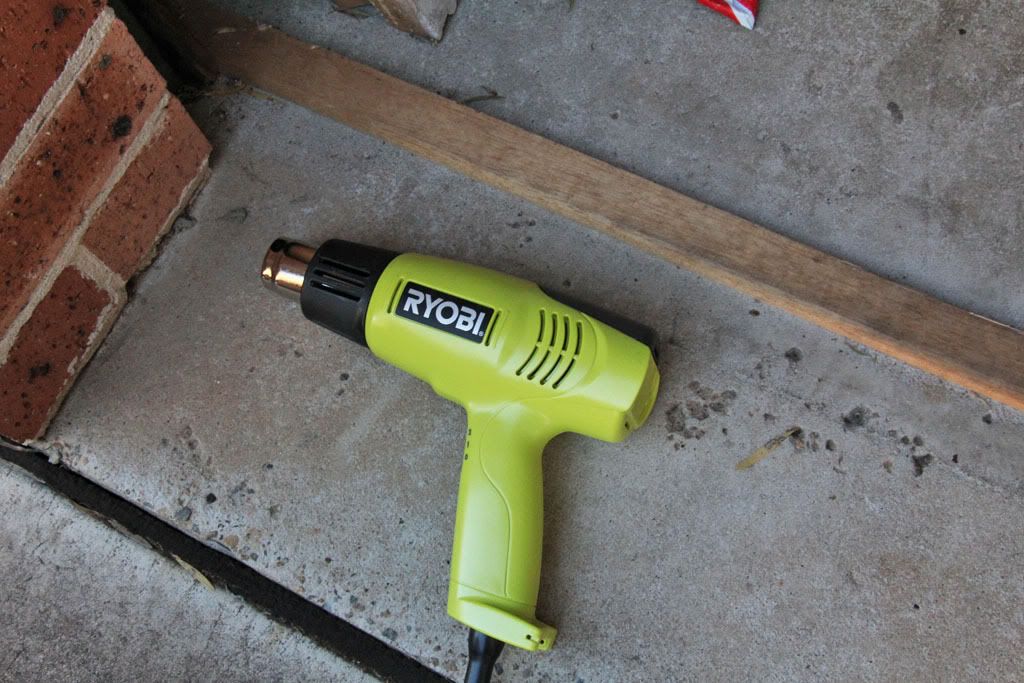
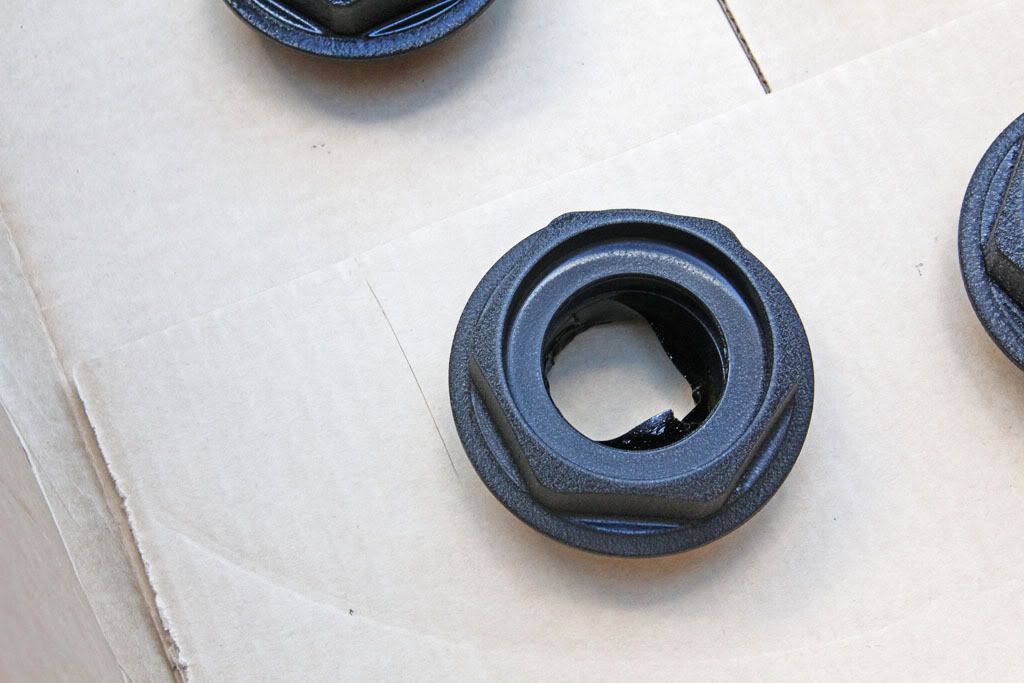
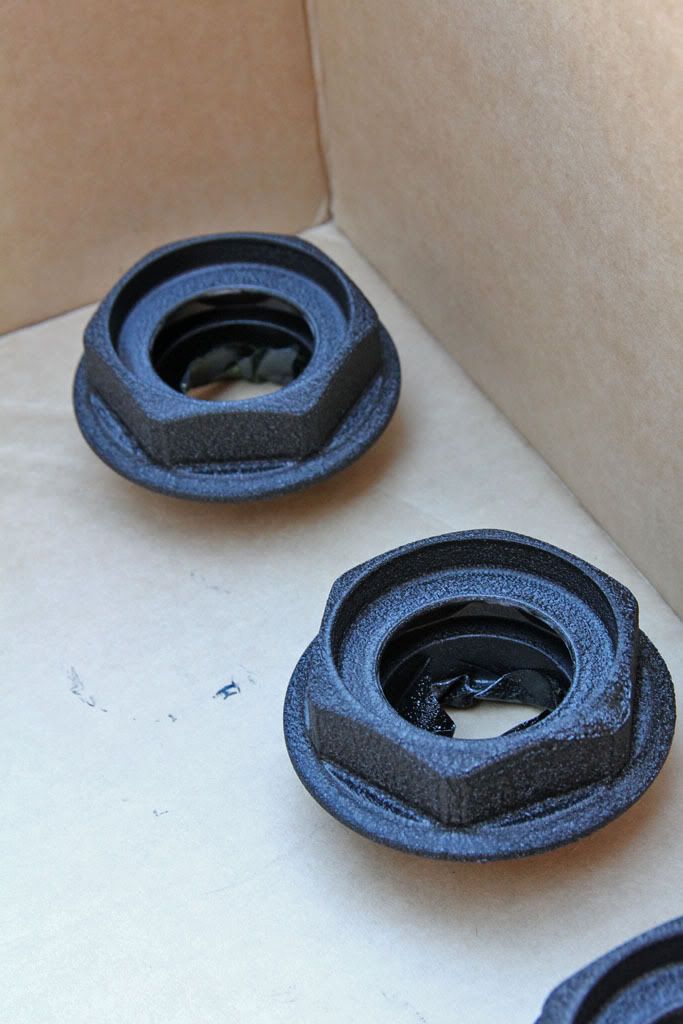
Part II should contain more pics of the clean centres.  I'm planning to paint the hexes instead of polishing them as most of them have deep and wide scratch marks.  I don't think I'll buy new ones either as it'd just be too expensive.  Anyway, black wrinkle paint is the idea at the moment.  And also, to tie it all in, I thought some black chrome bolts would match it up nicely.  Will see how it all goes.