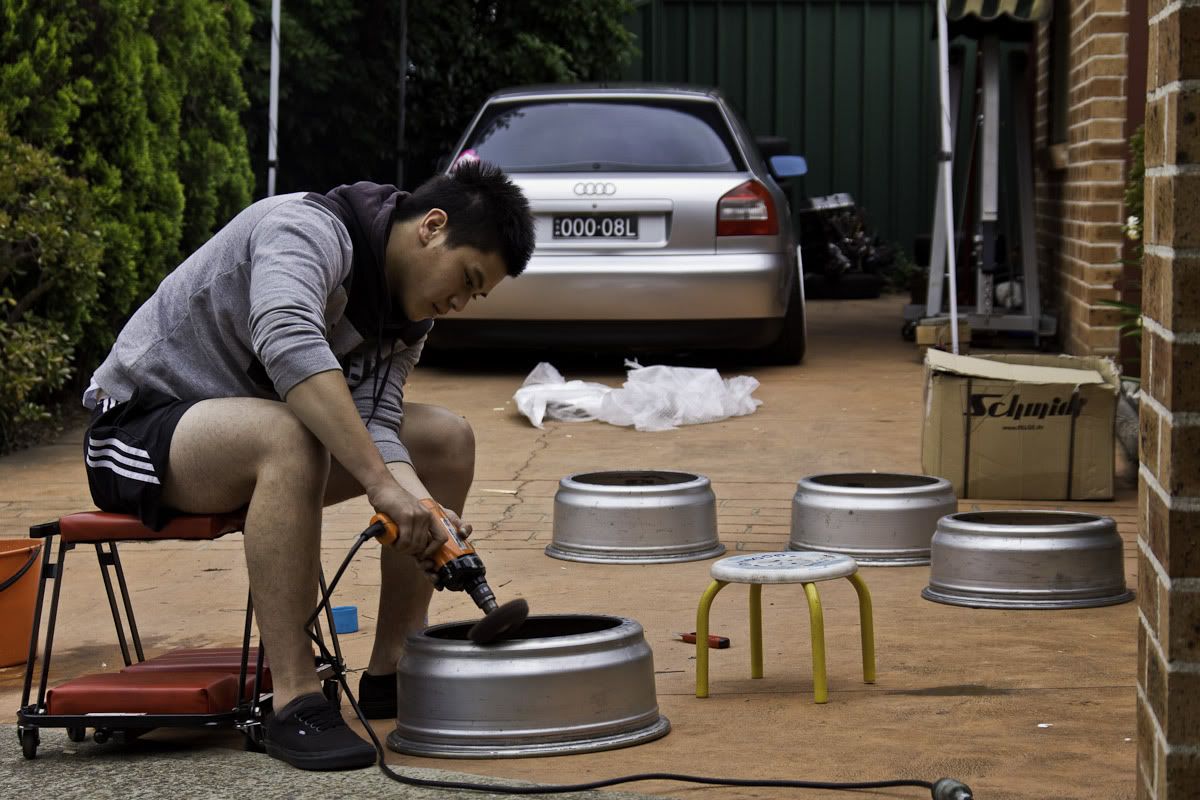
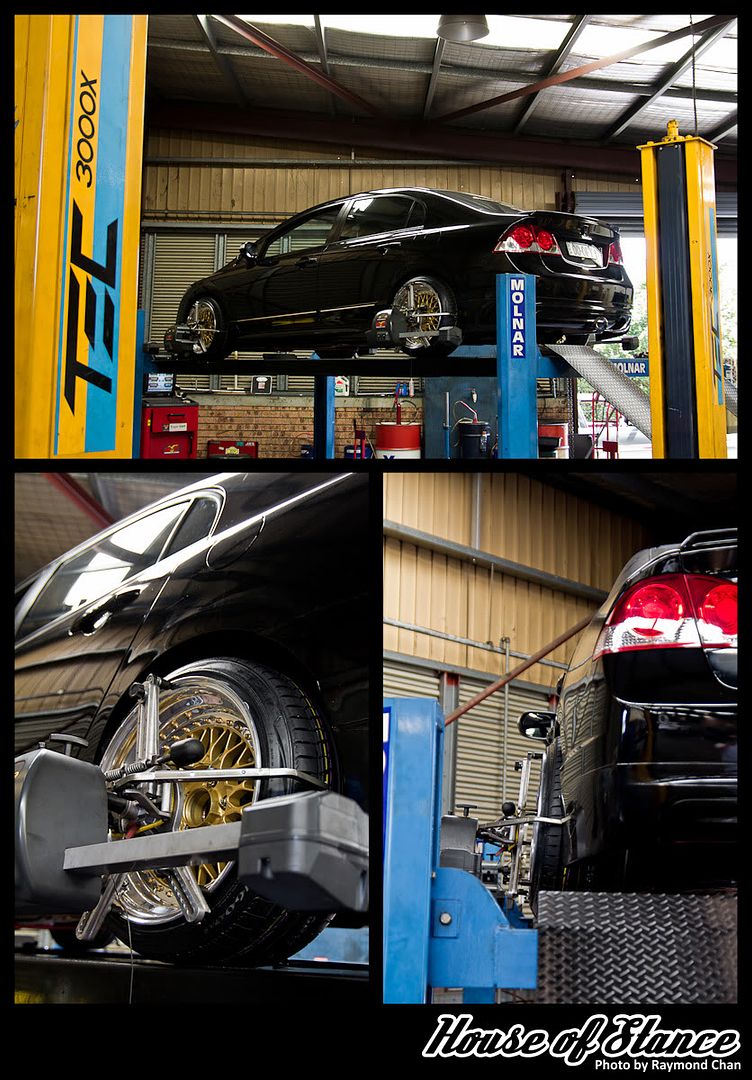
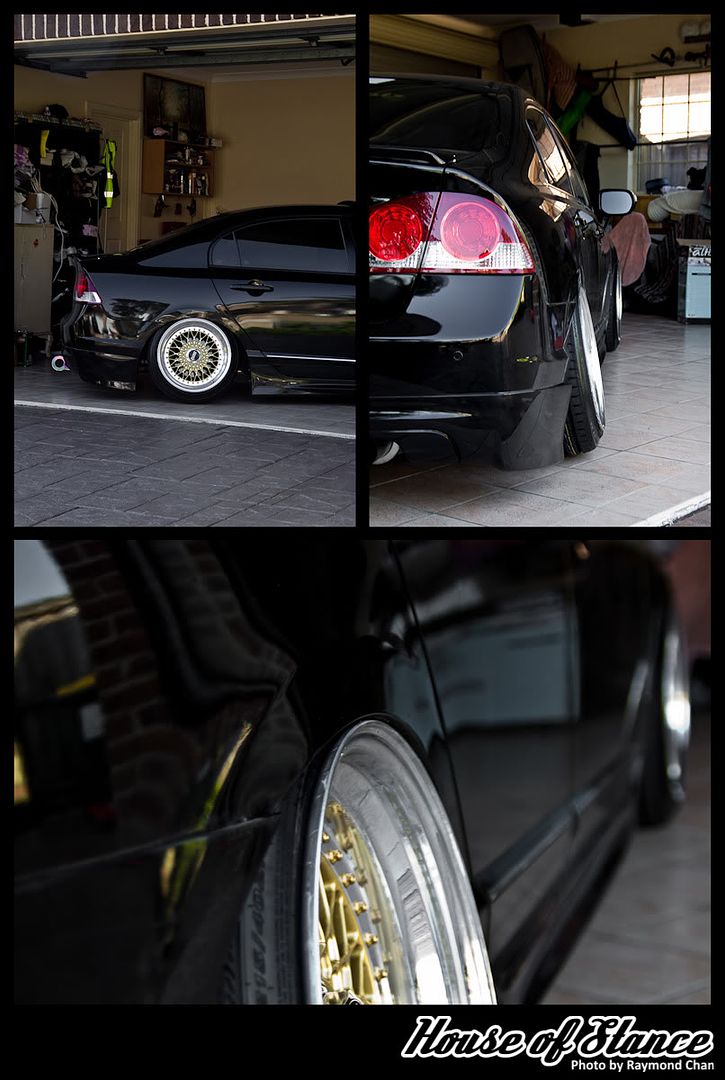
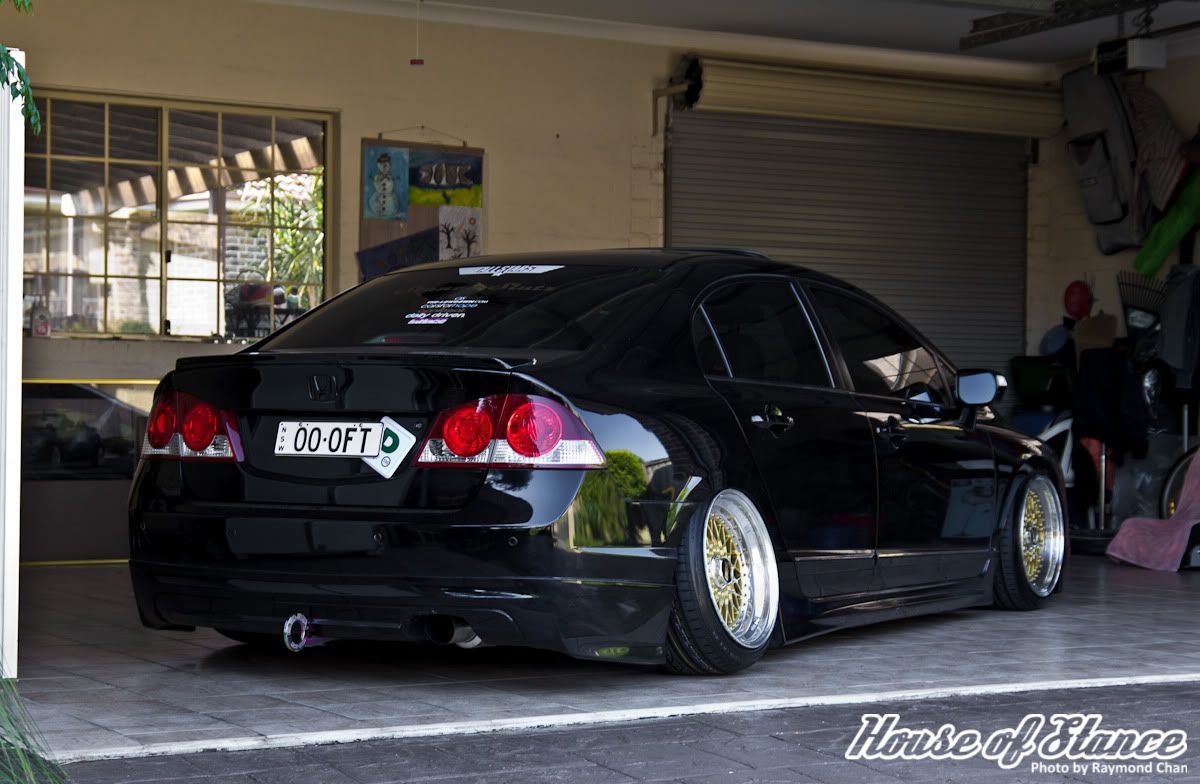
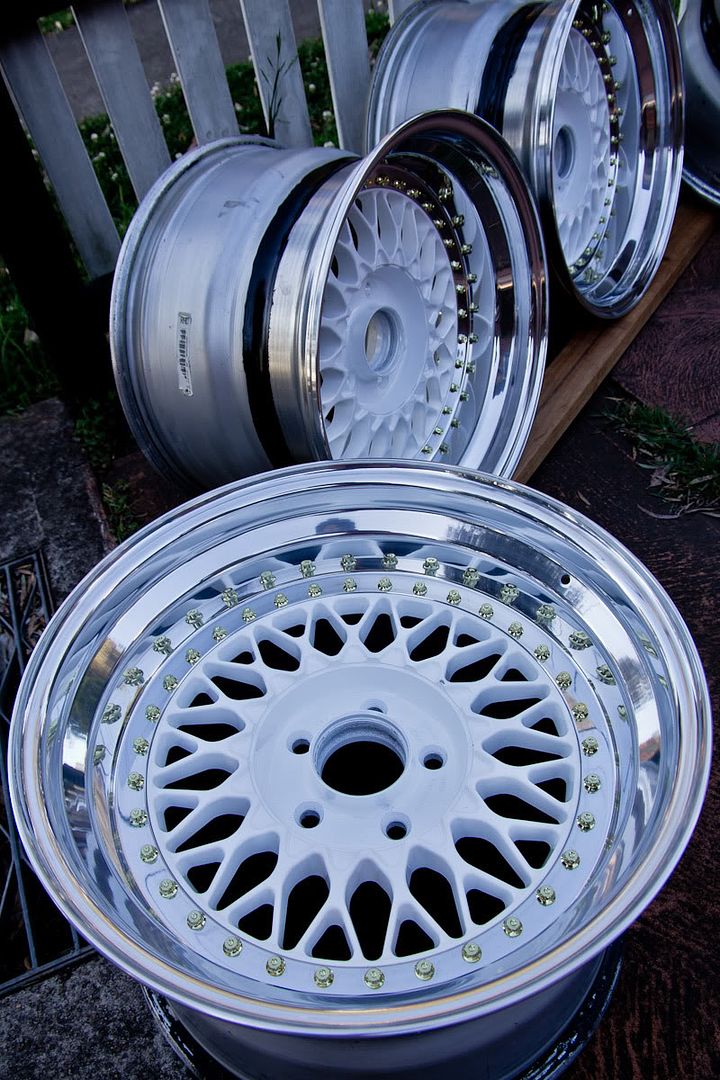
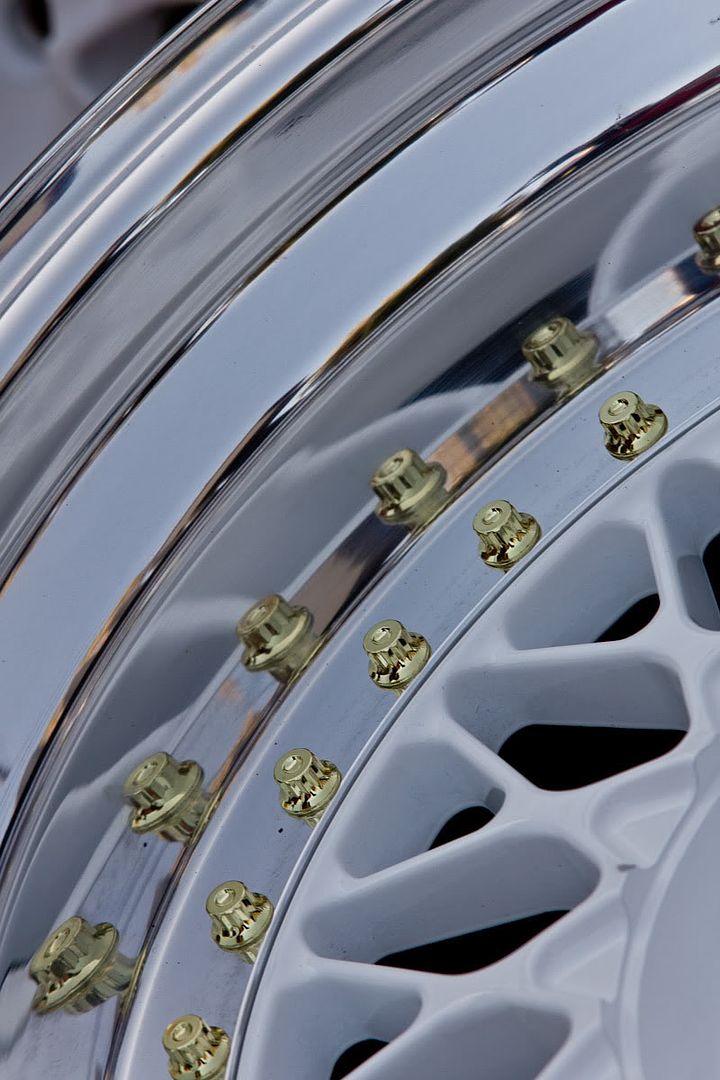
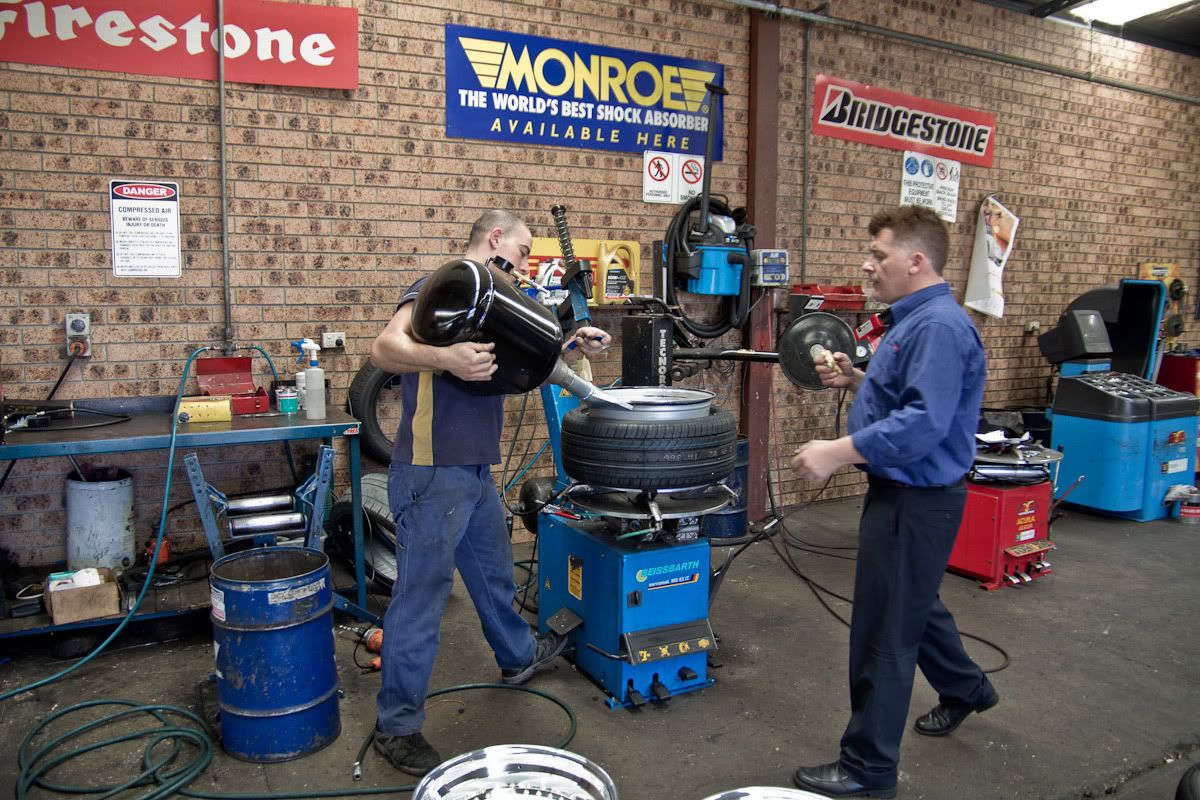
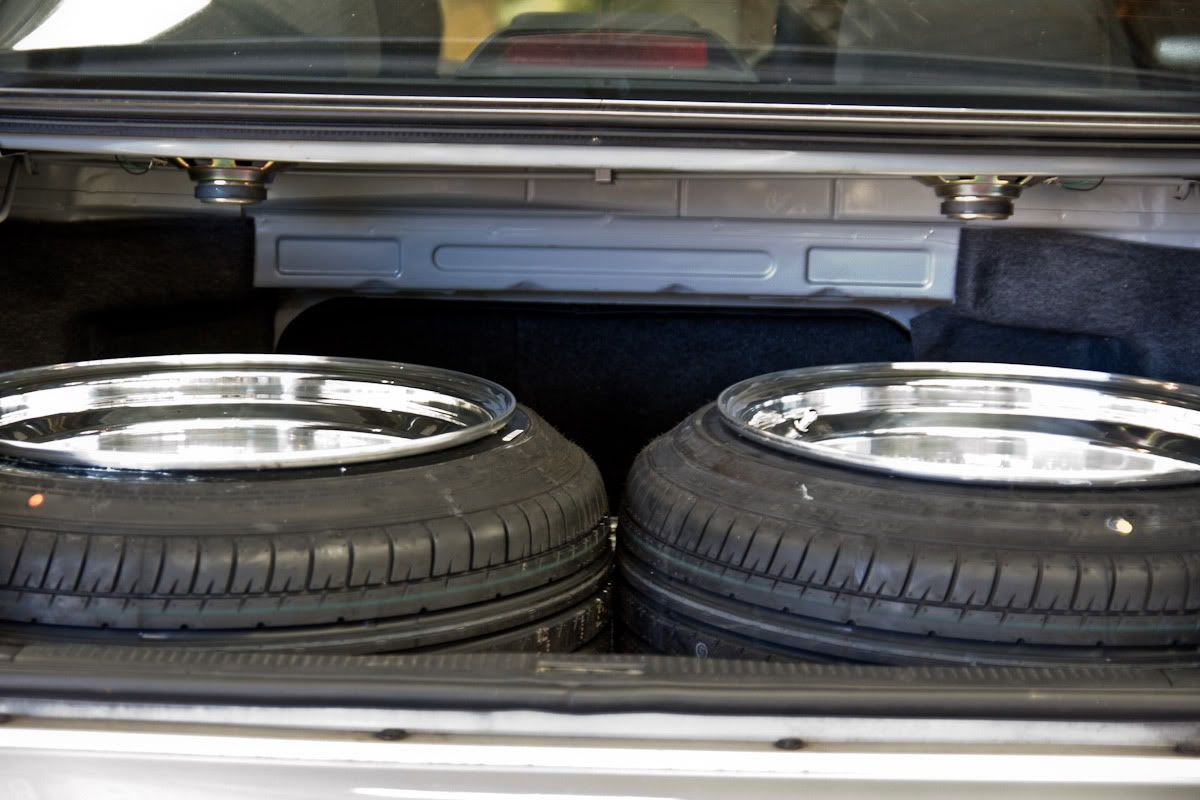
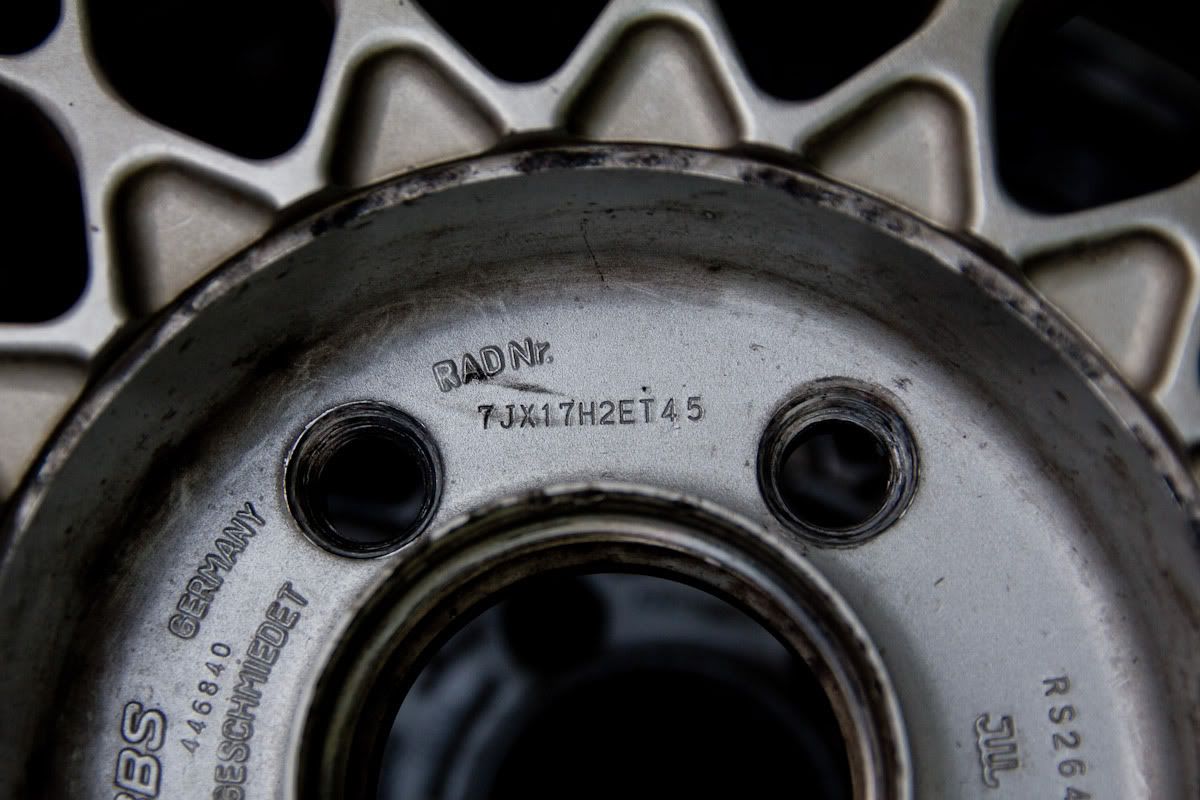
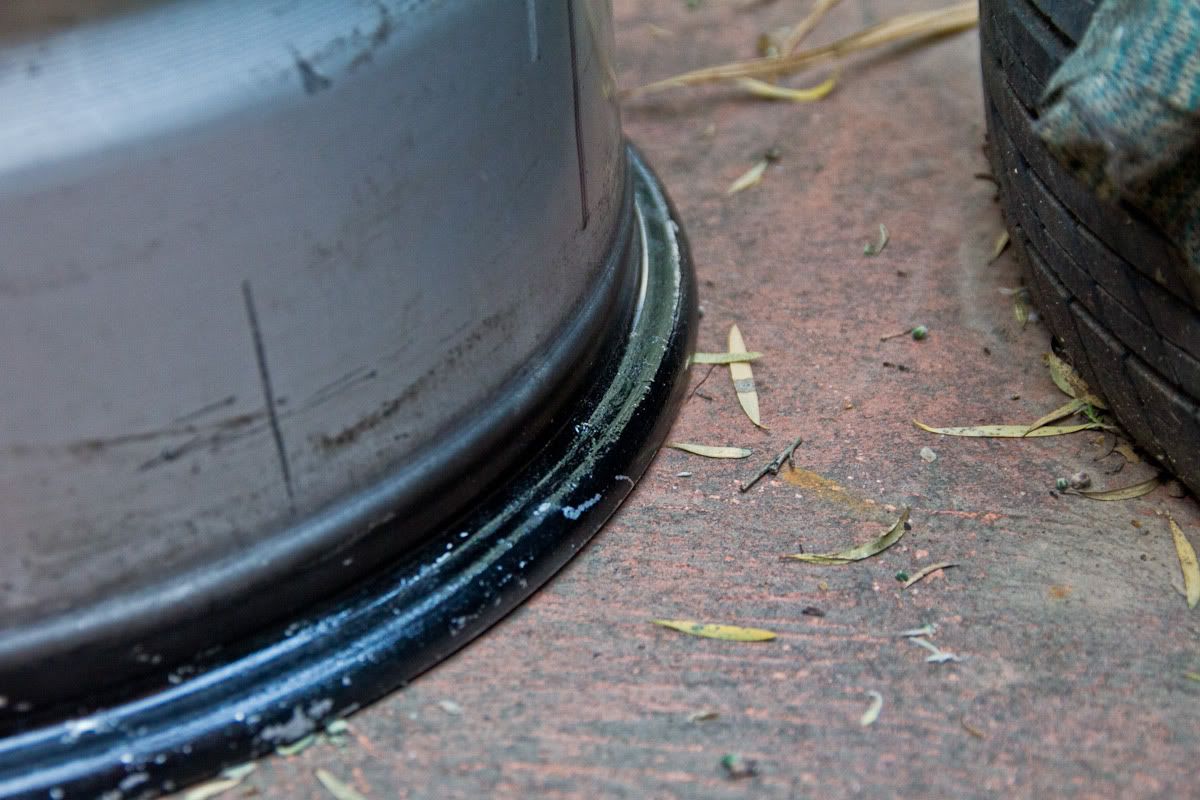
Welcome to RAW Works. My name is Raymond and I live in the western suburbs of Sydney. This blog will be a portal for me to photo-document the wheels I refurbish and repaint. This is only a side hobby for me so there won't be any crazy custom jobs! My skills have only stretched so far as to using body repair materials, resprays and polishing, so anything that requires welding and unbuckling will be beyond what I can do. I hope to improve on my current skills as I go along, and as a lover of wheels, it's a way for me to express my art side as well as giving life to some tired wheels again.

At the moment, I'm just scouring through eBay for damaged wheels selling for cheap. If you have any wheels you don't need anymore, throw me an email/comment. At the moment I'm just buying sets of wheels to refurb then sell them off. I prefer not to do personal jobs/requests as I don't trust myself with that yet! But that said, pass me an email/comment if you need any help wheel-wise.

My Facebook page is @ http://www.facebook.com/raysalloywheelworks/, please "like" it!

Cheers.

Jan 12, 2013

Project FD, part 2 - assembly and fitting

Last blog entry for this project was back in August.  Wheels are now done so I'll just lob two blog entries in one!

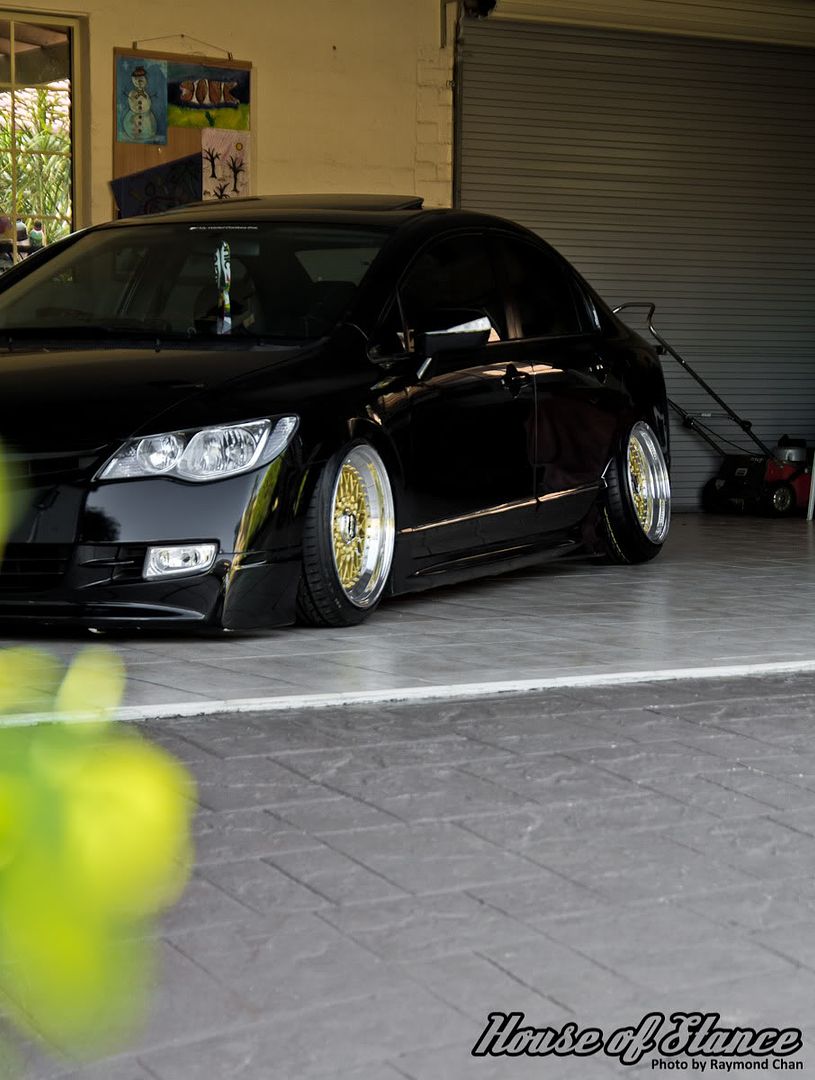
Most of you should know by now that the wheels were to be made for Stance Slutz Areis Mo's FD Civic.


As mentioned in part one, I had Areis come over to do a trial fitting to work out suitable widths and offsets.  The dynamic camber change from lowering and raising the Civic made it quite tricky to make a definitive measurement but Areis decided to fit some camber arms prior to fitting the BBS RS so if required, we'd have the ability to adjust camber to fit the wheels.  The decision to go for a staggered set up was based purely on stance and fitment, nodding towards the current USDM style/trend.  2" lips for the fronts and 3" rears were ordered, and I provided my narrower 6.5" barrels from my beloved RS301 to replace the rears due to 1) the cracked damage and 2) to allow for more camber adjustment for the rears if and when required.


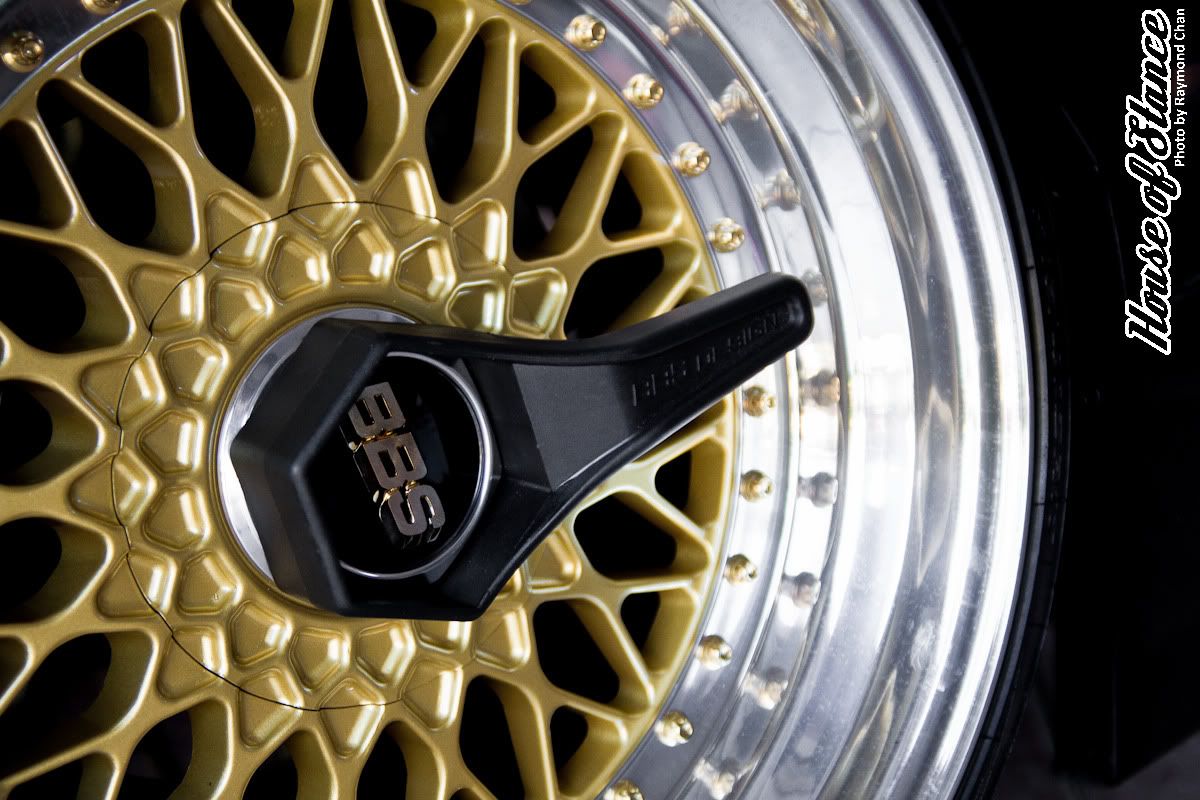
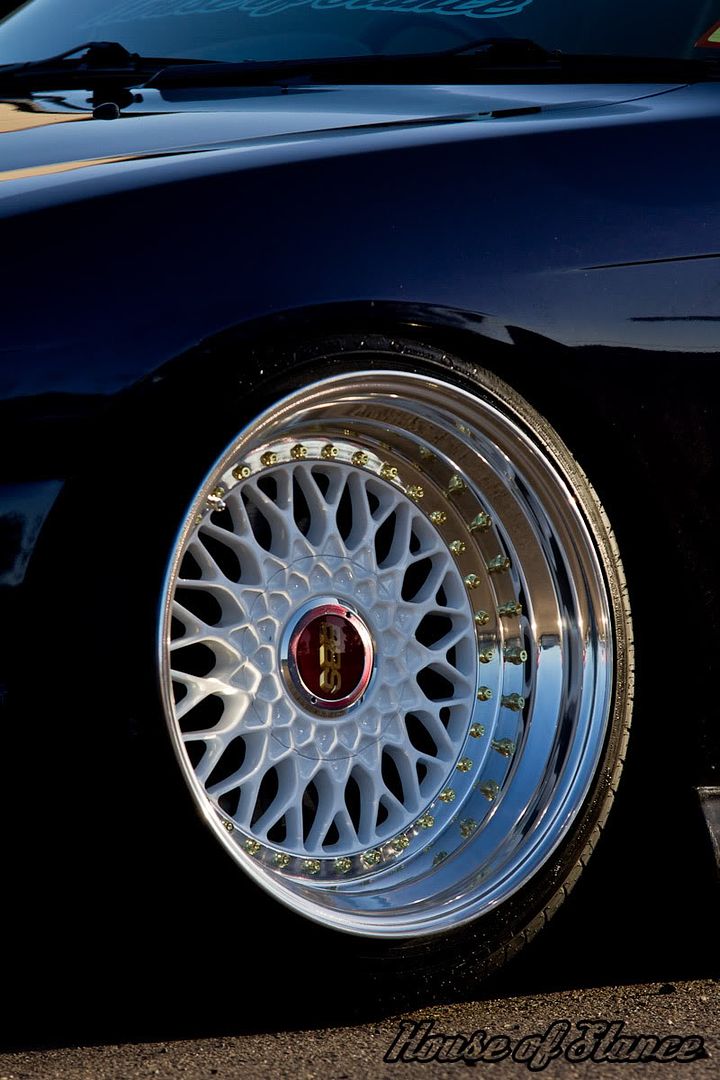
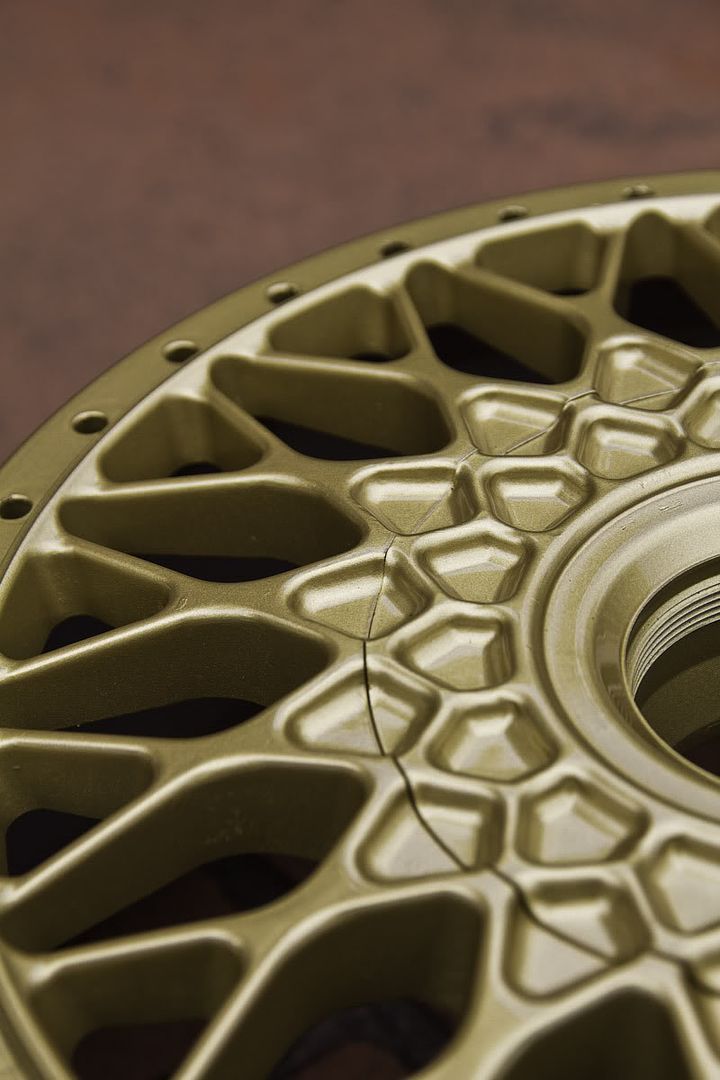
A lot of thought was given to the finish of the centres but for its first revealing, a simple BBS gold was chosen.  Areis' spray painter mate Mcgyver was commissioned for the job and he was able to mix a similar colour to the BBS gold going off just from photos.  It's a subtle difference but the custom gold mixed is slightly richer and more lustrous than BBS' original gold, something that I really like and would keep in mind for any other future projects.

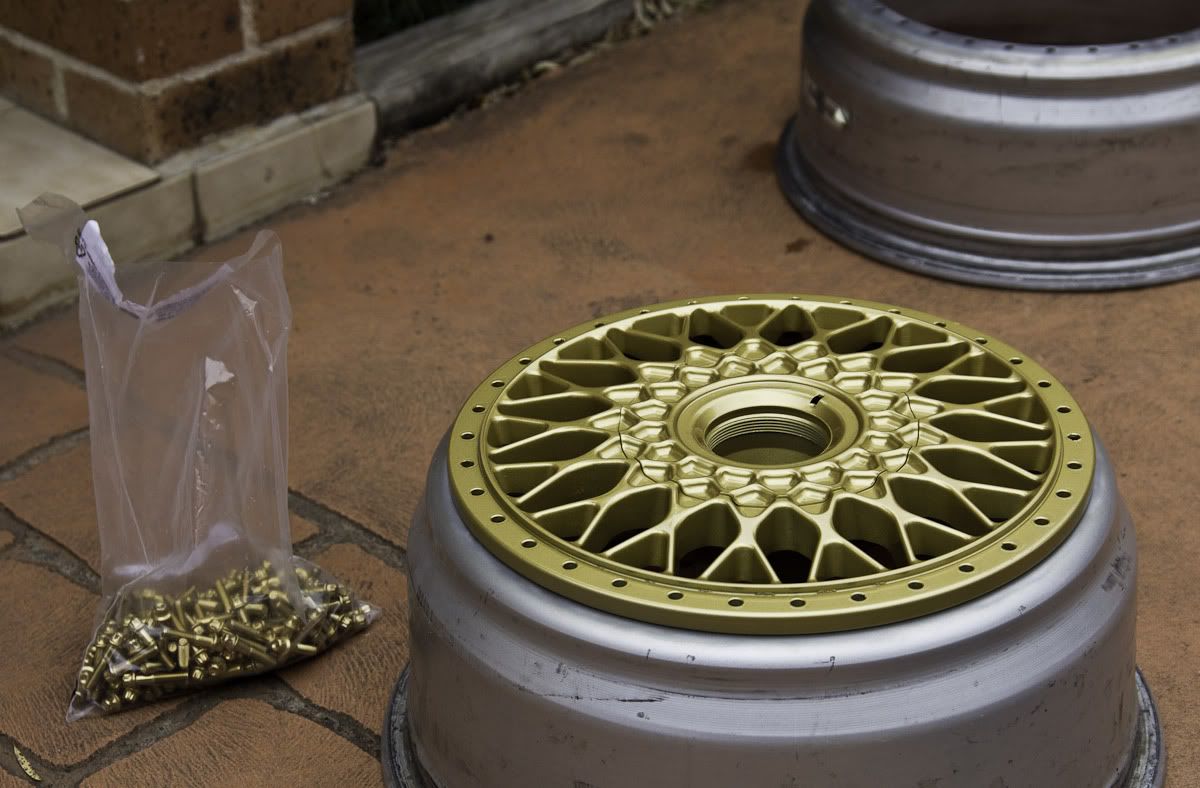
Special titanium-nickel plated bolts done with a rich gold tint were ordered from Germany and the match was very close.

Like with all my builds, I encourage input from the owners.  I think it's important as it provides a sense of fulfillment and self-achievement, something that definitely keeps me going with all these wheel builds and the work I do with my A3.  It's a product of your hardwork, your blood, sweat and tears, and not just another item bought off the shelf or ordered online.

... And it makes the job easier for myself hahaha.


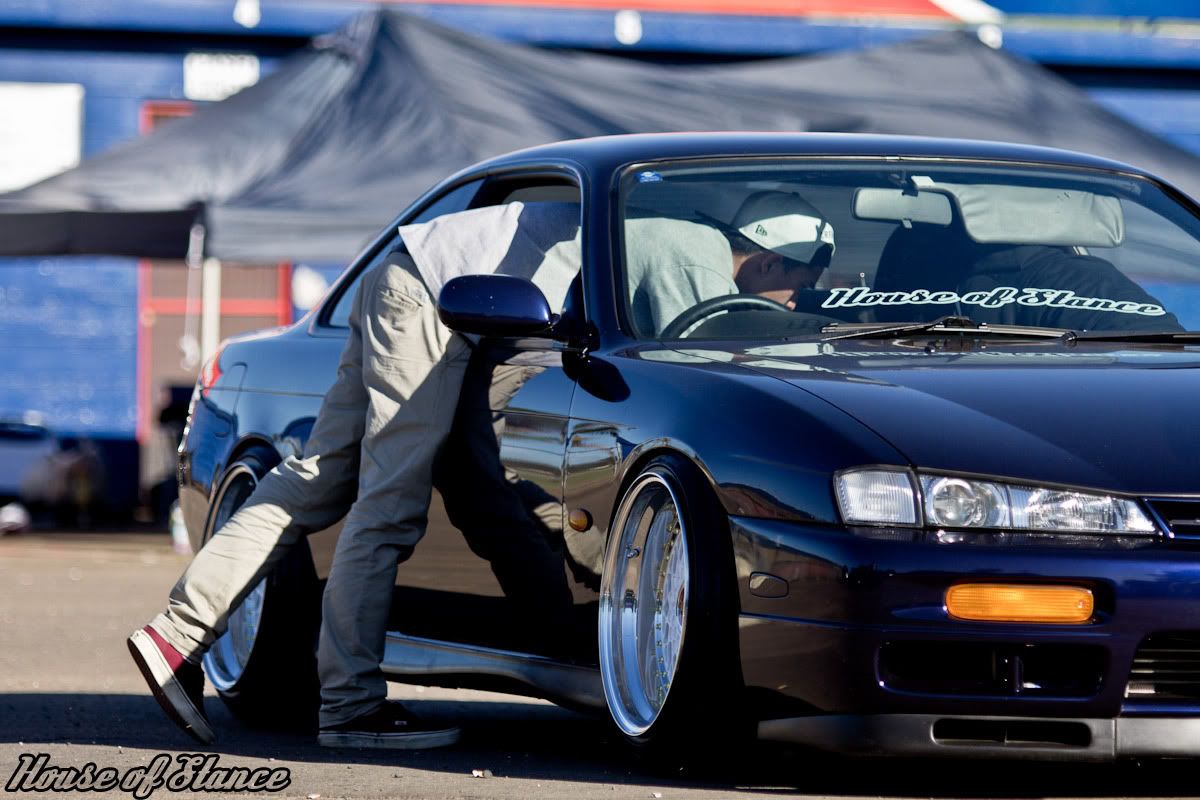
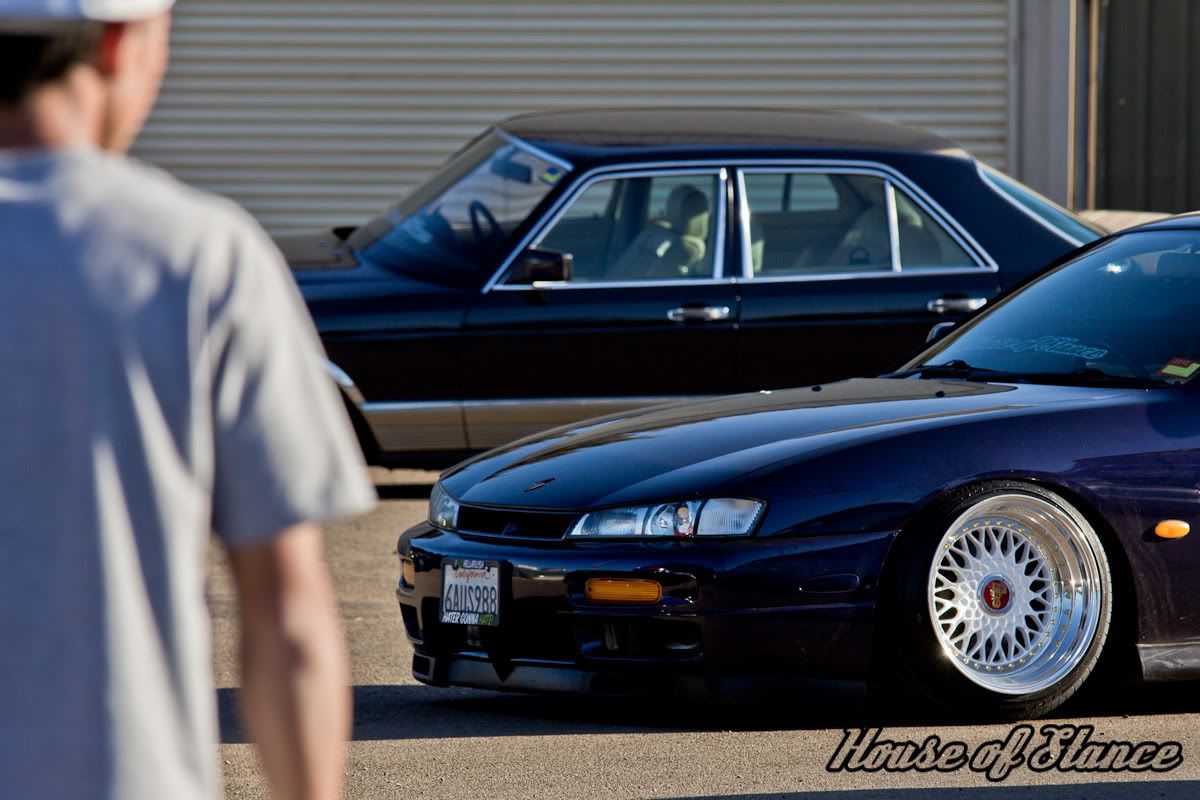
When it came time to selecting hex-cap style, there was a lot to consider.  There's the conventional half-height and full-height hexes, but with the popularity of BBS RS worldwide, lots of companies have come out with custom hexes, including flat caps (as seen on House of Stance Kennedy's BBS RS on his stanced S14), quarter-height hexes, billet hexes, and also conical caps.  But one style I suggested to Areis that I have seen on foreign builds were to run staggered hexes, i.e. run different heights between the pairs of different lip size.  I had a few full-height and half-height original BBS hexes in storage that I had refurbished to a mirror polish, and tested it on the wheels, and we were instantly smitten.  It's an amazingly subtle look, but one that really boggles those that appreciate these wheels.


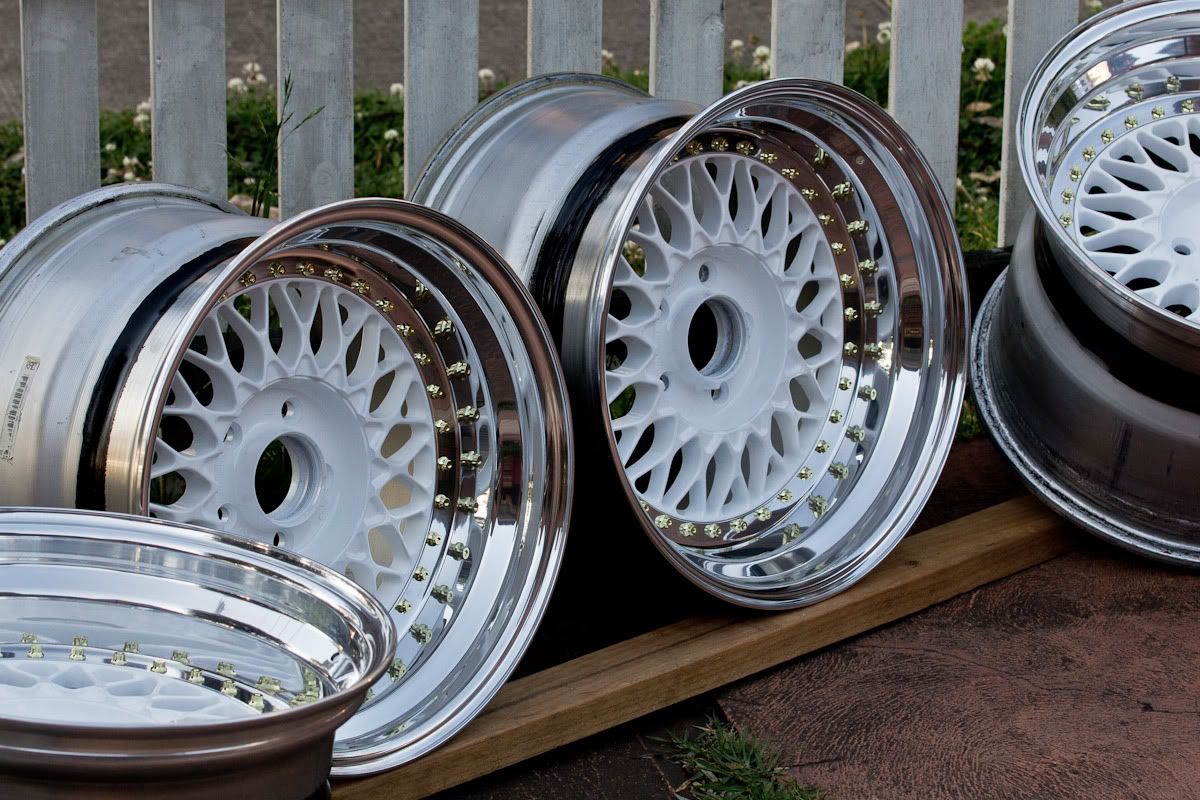
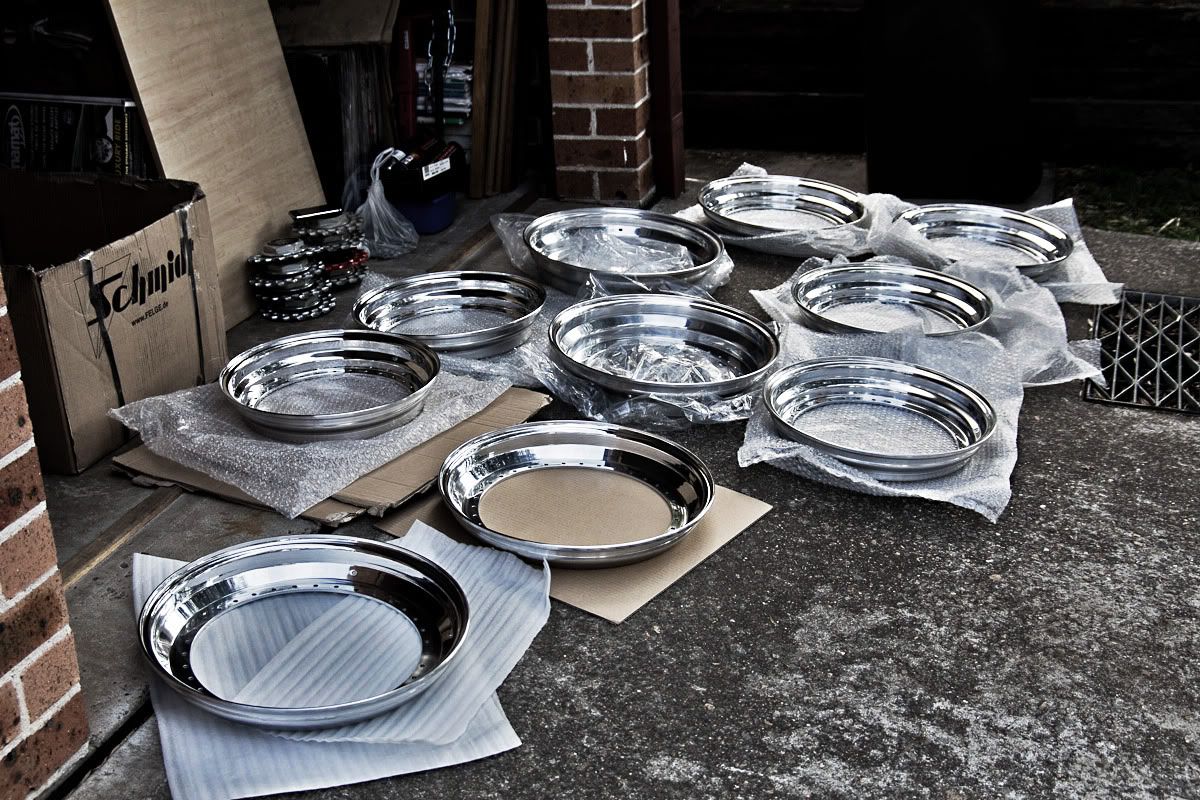
Unfortunately we were slowed down by the lip shipment.  Turned out one of the lips were actually made for a 16" centre (a step-up lip for some of the rarer, earlier manufactured 17" BBS RS that used 16" centres).
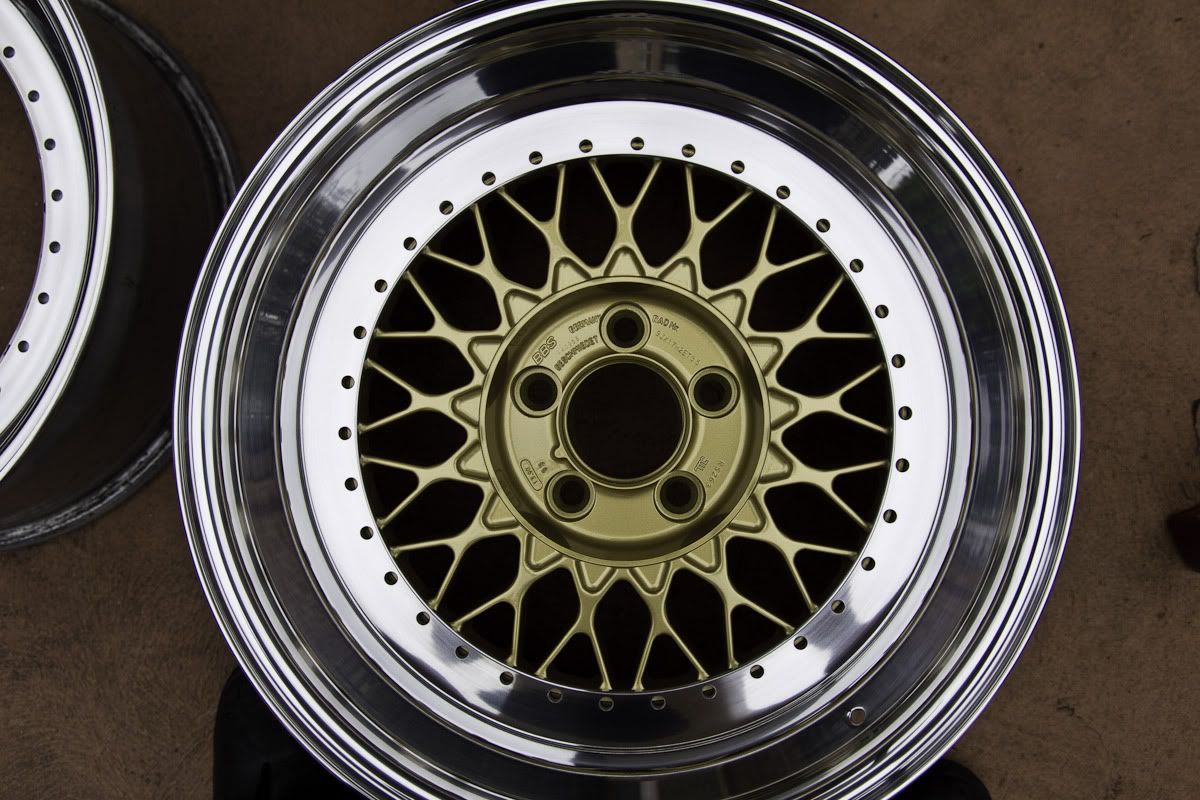
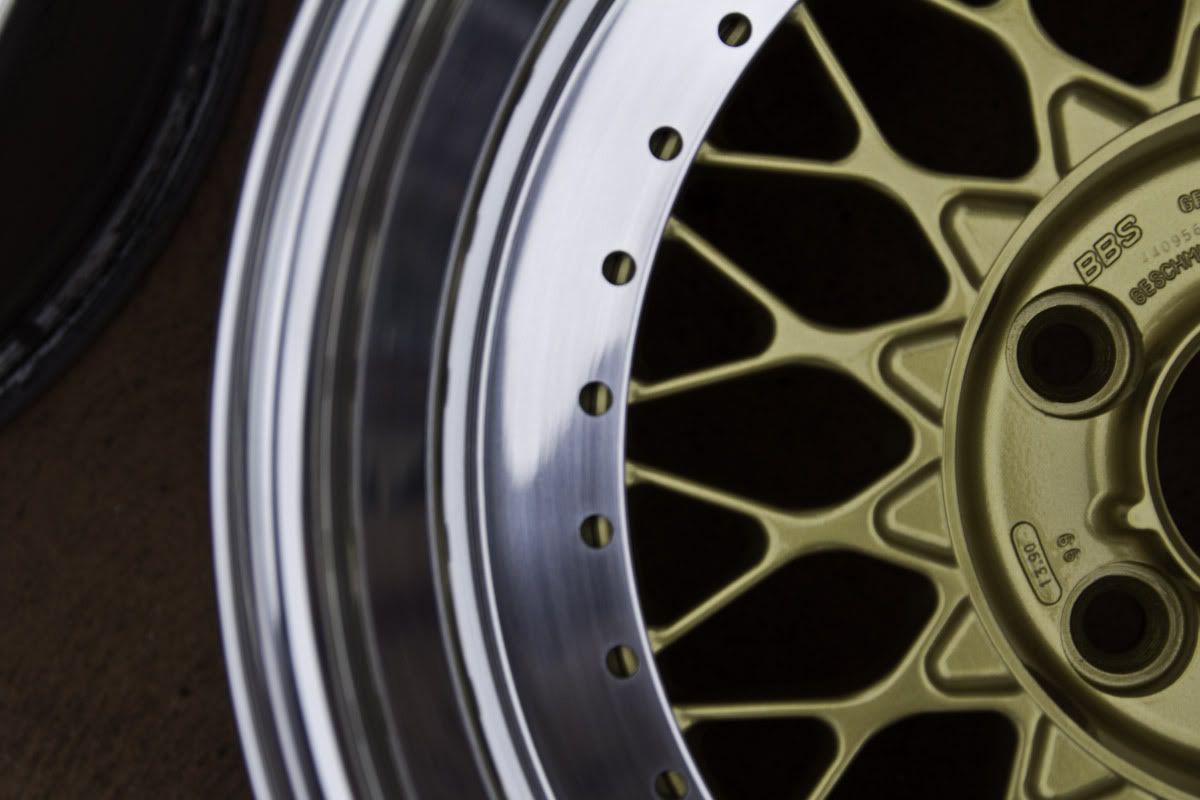

They both use 34 bolts, but the inner diameter as seen above is just millimetres smaller.  Fitted perfectly over my BBS RT though ;)
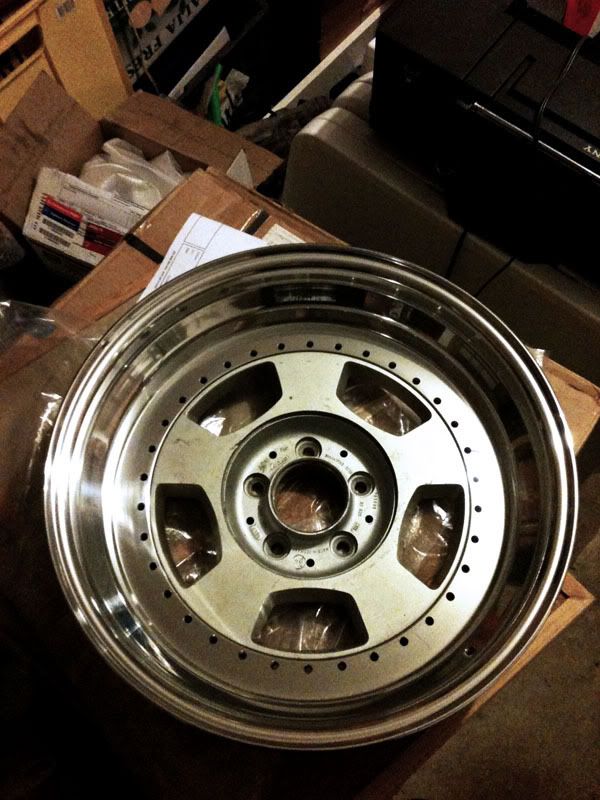

Fast-forward to the New Year and we received the proper lip, and we resumed progress.  Just a matter of torquing up the wheels and sealing them.

I don't know how many non-Australian viewers I have here but this current summer has been and still is a scorcher.  Fortunately I had A/C fitted in my room so all the bolting up and torquing were done in-house, literally haha.
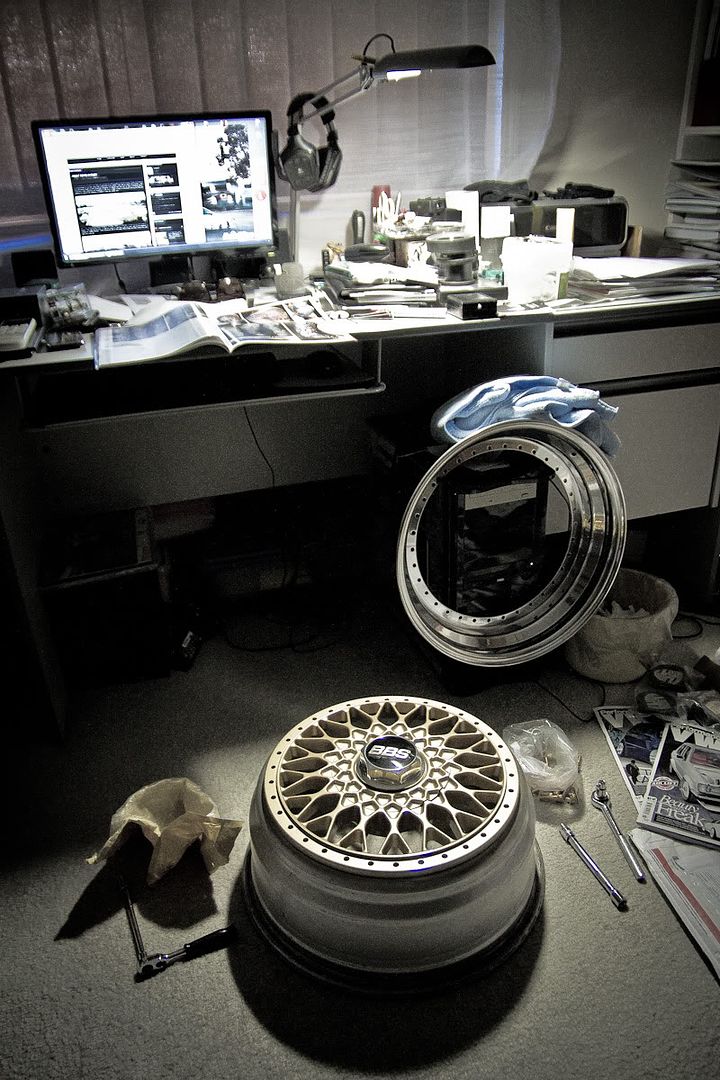
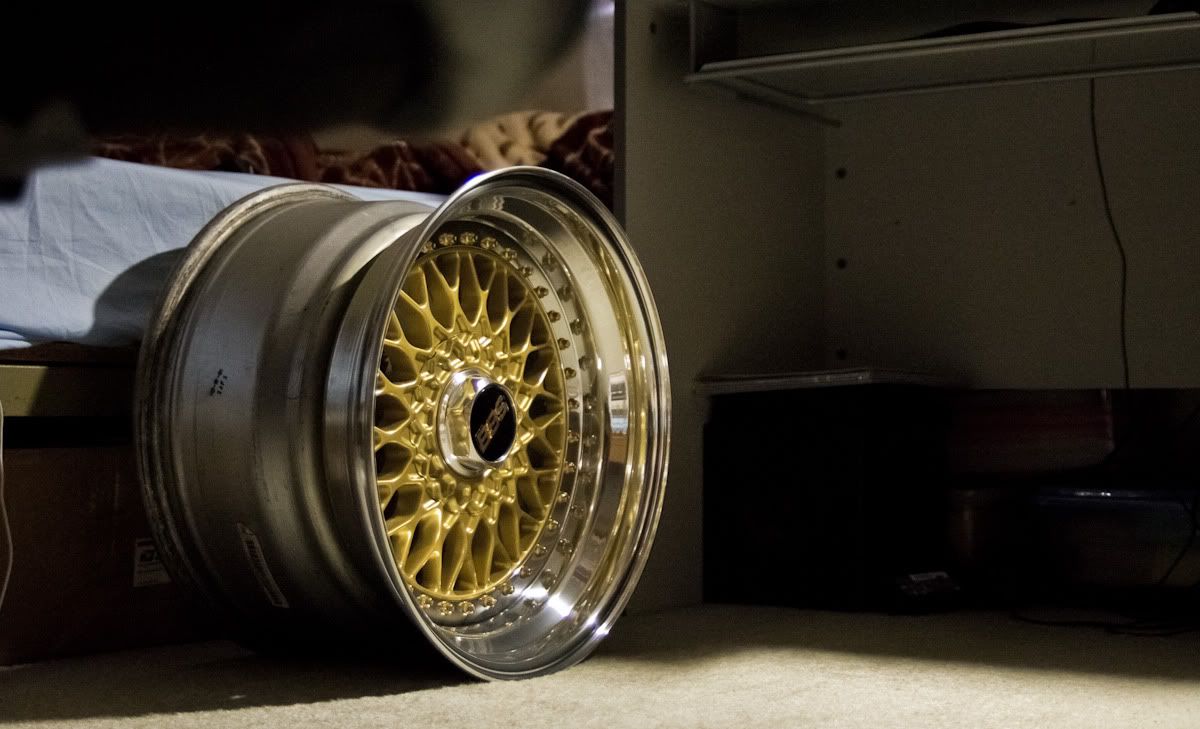
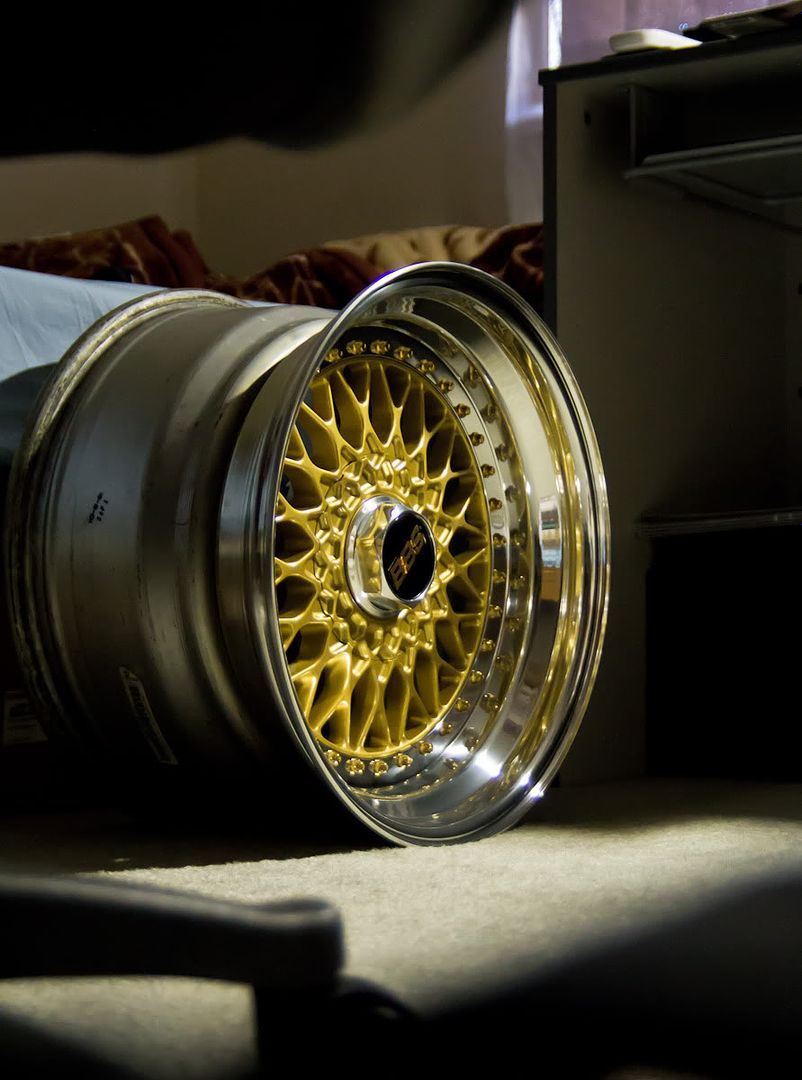
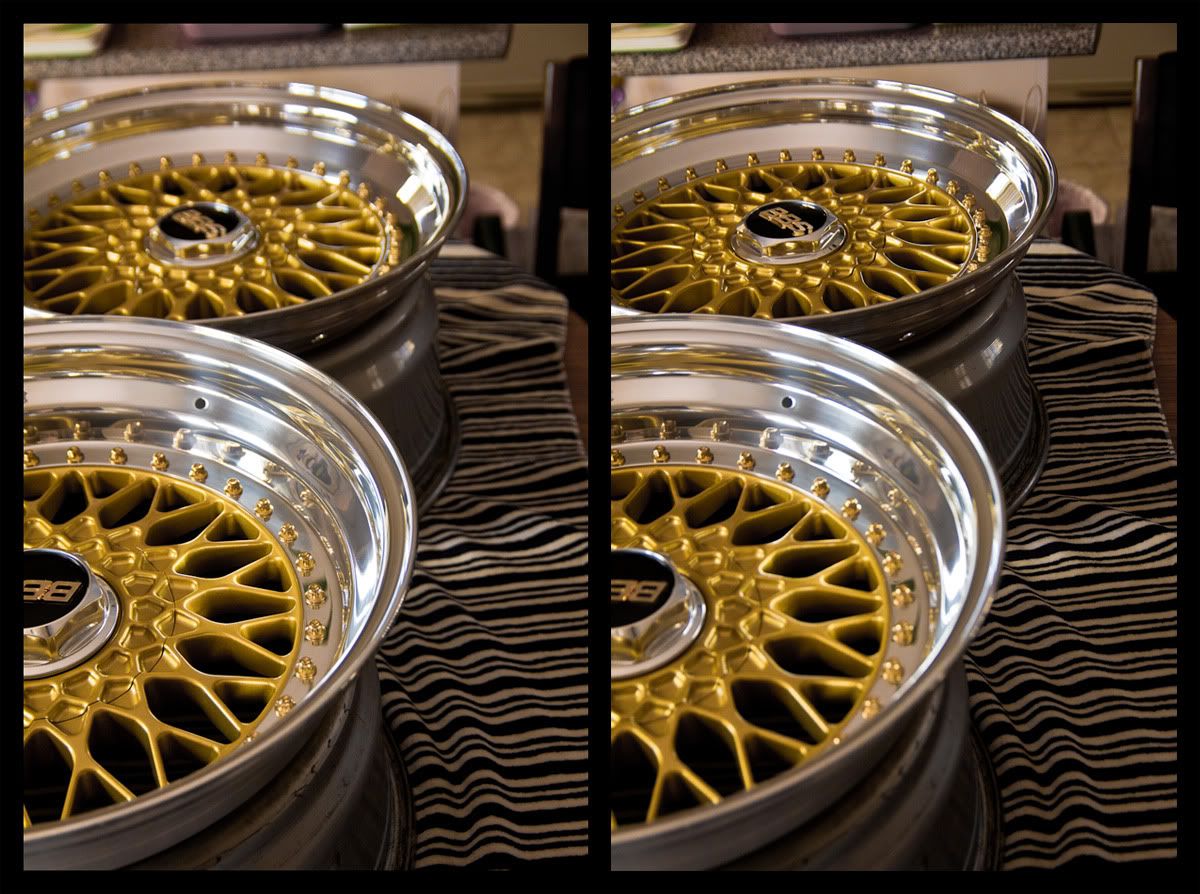
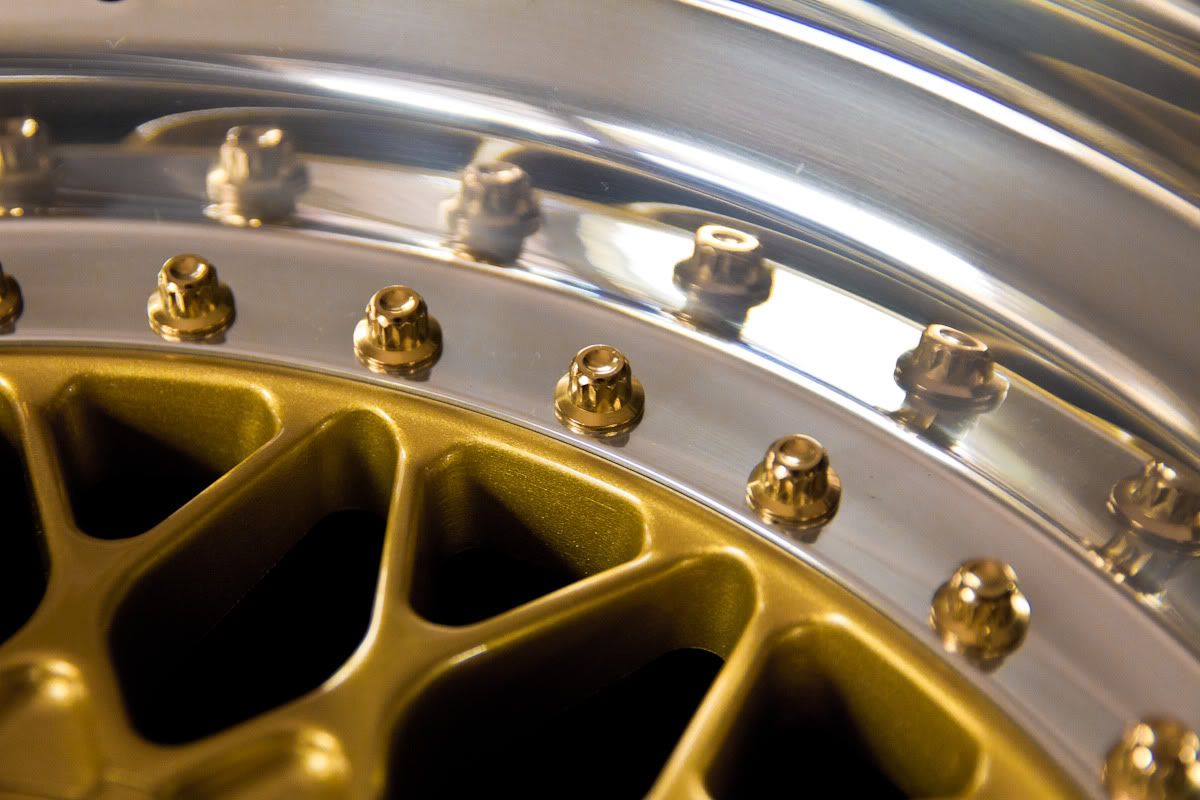
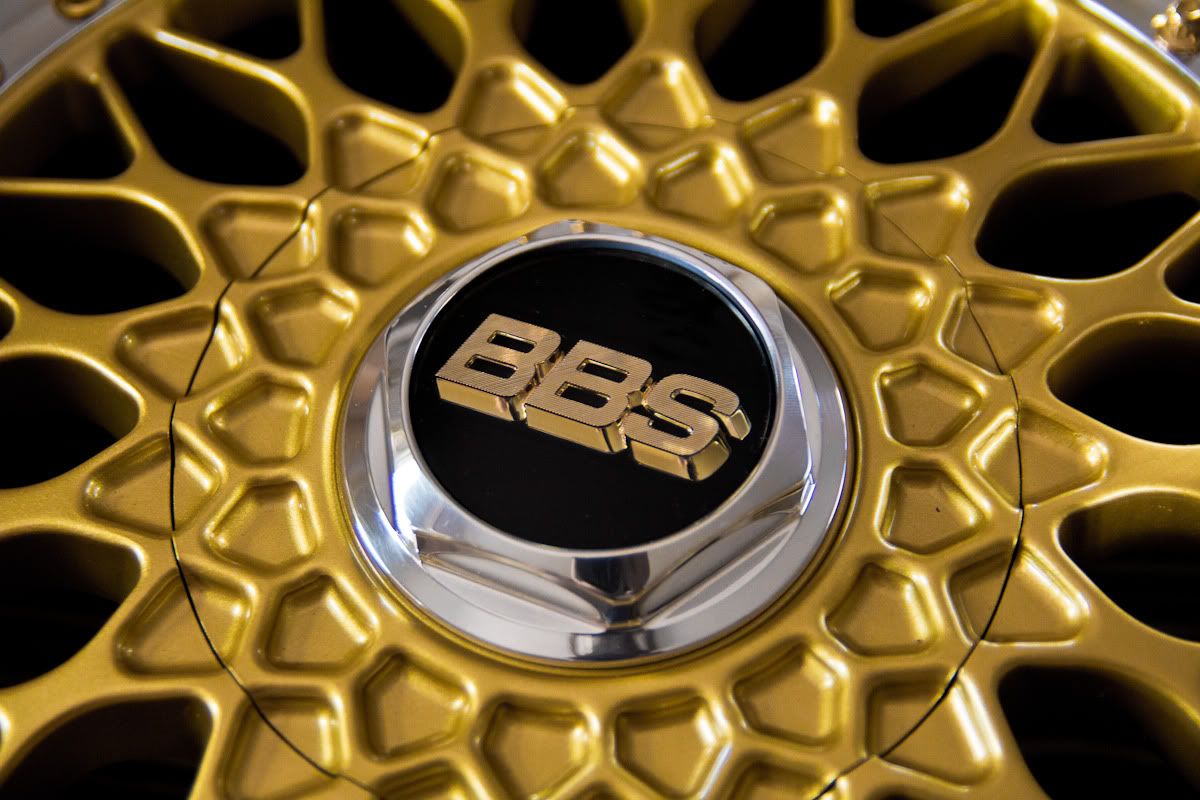

No dramas in sealing, and with all the practice I've been getting at doing it, my beads are getting cleaner and cleaner :)

Went back to the team at Merrylands JAX for tyre purchase, fitting and alignment.  Areis went for Nexen N6000 in 215/40R17 all around.  The final specs of the wheels ended up to be 17x9.5 ET16 and 17x10 ET-3. 

First glance we were sorta doubting ourselves...


On the ground, airred out...


So the guard was sitting on the top of the tyre.  A bit too Mexican but the aforementioned camber arms will now have their time to shine.  Apparently, Areis had the camber arms set to max positive just so he could run some stock steels (as they were hitting the strut!).  That gave me a good sigh of relief as I knew right then we'll achieve *that* fitment...


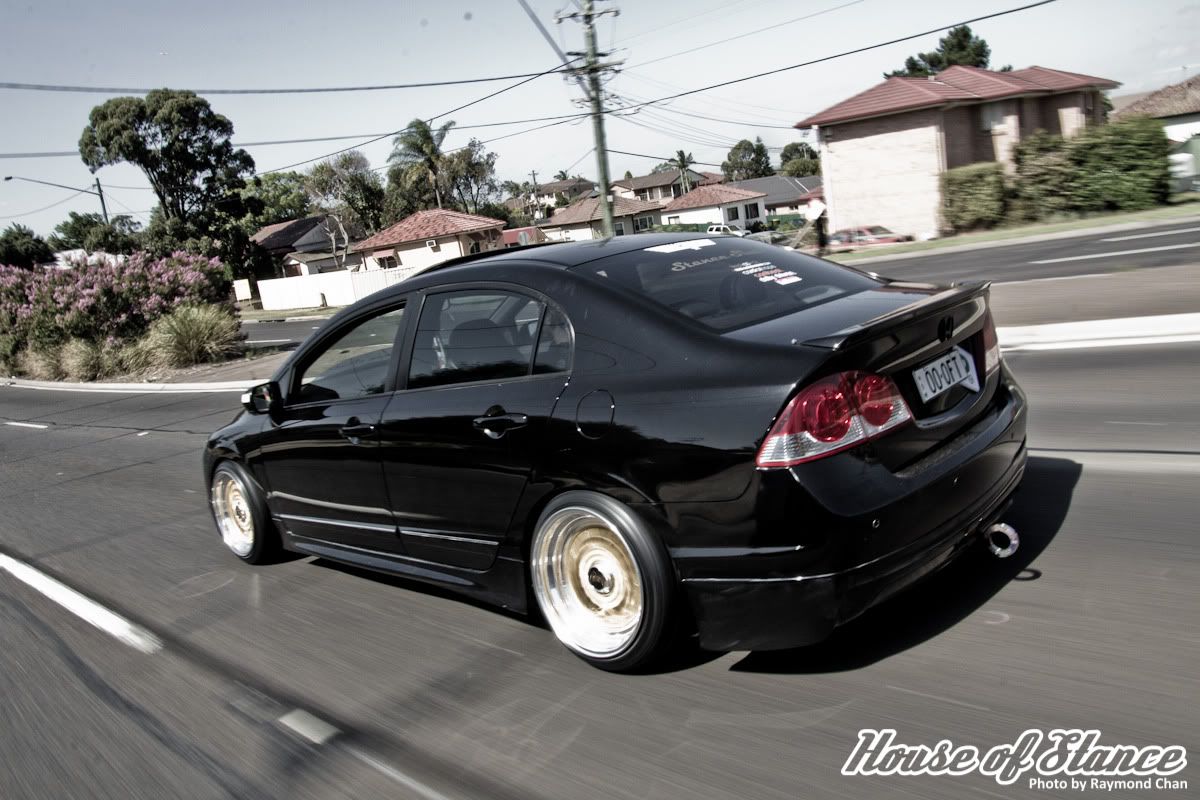
The drive back home was a surreal one for Areis.  From start to finish, the build took almost half a year as we ahh-ed and umm-ed about paint/finish themes, bolt-type to use, hex-style and width size and offset.  But at the end of it all, we achieved a look and fitment that Areis was happy with so it was all worth it.  I'll end this article with photos from an impromptu shoot.  Car was still dirty, wheels still had tyre lube, but the fitment's there ;) Enjoy.


More photos can be found on my PBucket.

Oct 9, 2012

Project Kouki, part 3 - execution

The wheel specs ended up being 17x10.5 ET13 and 17x11 ET12.

The next day, I quickly sealed them.  Copying Tony's technique of masking the edges of the joins up, I managed to get the silicon bead (Sikaflex 227) on quickly and neatly.  Sealing took less than an hour for all four :)


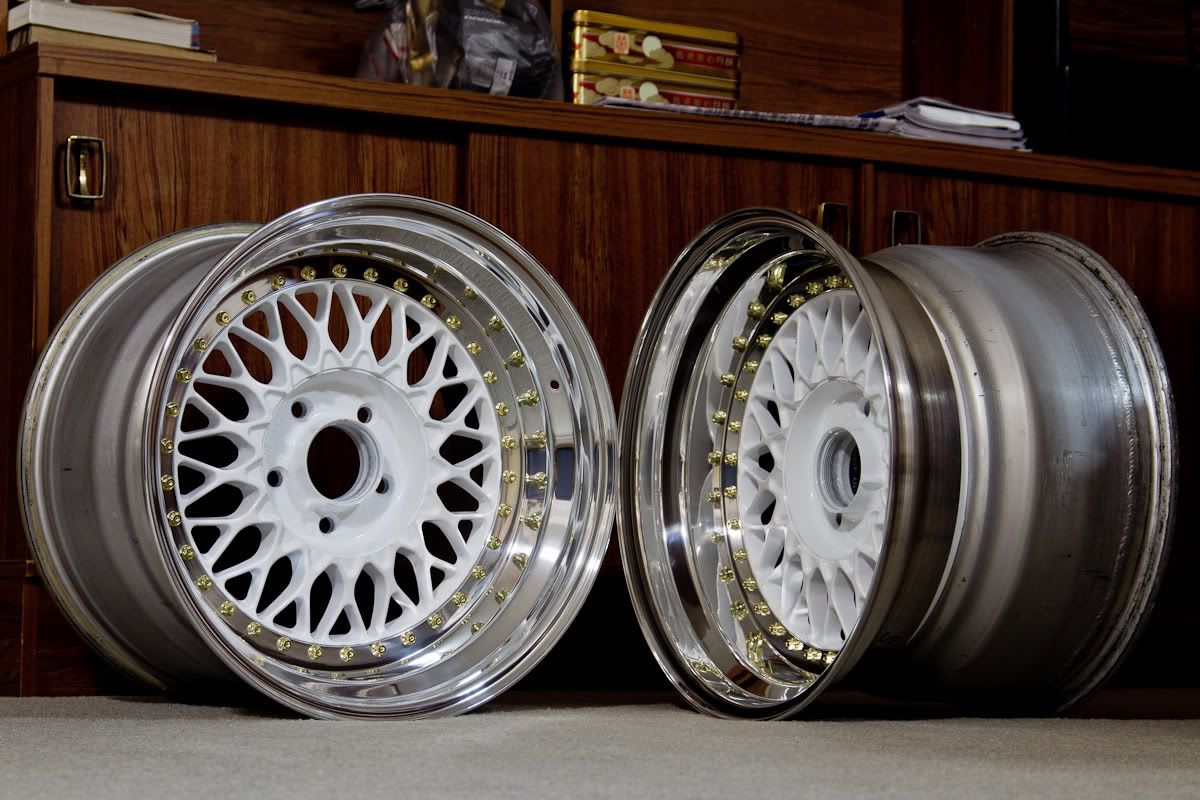
Then had a bit of a photoshoot before it went for tyres.


With a bit of advice, Kennedy ended up choosing 215/45 for the fronts and 225/45 for the rears.  Lower profile could have been opted for but these were closest to the original rolling diameter and for the amount of stretch we're gonna put through it, I thought having a 45 profile would be more forgiving on the tyre sidewalls.  Achilles were chosen for their price and popularity with the stance crowd due to the way they stretch.  And it was a good choice.  JAX Merrylands were responsible for the tyres and fitting, top work and service as always.


A week on since fitting and no leaks, no dramas :)

So the wheels finally went on Kennedy's S14 for the House of Stance meet, pretty sure it went down pretty well!  We were supposed to have some polished half-height hex caps on for the meet but they were still in the shop being polished up, so I lent him my EuroImageTuning flat caps instead.  I think they look much better than the hexes!


Cheers :)

Project Kouki, part 2 - assembly

The past two weeks were dedicated to organising the House of Stance meet with Nikita Esco and rebuilding these wheels.  The lips arrived on time and Kennedy (new owner of these wheels) was keen to get them done for the HoS meet so we got a move on.


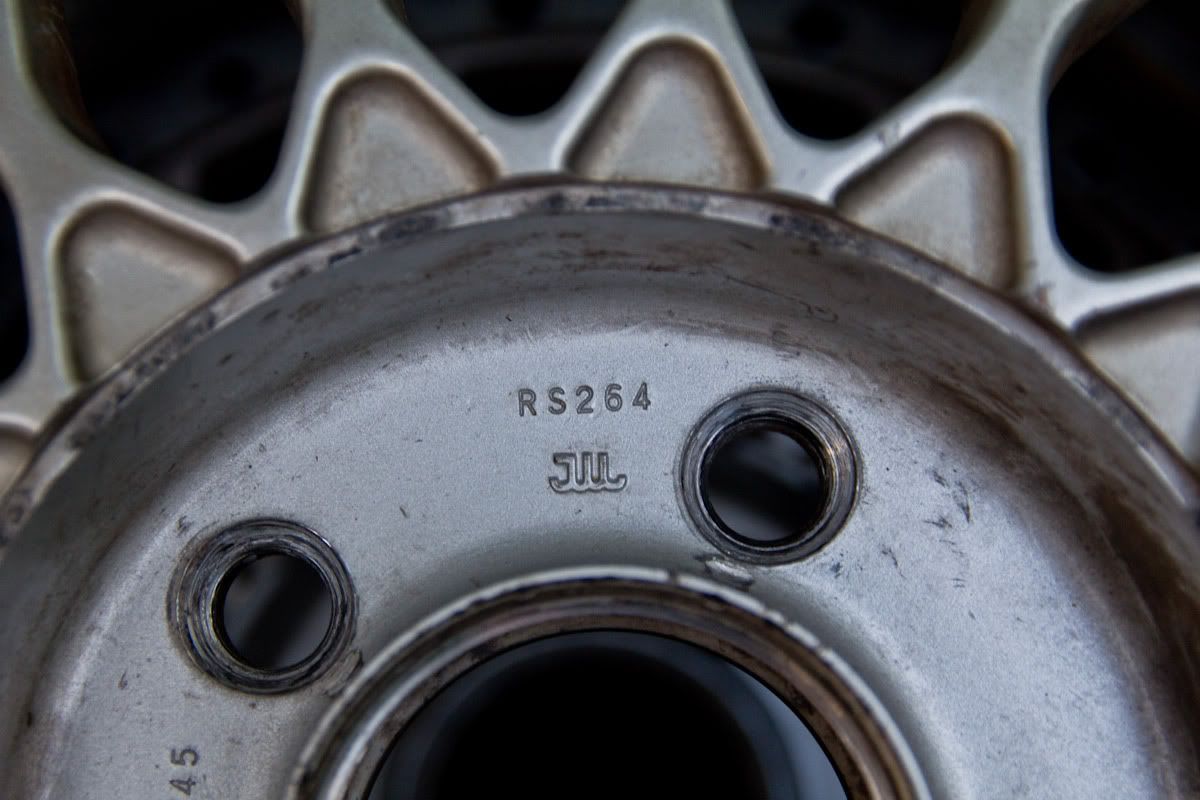
Before I go on, I should mention that the donor centres were RS264 (17x7 ET45) and RS265 (17x8 ET50).


When I first saw the specs, I found it odd that the offsets didn't quite match up; the lips were the same (0.5") and they were sandwich-mounted, which meant the barrels made up for the 1" difference.  That said, the offsets should've differed by exactly 12.7mm, but as you can see with the original specs, that wasn't the case.  So I inspected the centres more closely.


As you can see in the above photo of the centres on even ground, the centres differ in design; the left is more flat-faced (like the RS262 and RS263 in Project FD) whereas the right is more convex.  We test fitted the centres and the brake clearance is identical; only difference is, the convex face will have a higher offset if the same width barrels and lips were used on both models.  As such, we decided to use them for the fronts to provide a more staggered-look. 

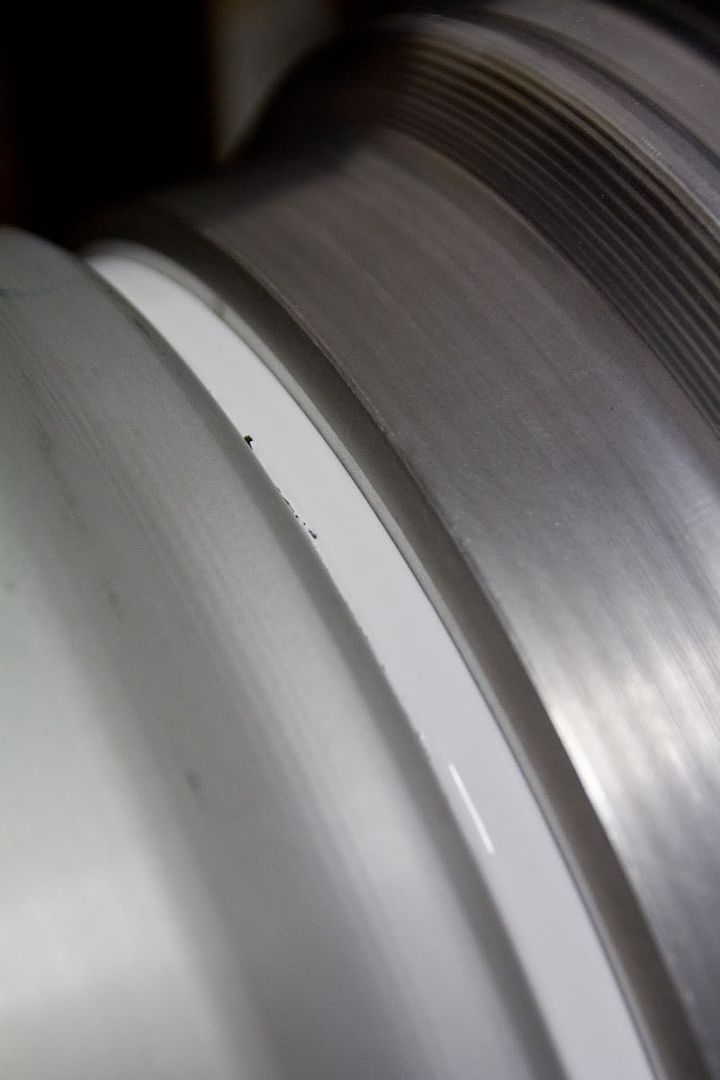
Back to the build; first on the agenda was to have Kennedy get the wheels powdercoated up.  We had a few dramas with the powdercoater which ended with a no-charge set of mediocre-finished white centres.  Hard to notice and easy to touch-up, and we were on a deadline, so we moved on.

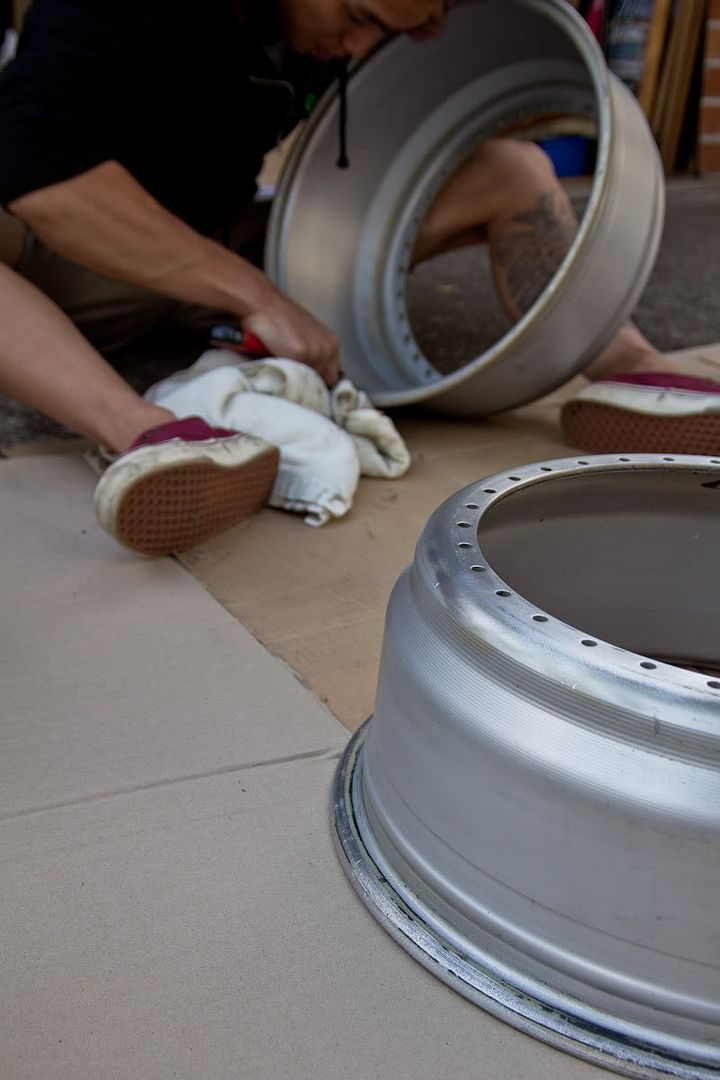
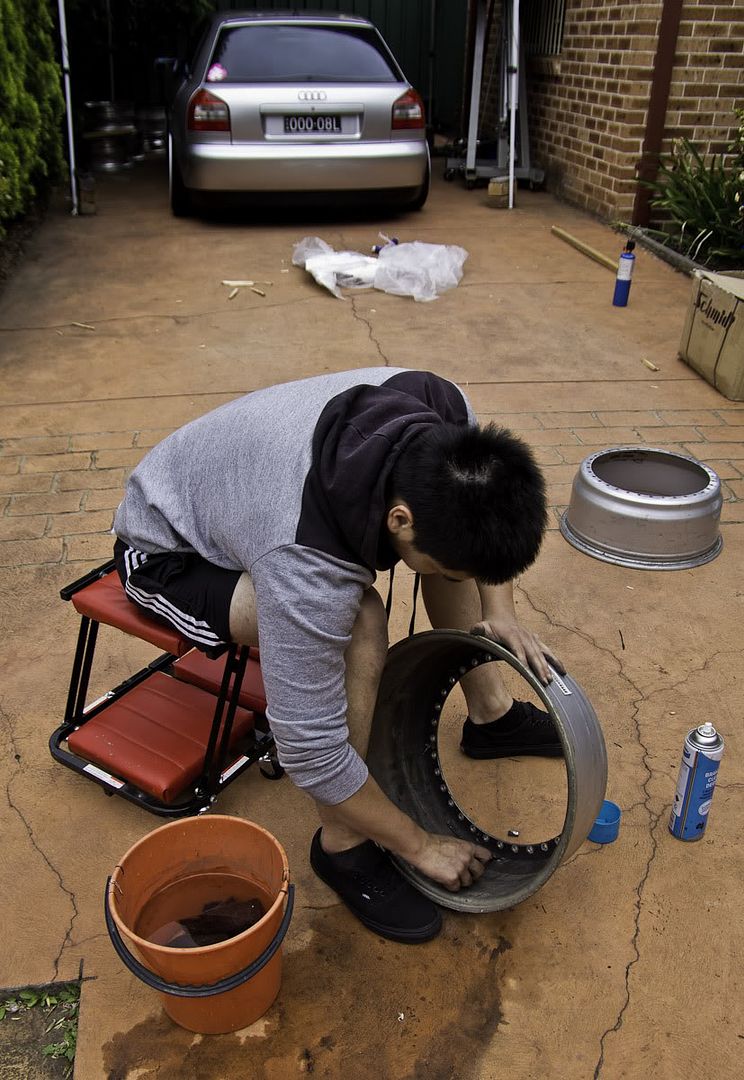
Kennedy came over and provided much needed help with the cleaning and prepping the barrels and lips for the rebuild.  Numb fingers by the end of it all.


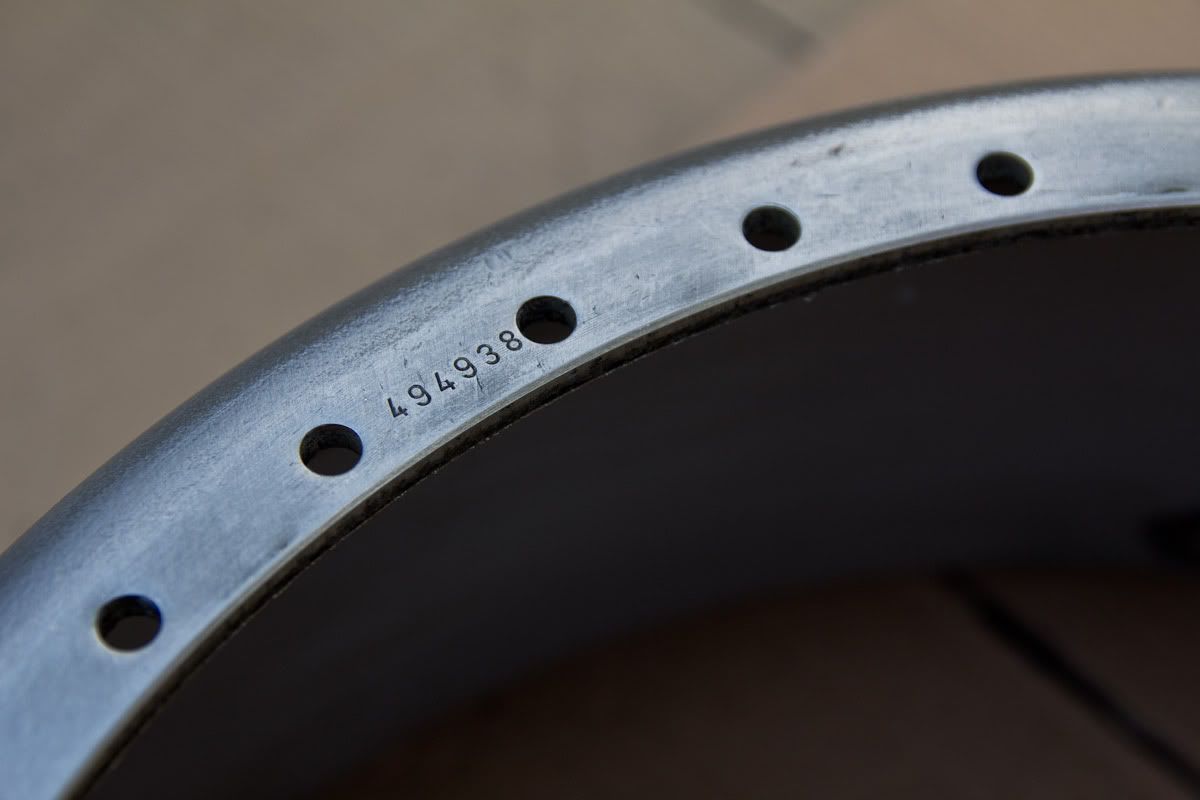
A way to determine if the barrels are standard BBS or not is to see if they have a serial number stamped on the mounting surface.  The barrel with the welded perimeter didn't have this number.


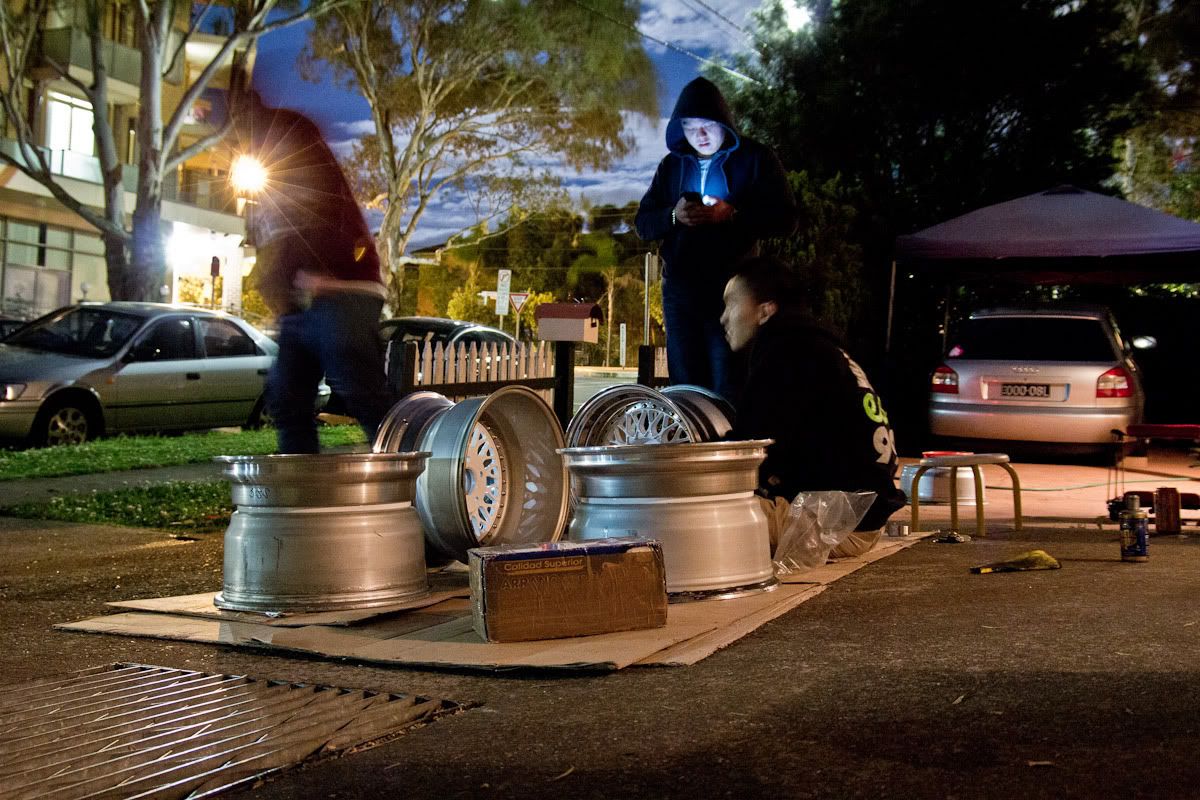
House of Stance OGs dropped by to check out the wheels.  Worked to the wee hours of the night, but we got it done.  I ended up finishing them off inside the house whilst enjoying a beer, with the Avengers on.


Follow me on Instagram @rayrayray086 ;)

Sep 13, 2012

Project Kouki, part 1 - drawing board

At the moment I've got multiple projects going on - this is another 17" BBS RS build for another 5x114.3 equipped car.  Most of you will have already guessed what car this project will be destined for (hint: project name), and some epic sizes no doubt will be birthed here.

First things first, the donor.


RS264: 17x7 ET45 5x114.3


RS265: 17x8 ET50 5x114.3.

Perfect specs for achieving big dish with big width.

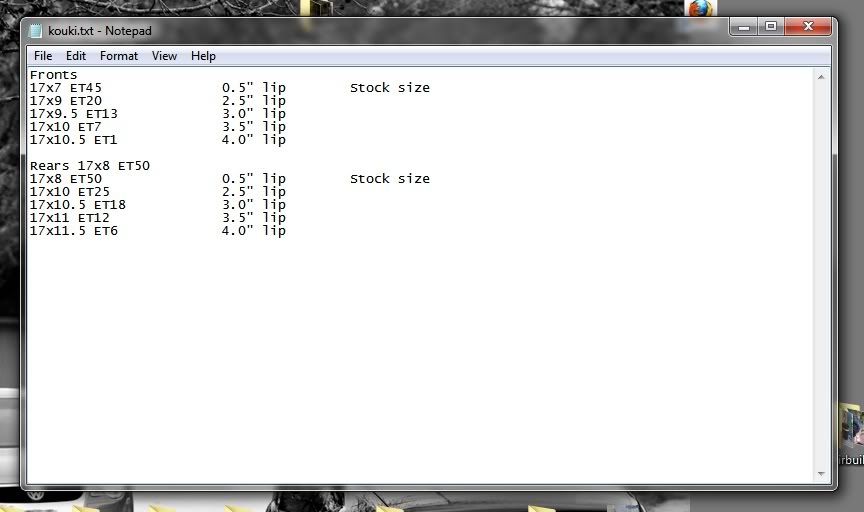
Some preliminary widened specs were drawn up.


It goes without saying that I won't be revealing the final specs until the project is finished :)

Anyway, upon receiving the wheels I came upon so undesirable features...


It's becoming all too common to see these 20+ year old wheels all battered and shit.  A shame really.  I was really hoping all the barrels could be reused (lips I didn't really care, being replaced anyway).  The RS264 used the smaller, damaged 6" barrels (yes, both were damaged).
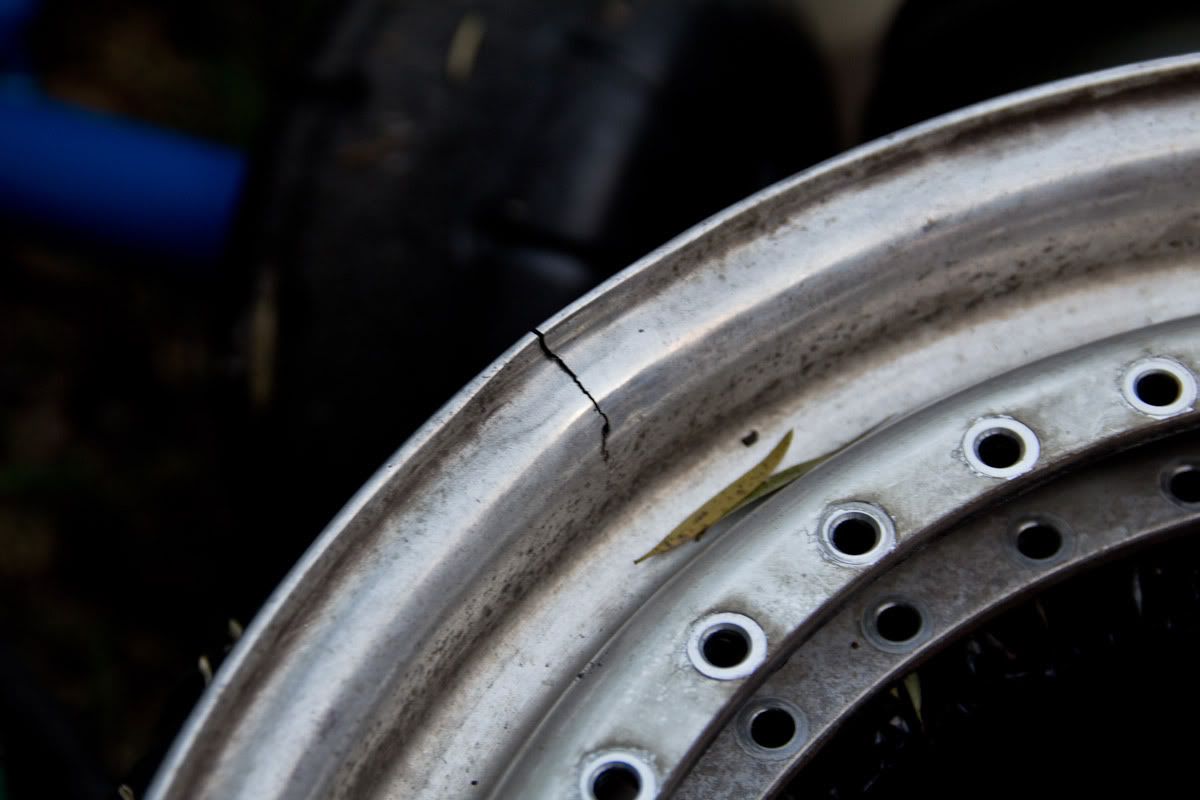


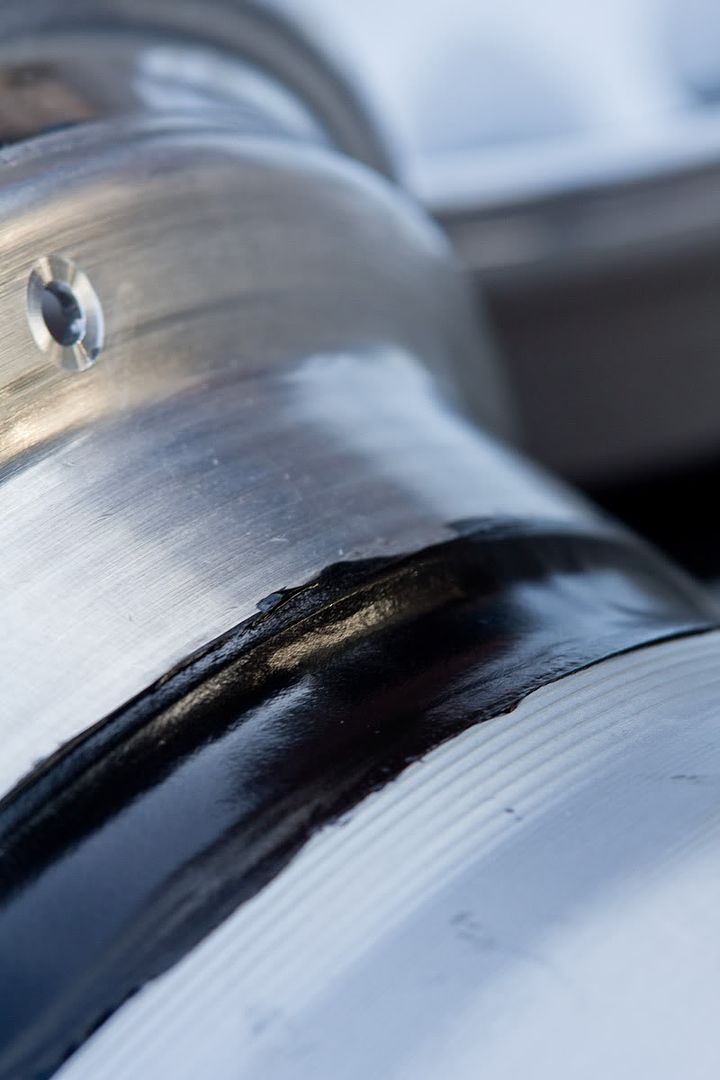
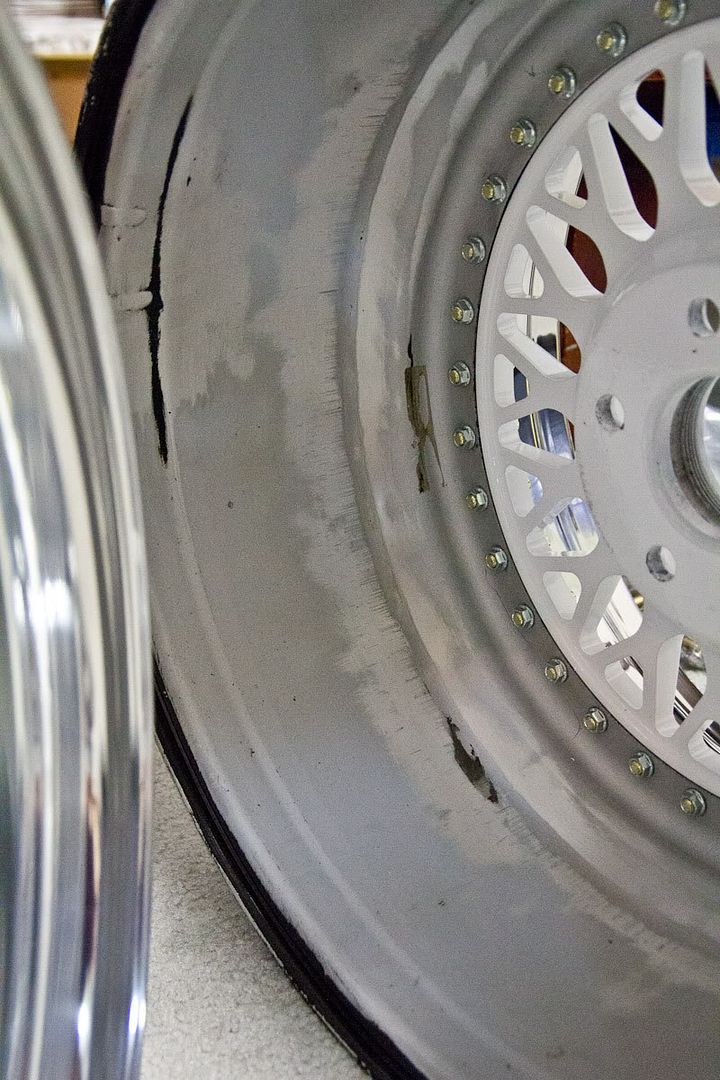
The RS265 had good 7" barrels, though it was easy to see that they had been repaired previously.  The barrel sprayed black seems to have been rerolled and there were signs of some welding work (buckle and crack repair) but the work seems top notch (similar to what I've encountered with Peter @ OZWheels @ Minchinbury, now unfortunately closed).  The other barrel seems to have had a consistent, circumferential welding bead along where the hump of the wheel would normally be situated.  The barrel could have possibly buckled inwards (as opposed to where it occurs commonly on the outside edge or rim profile), i.e. right where the hump is, hence the need to weld extra metal to maintain that part of the wheel.  Whatever the reasons, the RS265s look like they've been repaired well, and there were no visual buckles or cracks.

New lips, bolts/nuts and centrecaps have been ordered.  Hopefully they'll arrive in time for an upcoming event, so this project will need to be built on a pretty rushed timeline. 

As such, I'll be replacing the damaged 6" barrels with some of my own stashed-away barrels.  I'm not 100% sure, but I think they're 6.5" barrels, meaning the final specs will be slightly different to what I had calculated above.  If indeed they're 6.5" barrels, then the new possibilities will be:

0.5" lips -- 6" barrels -- 17x7 ET45
0.5" lips -- 6.5" barrels -- 17x7.5 ET51
2.5" lips -- 6.5" barrels -- 17x9.5 ET26
3.0" lips -- 6.5" barrels -- 17x10 ET19
3.5" lips -- 6.5" barrels -- 17x10.5 ET13
4.0" lips -- 6.5" barrels -- 17x11 ET6

They're still being dismantled currently, but we'll be cleaning them up and getting them ready so we can just bang them straight on when they arrive.