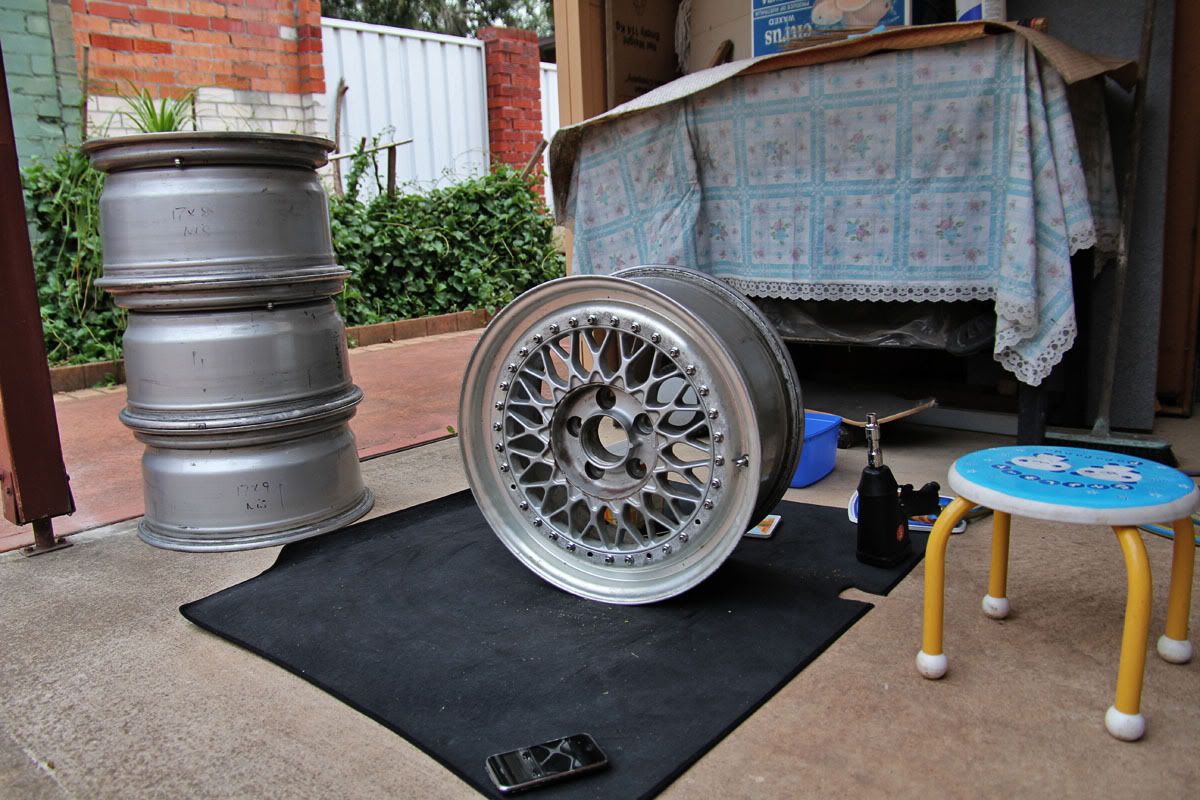
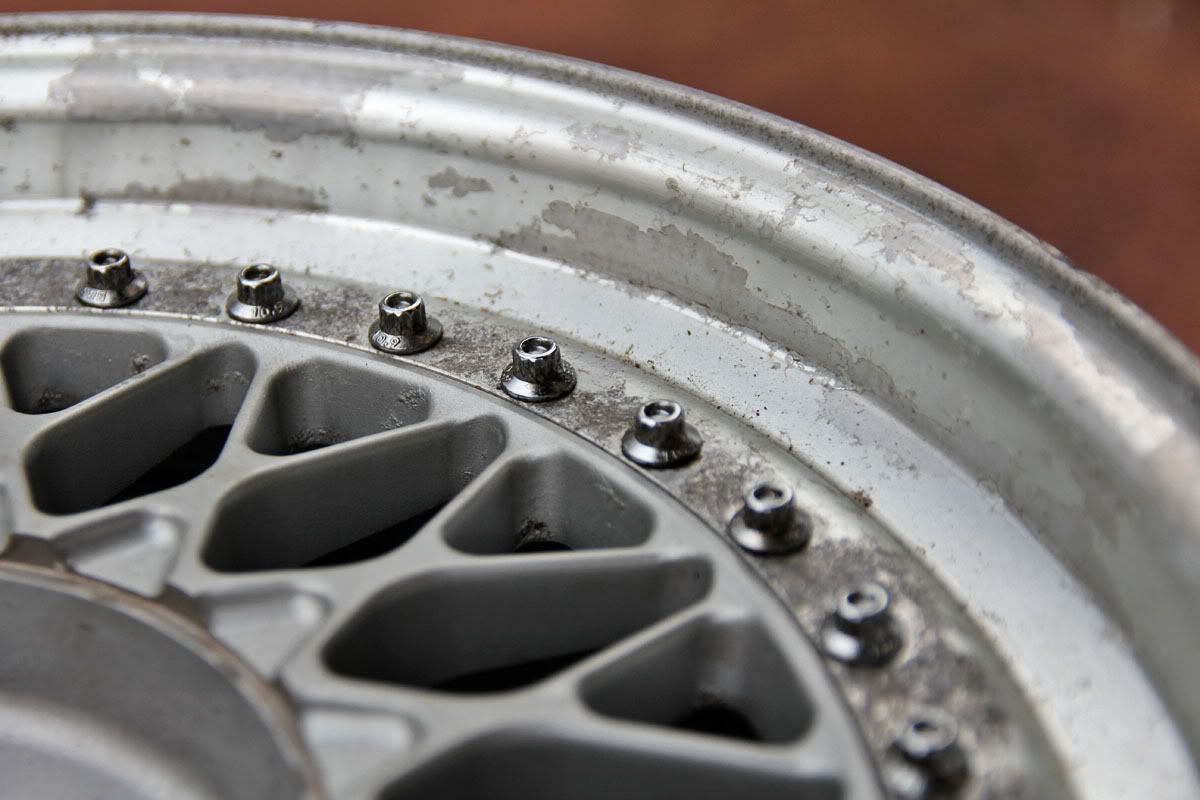
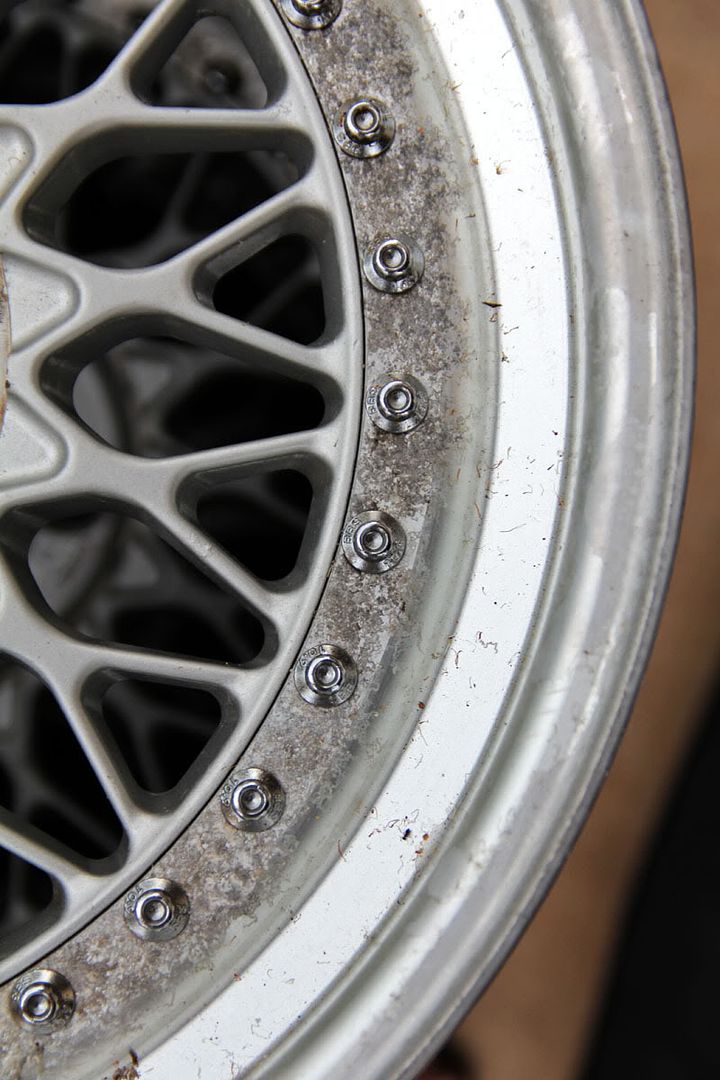
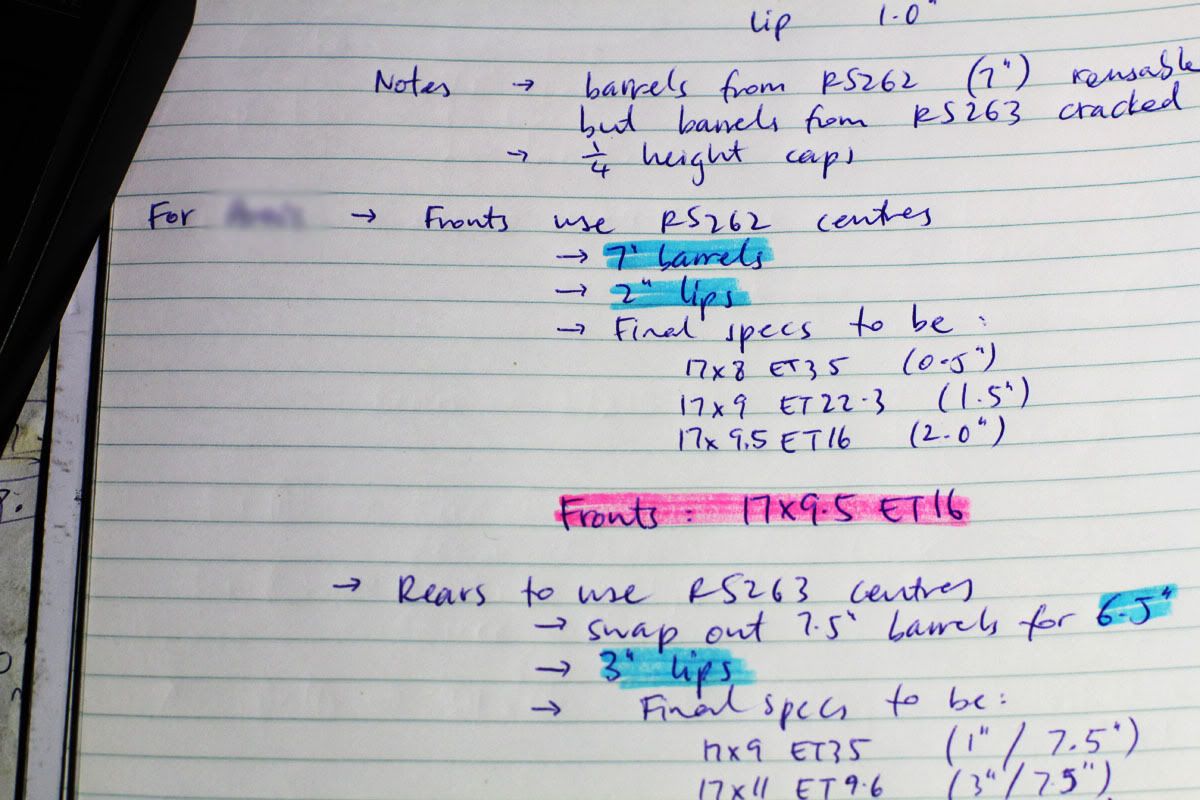
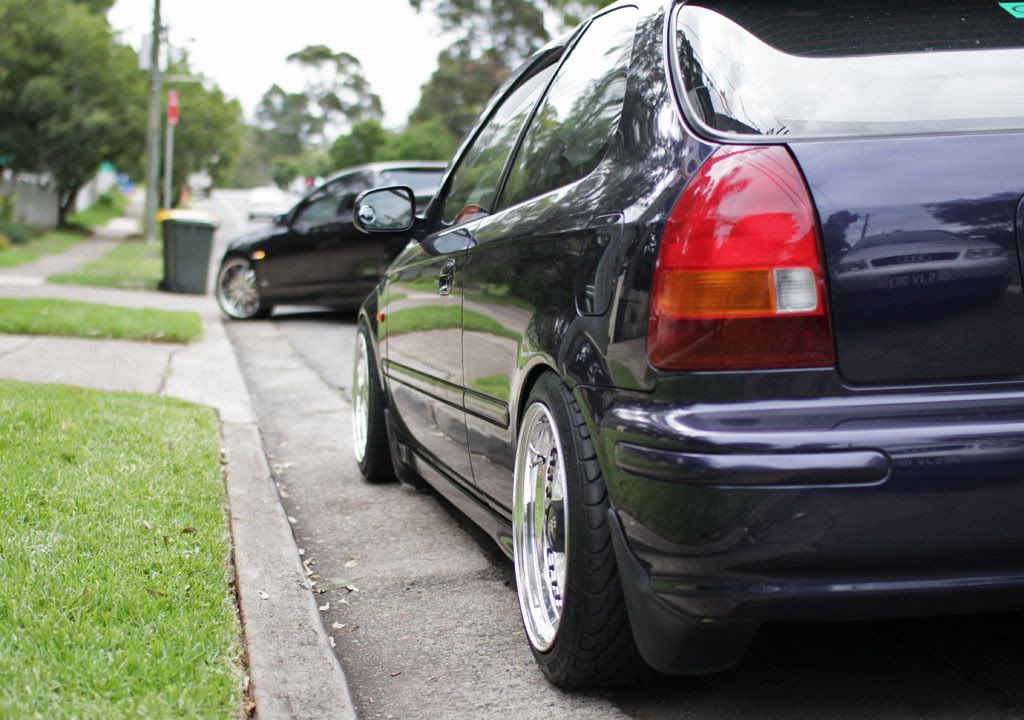
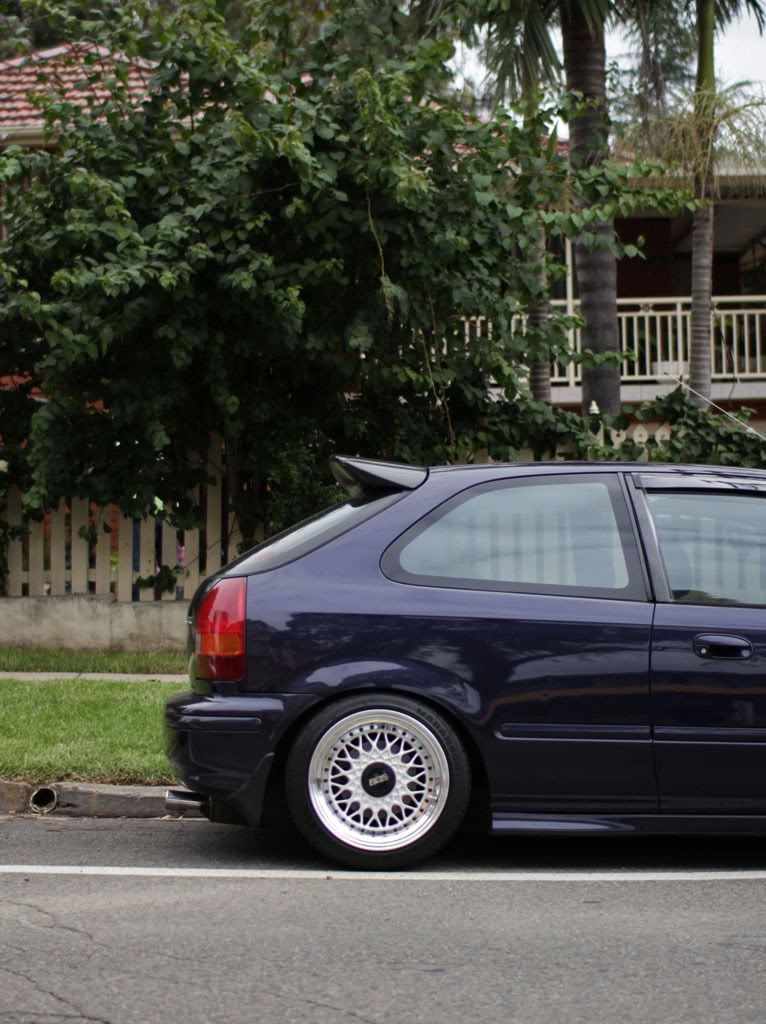
Welcome to RAW Works. My name is Raymond and I live in the western suburbs of Sydney. This blog will be a portal for me to photo-document the wheels I refurbish and repaint. This is only a side hobby for me so there won't be any crazy custom jobs! My skills have only stretched so far as to using body repair materials, resprays and polishing, so anything that requires welding and unbuckling will be beyond what I can do. I hope to improve on my current skills as I go along, and as a lover of wheels, it's a way for me to express my art side as well as giving life to some tired wheels again.

At the moment, I'm just scouring through eBay for damaged wheels selling for cheap. If you have any wheels you don't need anymore, throw me an email/comment. At the moment I'm just buying sets of wheels to refurb then sell them off. I prefer not to do personal jobs/requests as I don't trust myself with that yet! But that said, pass me an email/comment if you need any help wheel-wise.

My Facebook page is @ http://www.facebook.com/raysalloywheelworks/, please "like" it!

Cheers.

Sep 13, 2012

Project Kouki, part 1 - drawing board

At the moment I've got multiple projects going on - this is another 17" BBS RS build for another 5x114.3 equipped car.  Most of you will have already guessed what car this project will be destined for (hint: project name), and some epic sizes no doubt will be birthed here.

First things first, the donor.

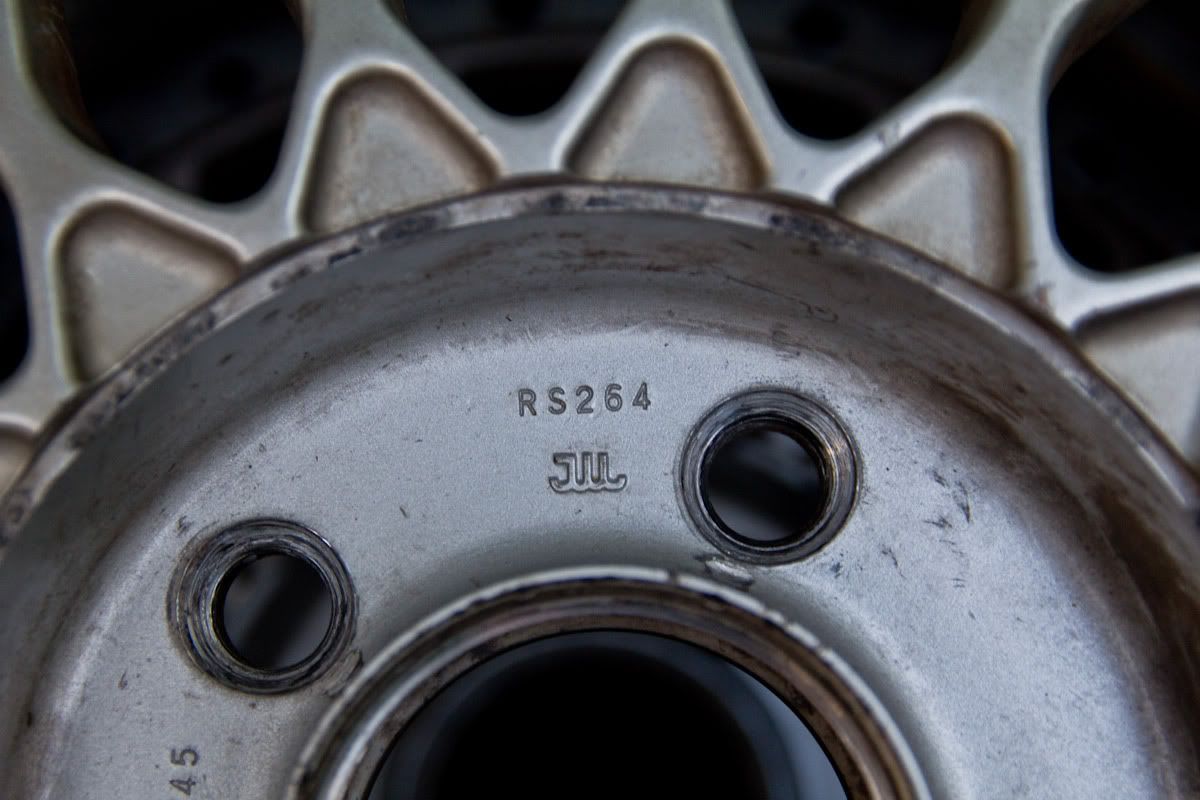
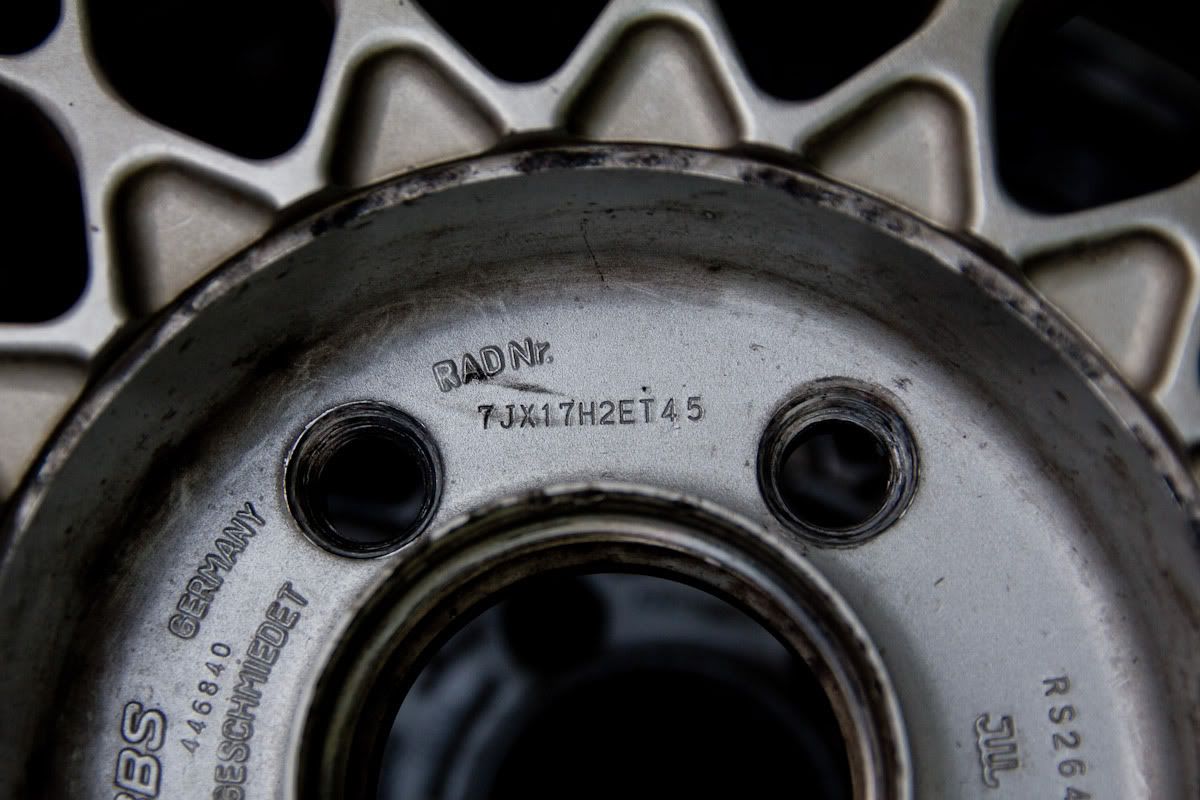
 
RS264: 17x7 ET45 5x114.3


RS265: 17x8 ET50 5x114.3.

Perfect specs for achieving big dish with big width.

Some preliminary widened specs were drawn up.
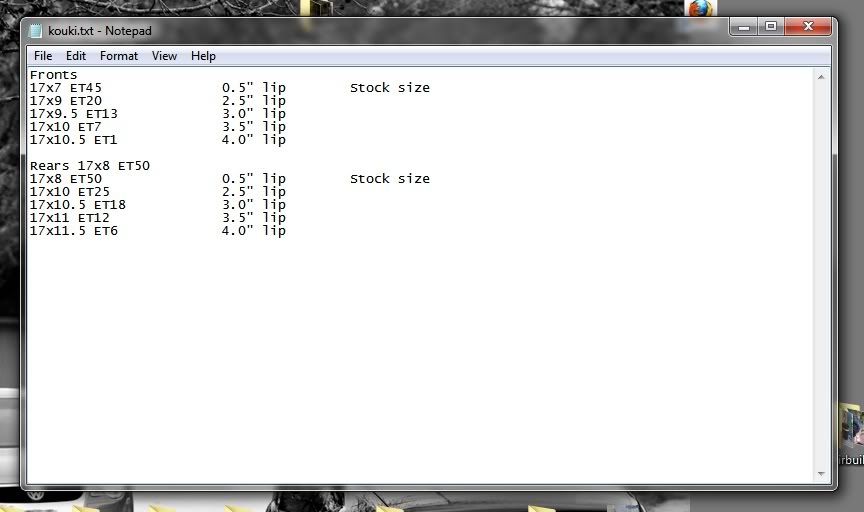

It goes without saying that I won't be revealing the final specs until the project is finished :)

Anyway, upon receiving the wheels I came upon so undesirable features...
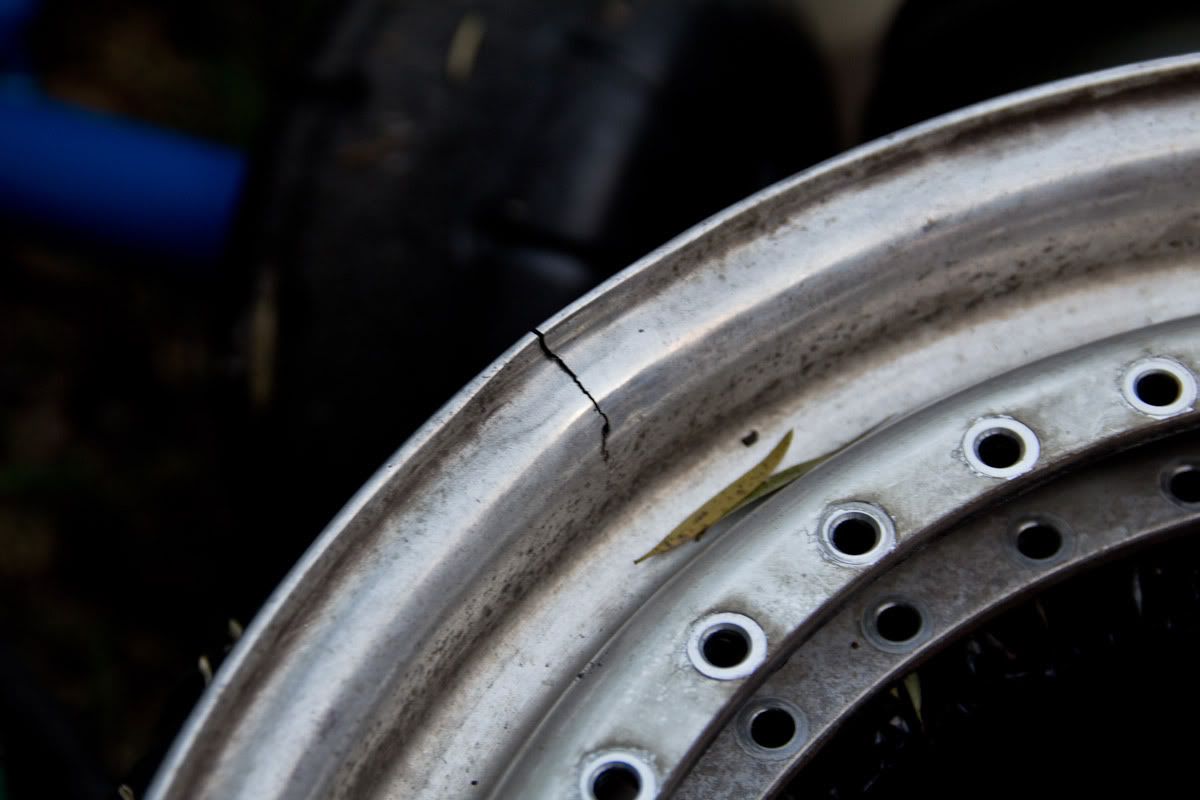


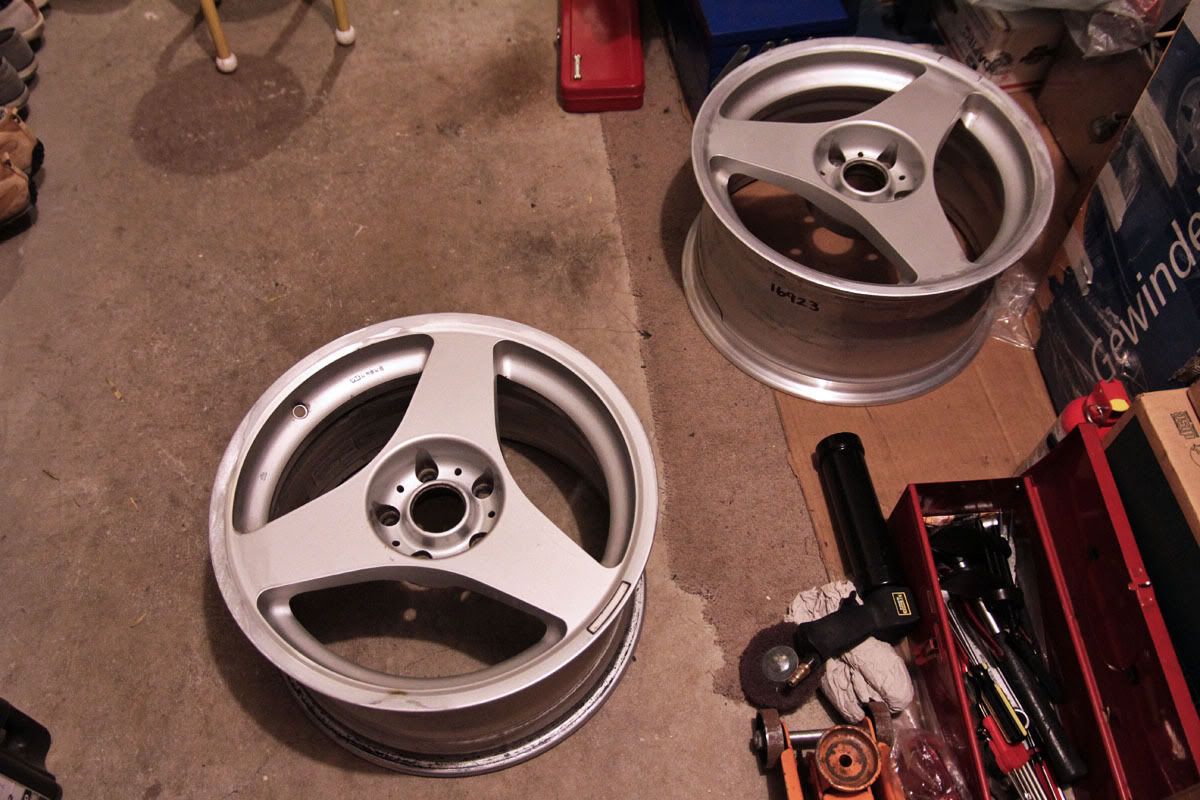
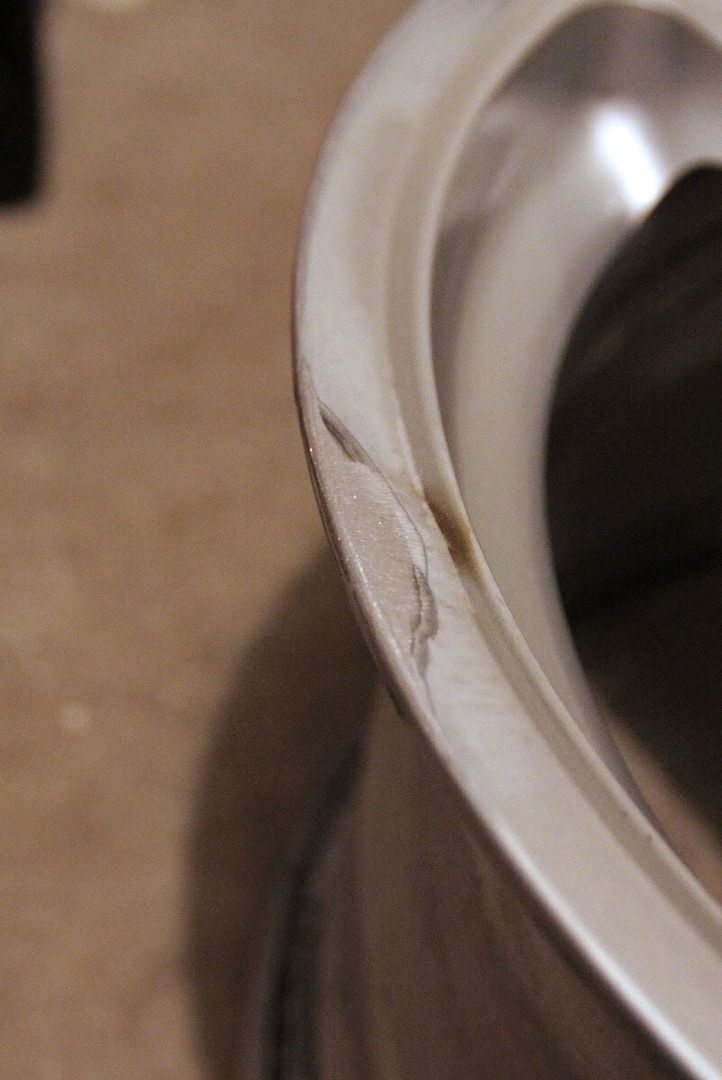
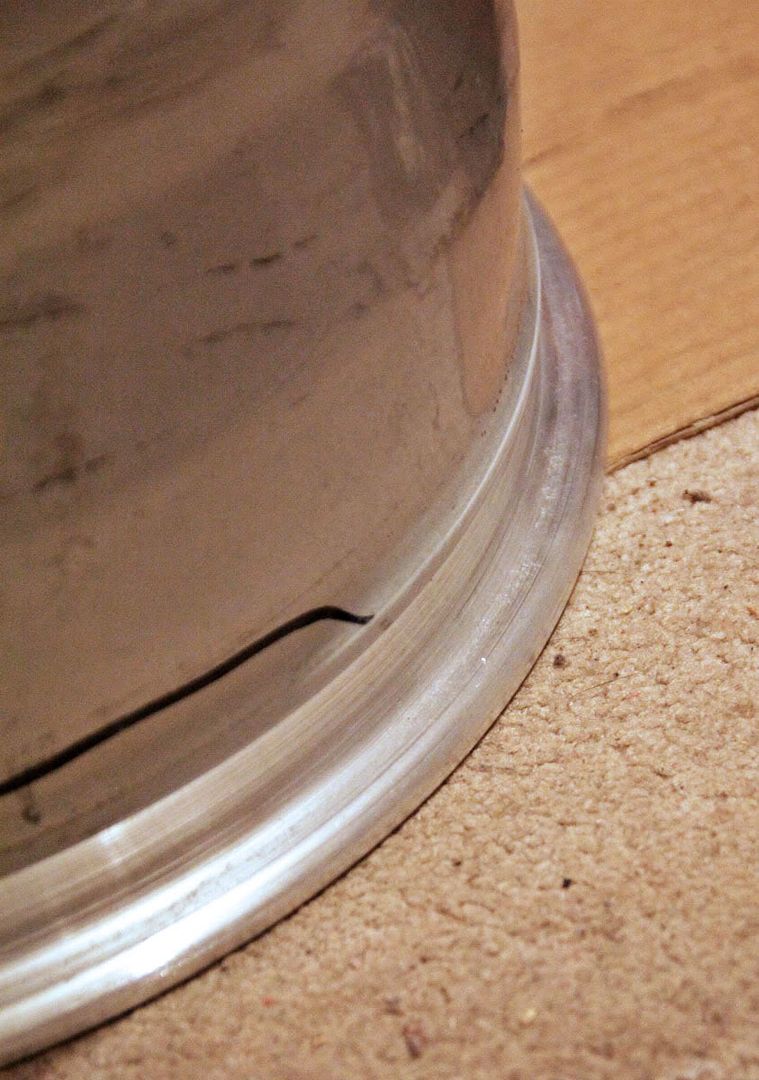
It's becoming all too common to see these 20+ year old wheels all battered and shit.  A shame really.  I was really hoping all the barrels could be reused (lips I didn't really care, being replaced anyway).  The RS264 used the smaller, damaged 6" barrels (yes, both were damaged).
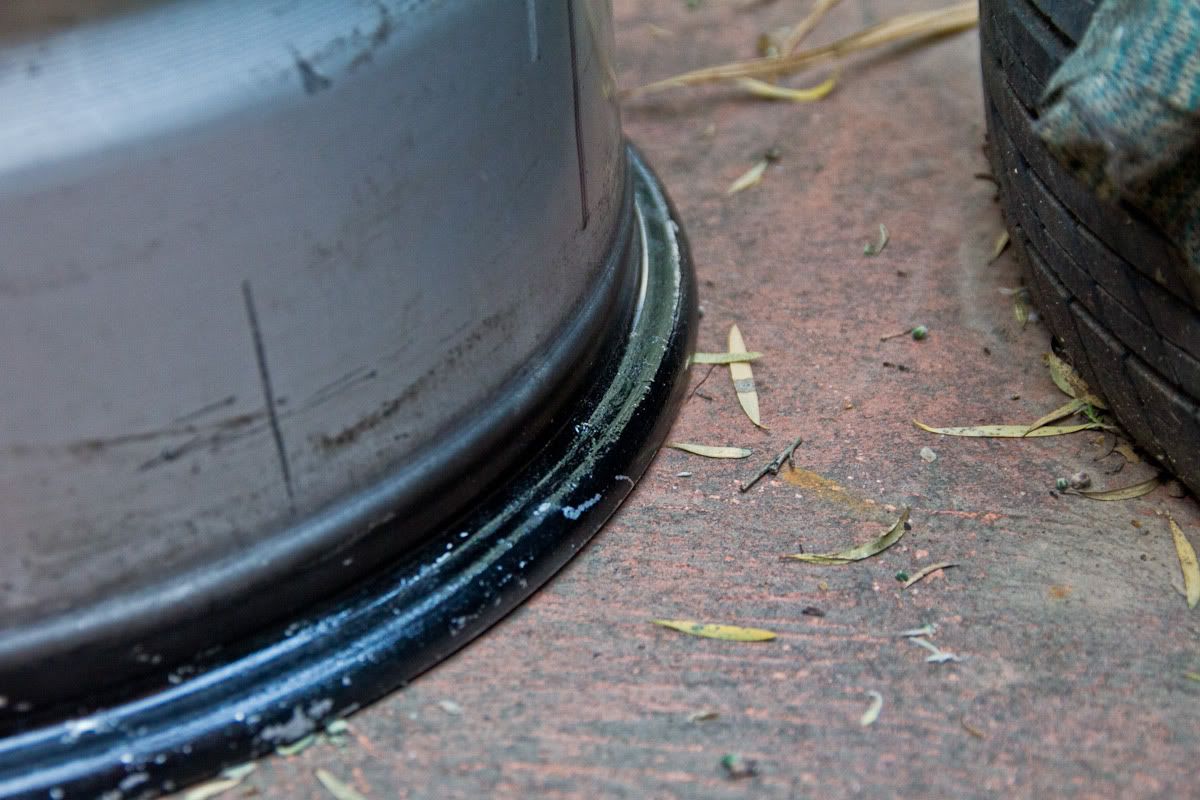


The RS265 had good 7" barrels, though it was easy to see that they had been repaired previously.  The barrel sprayed black seems to have been rerolled and there were signs of some welding work (buckle and crack repair) but the work seems top notch (similar to what I've encountered with Peter @ OZWheels @ Minchinbury, now unfortunately closed).  The other barrel seems to have had a consistent, circumferential welding bead along where the hump of the wheel would normally be situated.  The barrel could have possibly buckled inwards (as opposed to where it occurs commonly on the outside edge or rim profile), i.e. right where the hump is, hence the need to weld extra metal to maintain that part of the wheel.  Whatever the reasons, the RS265s look like they've been repaired well, and there were no visual buckles or cracks.

New lips, bolts/nuts and centrecaps have been ordered.  Hopefully they'll arrive in time for an upcoming event, so this project will need to be built on a pretty rushed timeline. 

As such, I'll be replacing the damaged 6" barrels with some of my own stashed-away barrels.  I'm not 100% sure, but I think they're 6.5" barrels, meaning the final specs will be slightly different to what I had calculated above.  If indeed they're 6.5" barrels, then the new possibilities will be:

0.5" lips -- 6" barrels -- 17x7 ET45
0.5" lips -- 6.5" barrels -- 17x7.5 ET51
2.5" lips -- 6.5" barrels -- 17x9.5 ET26
3.0" lips -- 6.5" barrels -- 17x10 ET19
3.5" lips -- 6.5" barrels -- 17x10.5 ET13
4.0" lips -- 6.5" barrels -- 17x11 ET6

They're still being dismantled currently, but we'll be cleaning them up and getting them ready so we can just bang them straight on when they arrive.

Aug 6, 2012

Project FD, part 1 - measurements

This one's gonna be special.  I bought a set of 17" BBS RS ages ago for less than a pair of Nikes and was planning to save them for a build for myself, but a mate has now chimed up for a set and thought, why not use this set since I won't be using them for a while?  So here it is, part 1 of this new build based around a set of staggered BBS RS262, RS263.


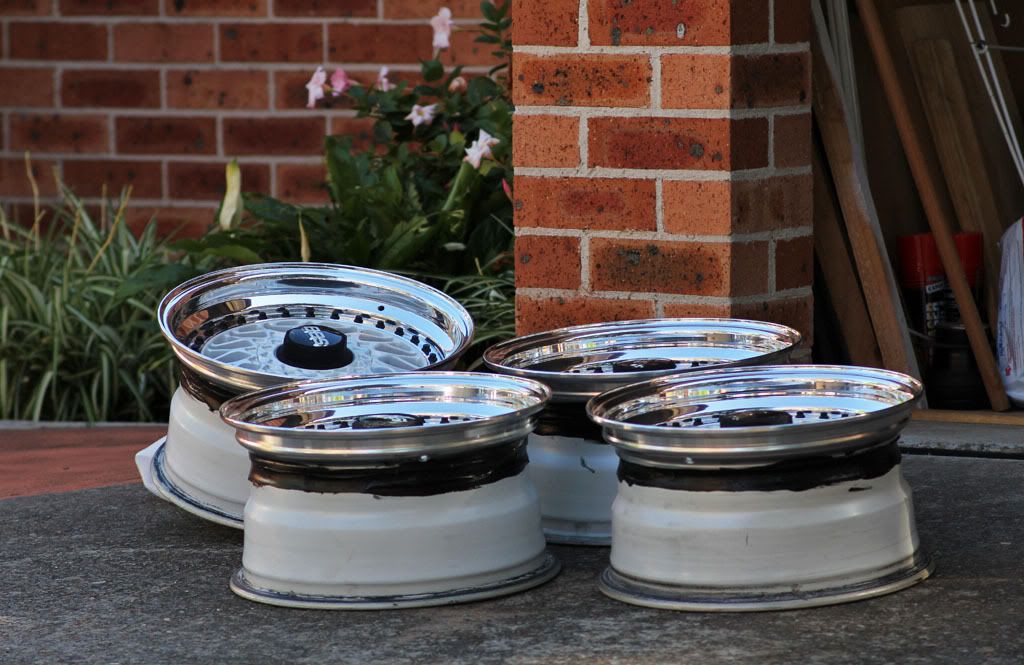
I had disassembled them a while back.  Plenty of oxidation on the lips and under the paint in certain sections of the centres, baked on brake dust on the centres and barrels, lips were gutter rashed and the bigger barrels have cracks.  Bolts are, surprisingly, still very shiny and the caps were in decent condition.


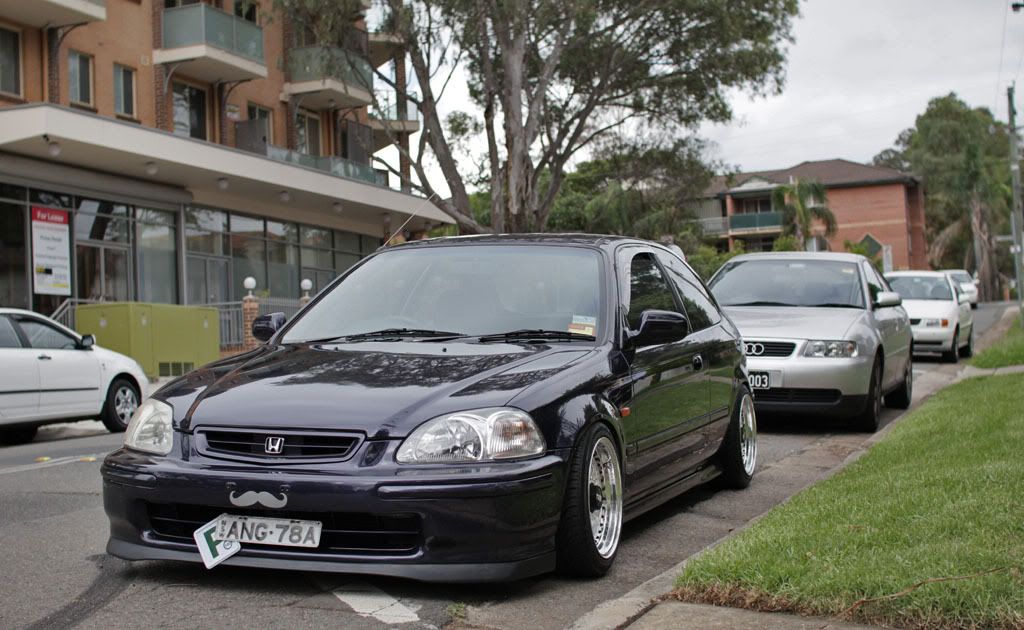
Some preliminary fitment on the car that the wheels will be destined for were done and some calculations were done.  Fitment will be aggressive.


Porsche 993 Turbo Twists - rush build

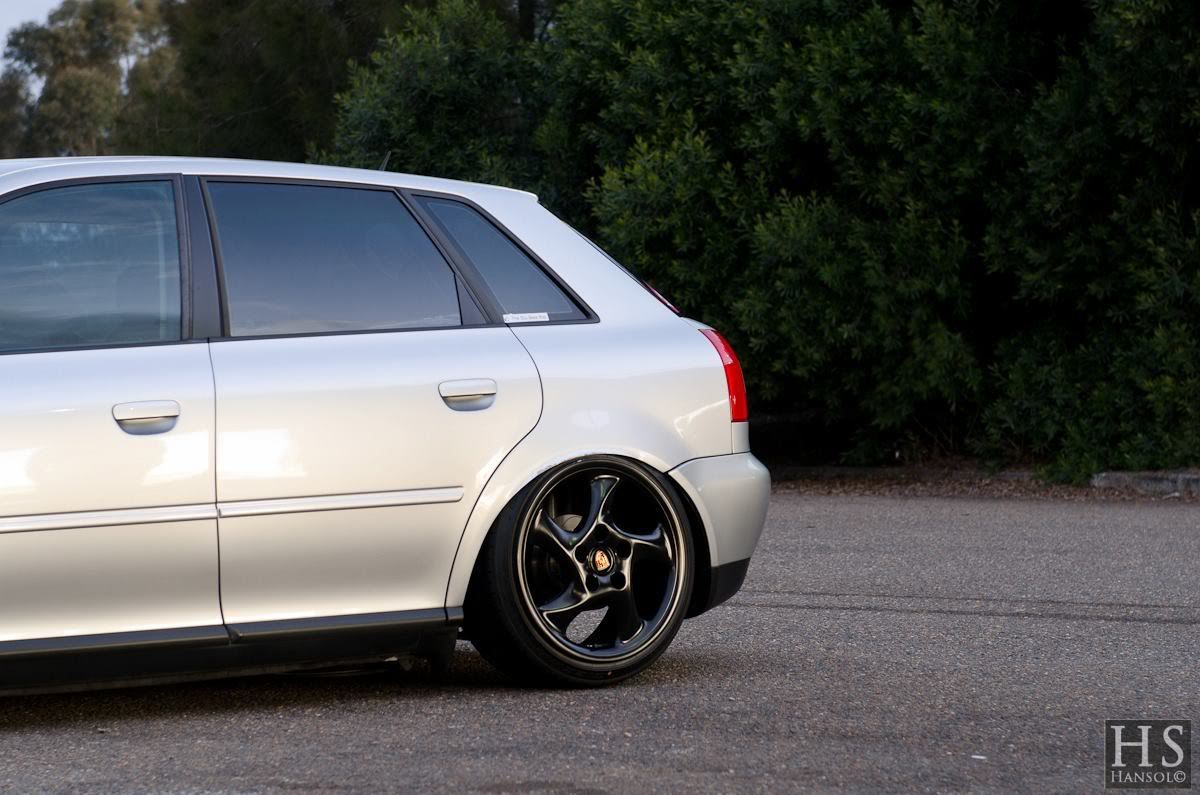
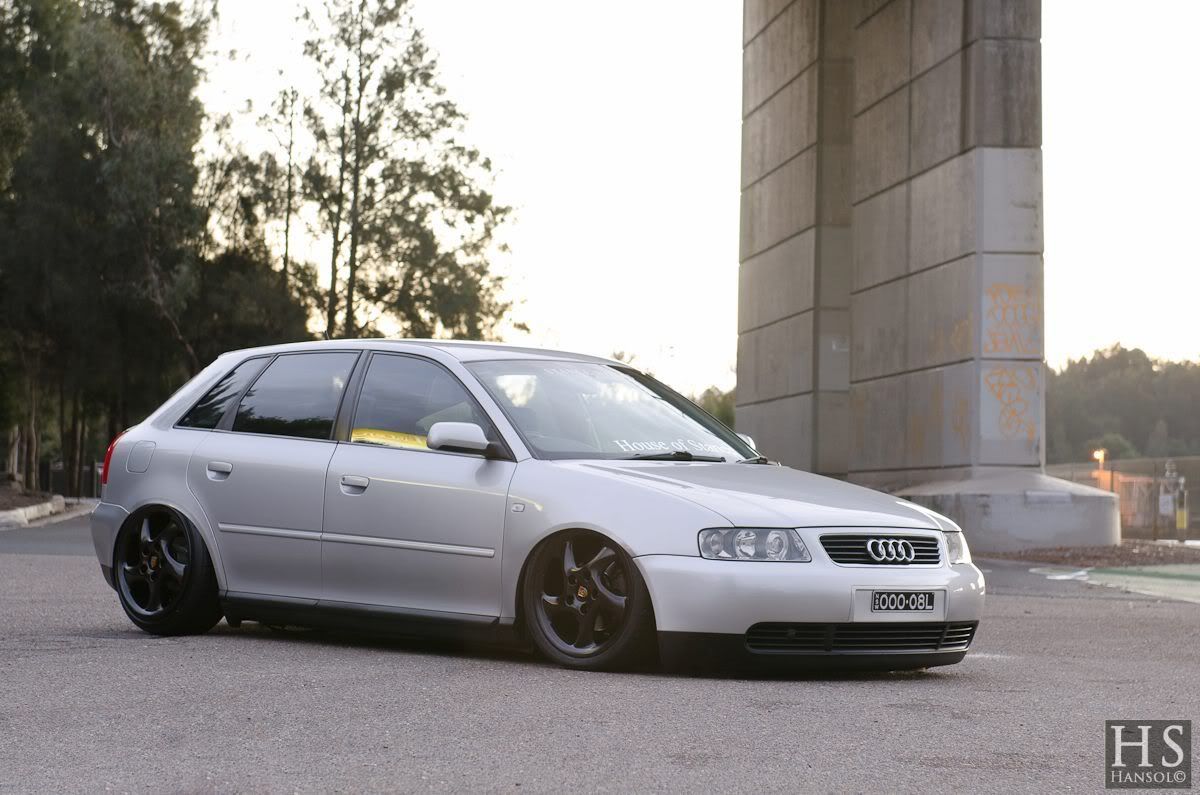
This was a somewhat impulse buy/build as I wanted to get my 8L A3 ready for Motorex 2012.  I had Porsche 986 Boxster calipers lined up for it and wanted to get a set of Porsche wheels to match, and these Porsche 993 Turbo Twists came at a good price with two sets of adapters.  Being such a rush build, I neglected to take detailed pics of the wheels in before and after condition, but I'll try and describe them as best as I can.

Specs were 18x7.5 ET50, 18x10 ET65.  Being OEM Porsche wheels, centrebore and bolt holes were OEM-spec and used ball-seat lugs/nuts.  Everything was included like genuine caps and all the studs and nuts with each adapter.  Slight buckles here and there but was difficult to pick up by eye; some rashes around the wheels though.  One was sprayed in black plastidip which peeled readily.

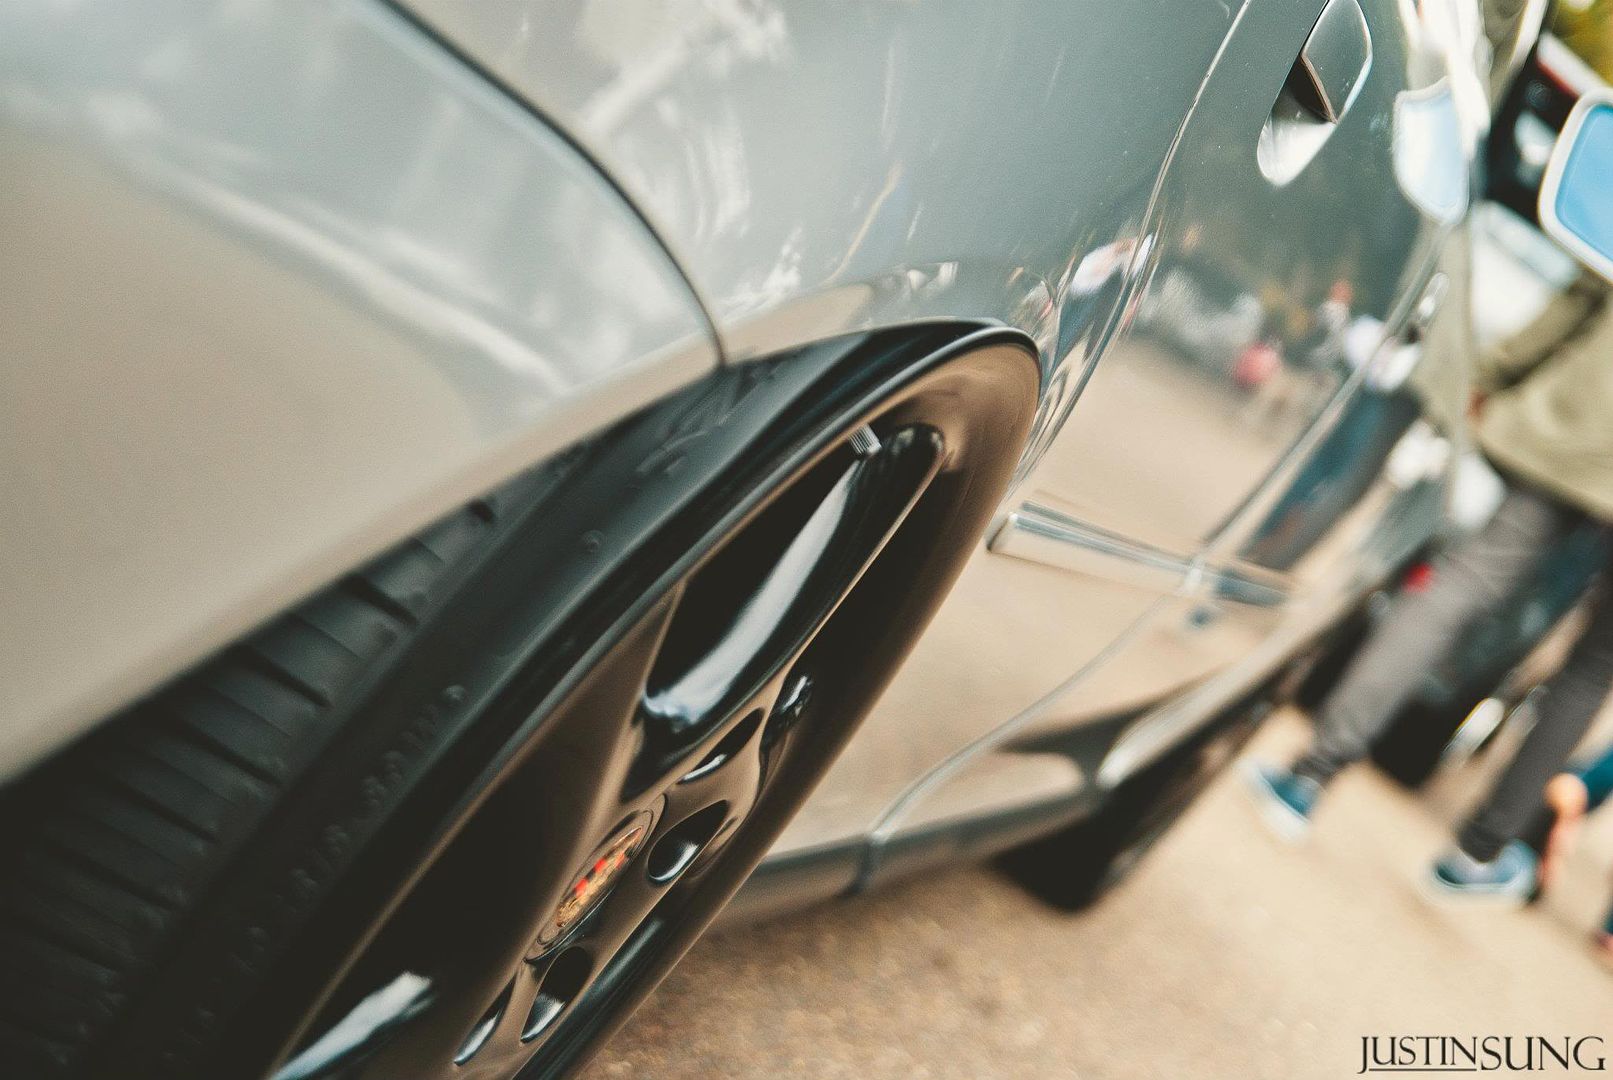
Took it to Morton & May for a re-roll, rash fix and paint in 2-pack semi-gloss black.  Again, did a good job but price was less than ideal, seeing as they were in better condition than the Work Equip Voaggards but cost the same flat-rate price per wheel to repair.  Think I'll take my stuff to another shop from now.

Also bought some matching (not non-genuine) black caps with coloured crest.  Also have another set of non-genuine caps in black but with silver crest.

Here are the photos of the 8L on the Twists with the coloured caps.  205/40 on the 7.5", 215/40 on the 10".


Photogs courtesy of:
Justin Sung
Tony Sol Han

Work Equip Voggards

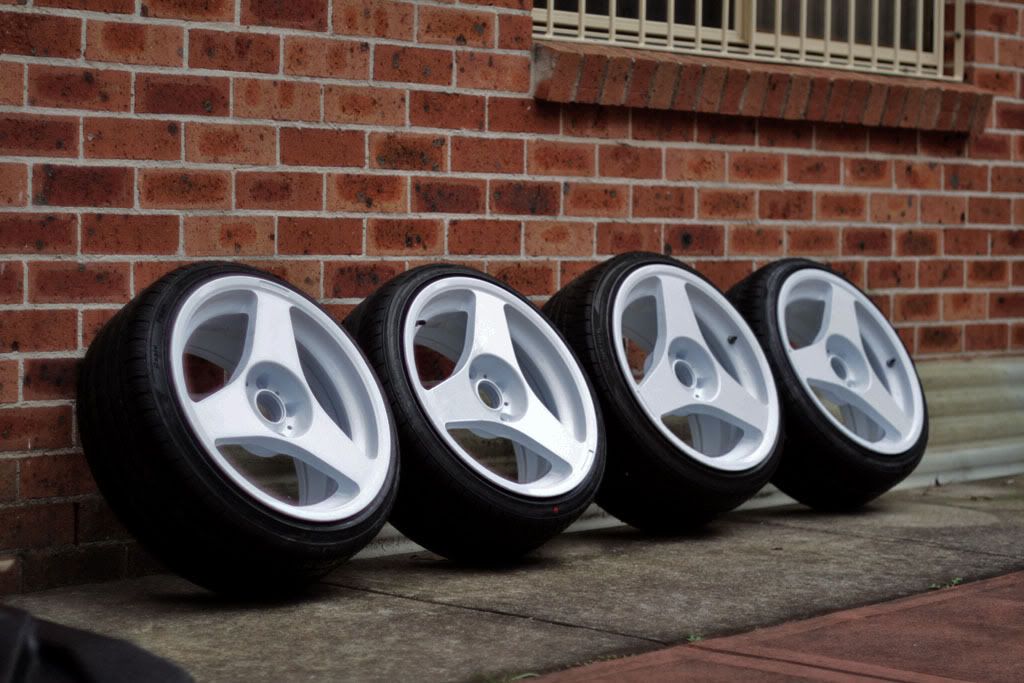
I found these on eBay put up by a Mk2 Supra owner.  Was the only bidder which was fortunate as I managed to snap them up for an awesome price.  They weren't in the best condition, but wasn't too bad either - bits of gutter rashes, slight flat spots on three of the wheels; but they all came with centre-caps, original metal valve stems (though seals look like they need replacing) and no big gashes.


17x8 ET35, 17x9 ET35, 5x114.3, 73.0mm centrebore (need a double check with a decent caliper), 12mm bolt holes.  I took it in to Morton & May in Warwick Farm for the gutter rash and flat spot fixes as well as bore out the bolt holes to 14mm.  They do good work (TIG-welded the rash) but work quotes weren't the most honest (fixes were quoted as a flat rate per wheel, even though one or two of the wheels had very minimal damage) and service not the friendliest.


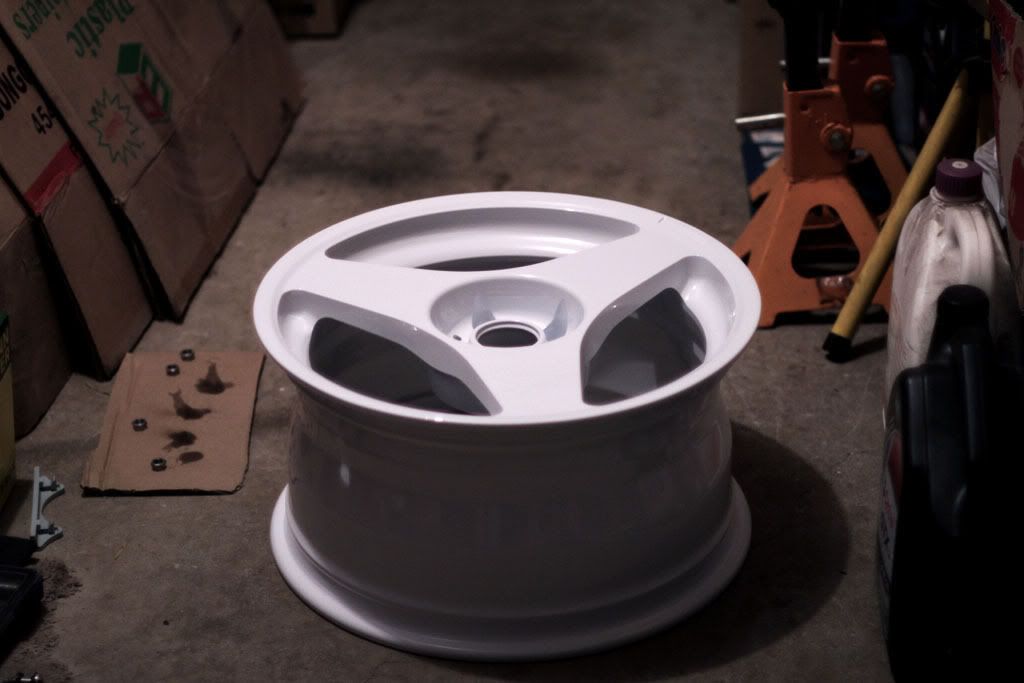
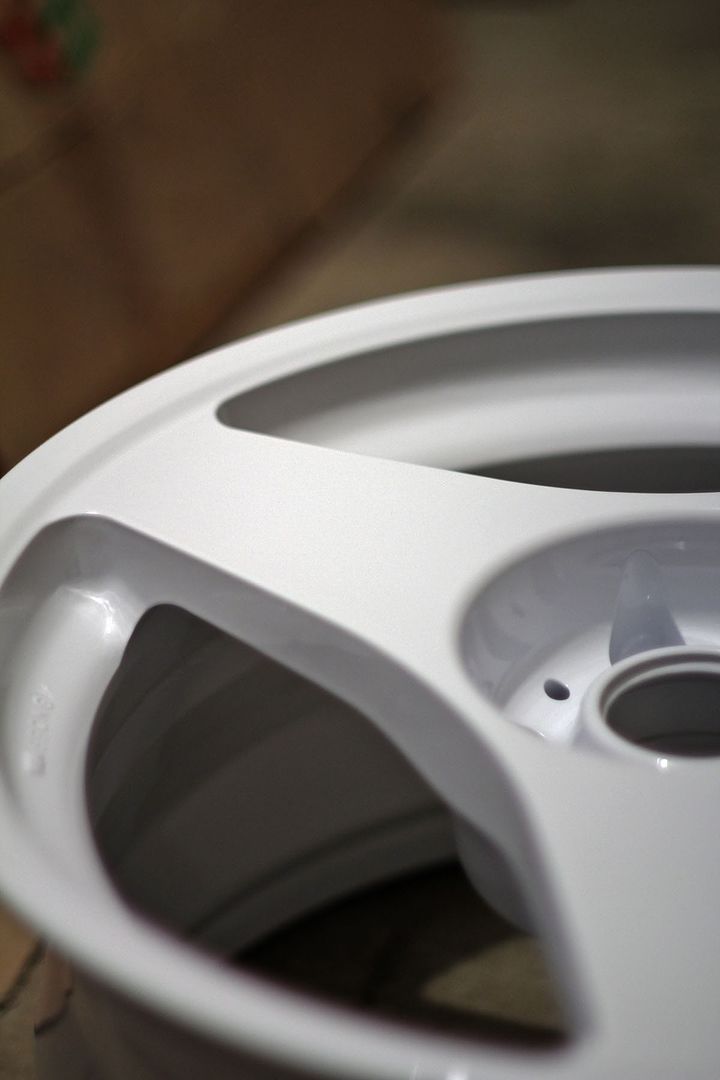
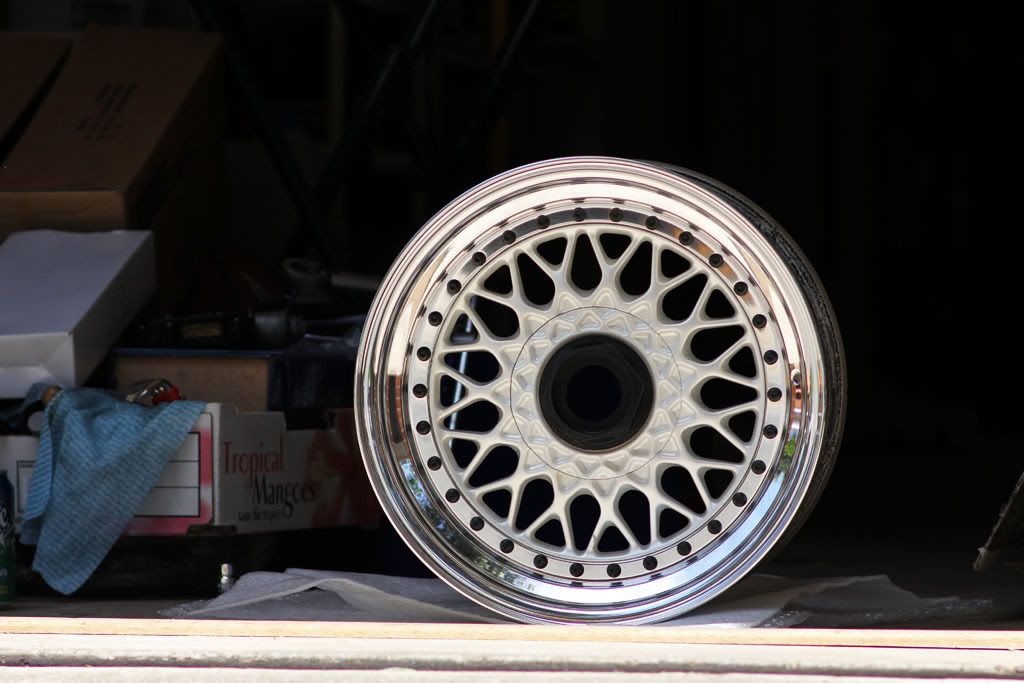
After that, I took it to Chris @ Craved Coatings and had them powdercoated in bright white.  I've got many good things to say about Chris, who was able to accommodate me in his busy schedule and get them done for Showcased.  He had them sandblasted (contracted) and powdercoated the wheel entirely, even within the bores of the wheel.  I was gobsmacked when I first saw them, it was simple but beautiful white finish.  He mentioned some slight orange peel that he was sorry about and couldn't avoid due to such flat spokes, going to show his level of quality he expects from his work.  He went the extra mile and wrapped the wheels in bubble wrap even though I provided boxes.  I will not hesitate taking more items to be powdercoated by Chris and will whole-heartedly recommend him for anyone wanting good powdercoating done.


Had them wrapped in 195/40 and 205/40 tyres.  Unfortunately one of the 8s are leaking pretty badly; I'm assuming it's the valve stem.  Will swap it out soon.

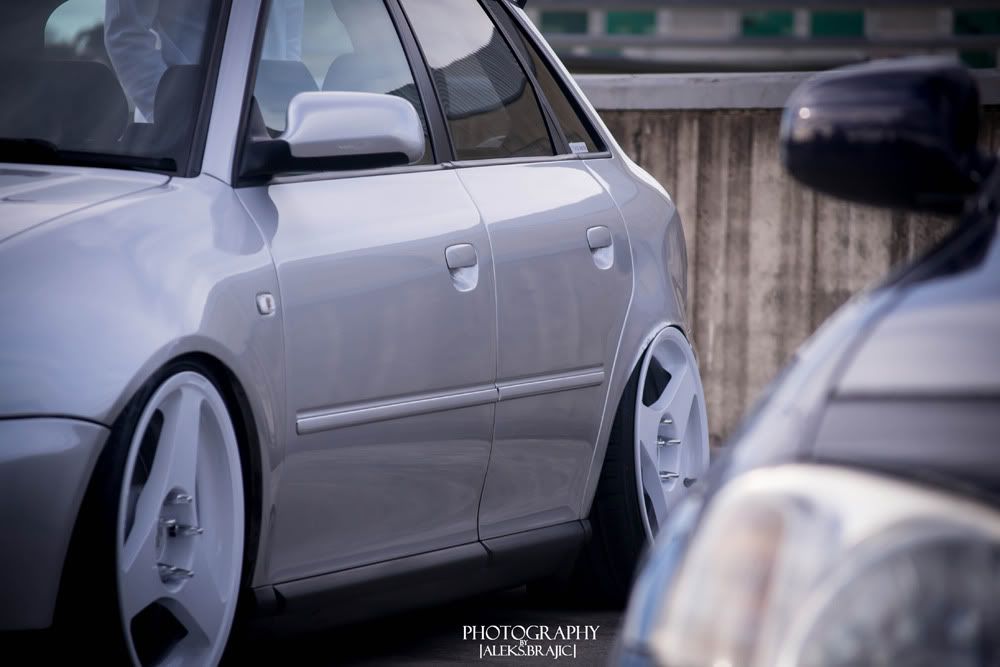
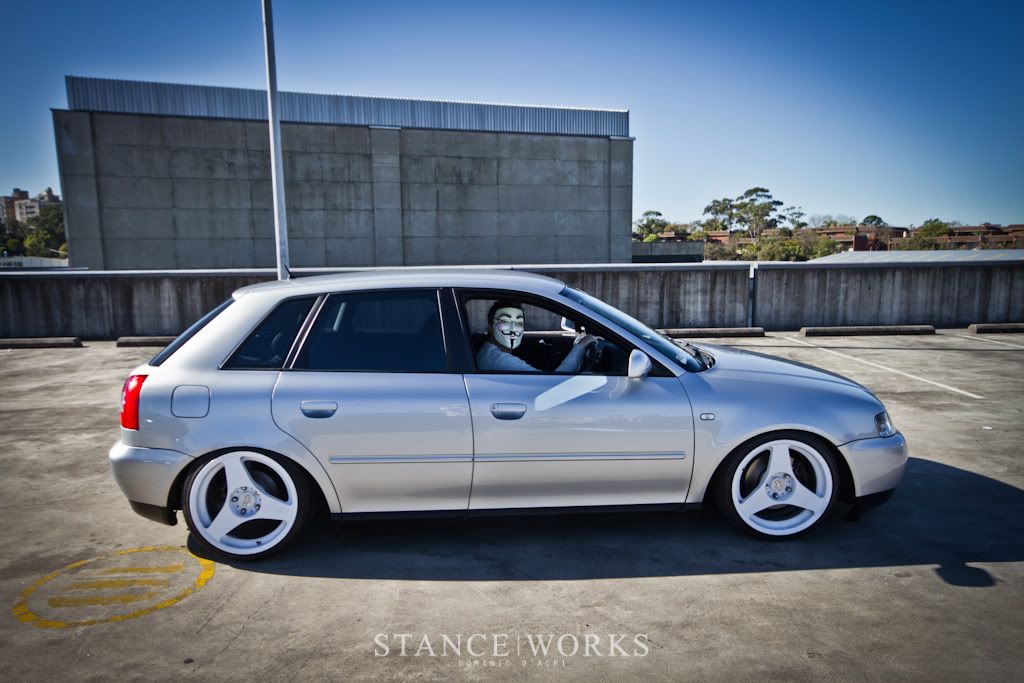
And some on the A3:


Wheels are for sale now, contact me if you're interested.

Photo credits to the following champs:
Aleks.B Photography
Justin Sung
Dacri Media

Dec 11, 2011

BBS RS001 - Part 3

After the bolts were torqued down, all that was left to do was seal up the wheels.  Now, I've seen many people seal the inside section of the pieces, i.e. they lay a bead towards the inside where the inner meets the centre and the outer meets the centre.  I honestly don't see the need for this.  The sealant is supposed to act just that, seal the section between a beaded tyre and wheel, and is not supposed to act as an adhesive.  That said, a thick bead over the mating sections of the pieces (bolts torqued down already) is all that is needed to seal the wheels up.
So I previously used a manual caulking gun (those hand-pumping ones you see at Bunnings) and they were horrible to use - hard to get a consistent bead and a mad workout on the forearm muscles.  So I bought a pneumatic caulking gun.  Sealing 3-piece wheels is something I'm not willing to cheap out on, and after seeing my wheel specialist use one for one of his jobs I decided it was something that I needed too.


And what a massive difference it made.  It took all of 20 seconds to completely bead the wheel.  A smear over the bead using my thumb finished it off.
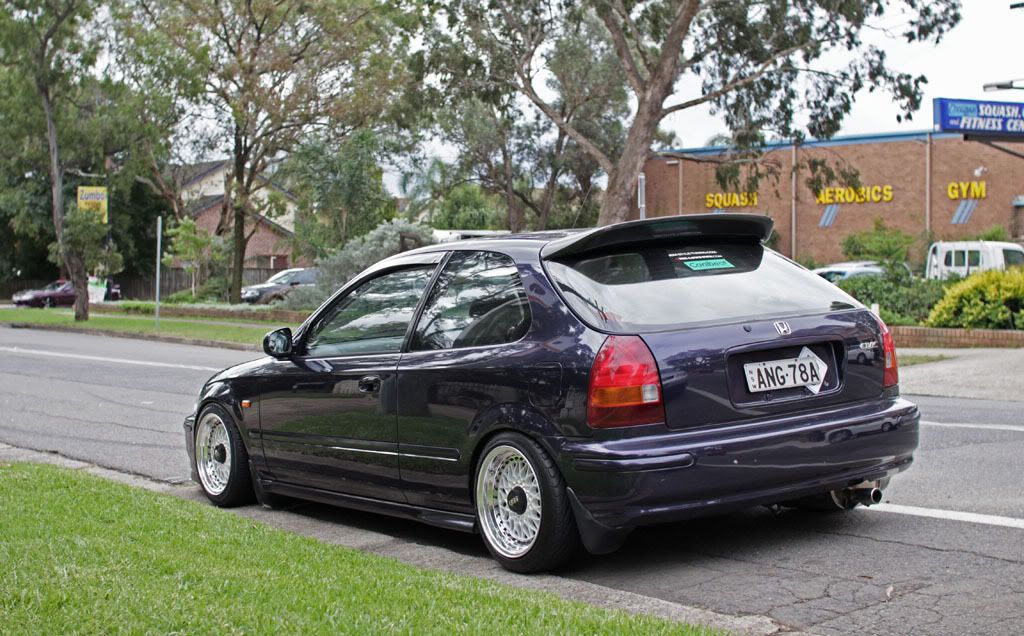
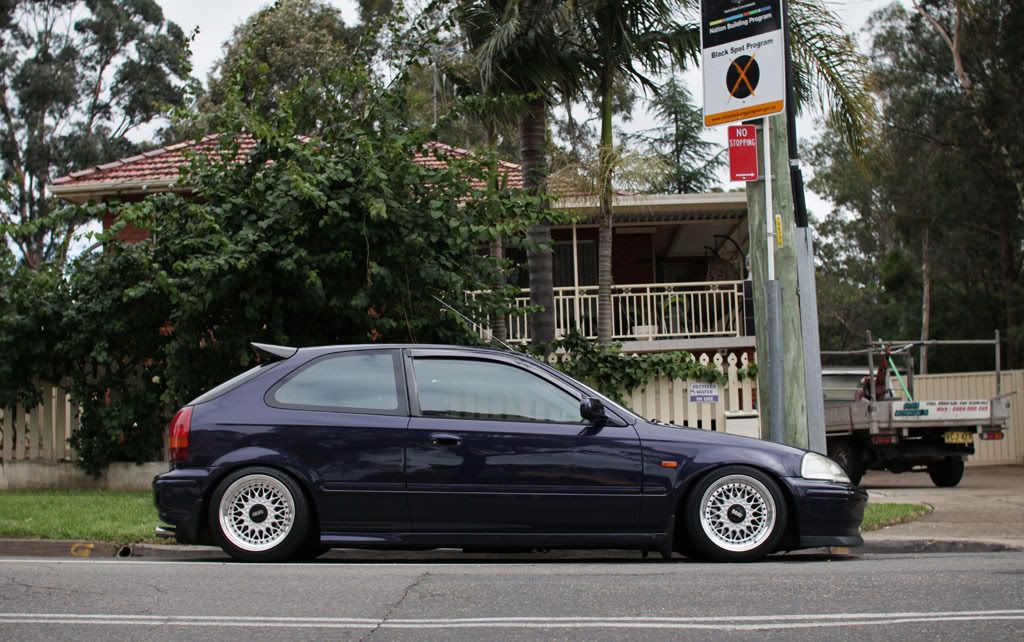

And that's done.  Took two days to cure (still felt soft after leaving it overnight).  Here are some pics of the wheels in its completed form:


Black chrome bolts weren't really chrome at all, more of a satin-look, but I prefer that.

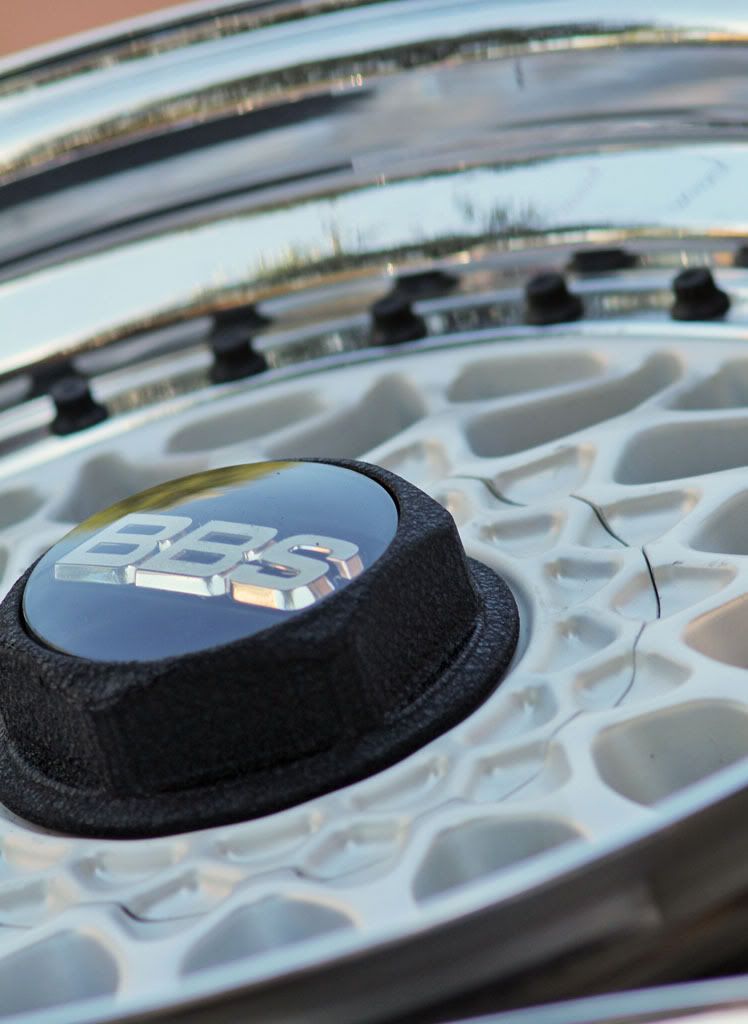
Wrinkle-black cap.

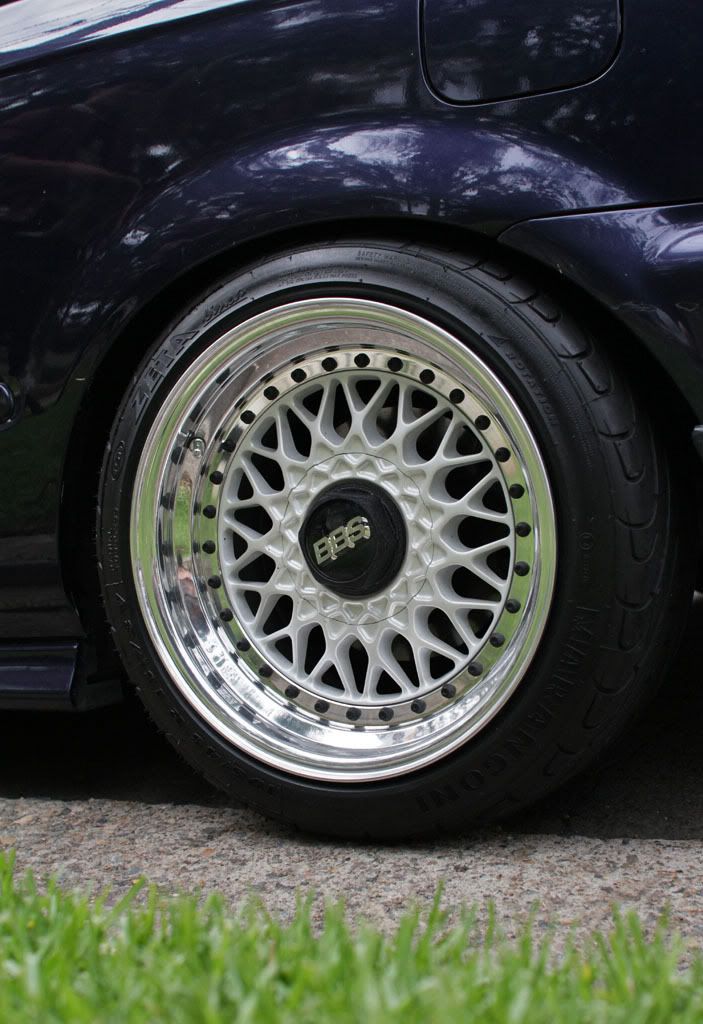
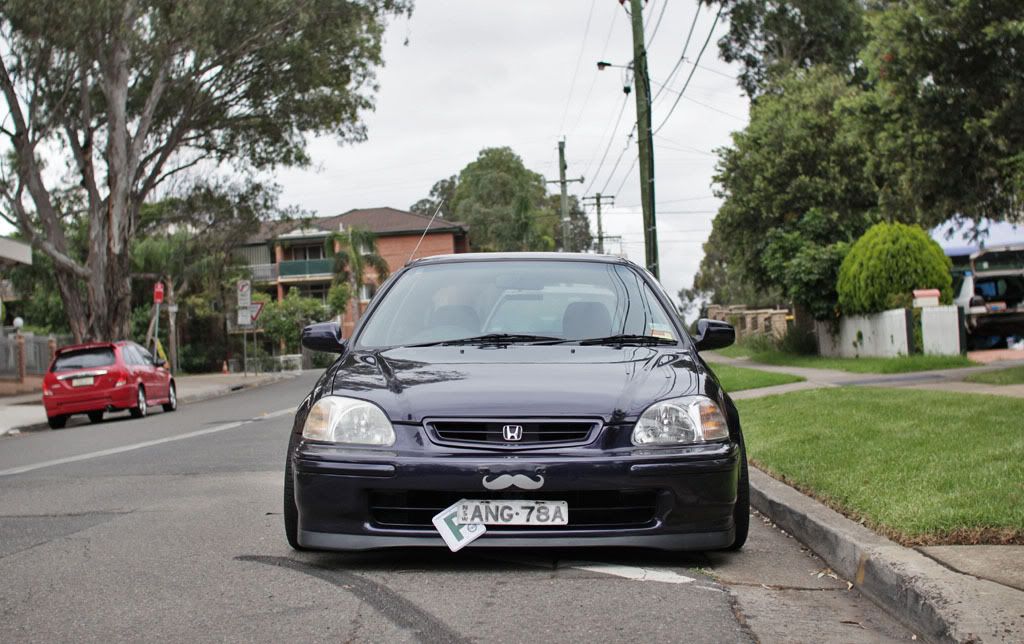
And finally some pics with 195/45R15 tyres mounted up and on Tony's EK.


Final specs ended up being 15x8 ET12.3 with a 2" stepped lip.

Cheers.