Welcome to RAW Works. My name is Raymond and I live in the western suburbs of Sydney. This blog will be a portal for me to photo-document the wheels I refurbish and repaint. This is only a side hobby for me so there won't be any crazy custom jobs! My skills have only stretched so far as to using body repair materials, resprays and polishing, so anything that requires welding and unbuckling will be beyond what I can do. I hope to improve on my current skills as I go along, and as a lover of wheels, it's a way for me to express my art side as well as giving life to some tired wheels again.

At the moment, I'm just scouring through eBay for damaged wheels selling for cheap. If you have any wheels you don't need anymore, throw me an email/comment. At the moment I'm just buying sets of wheels to refurb then sell them off. I prefer not to do personal jobs/requests as I don't trust myself with that yet! But that said, pass me an email/comment if you need any help wheel-wise.

My Facebook page is @ http://www.facebook.com/raysalloywheelworks/, please "like" it!

Cheers.

Dec 11, 2011

BBS RS001 - Part 3

After the bolts were torqued down, all that was left to do was seal up the wheels.  Now, I've seen many people seal the inside section of the pieces, i.e. they lay a bead towards the inside where the inner meets the centre and the outer meets the centre.  I honestly don't see the need for this.  The sealant is supposed to act just that, seal the section between a beaded tyre and wheel, and is not supposed to act as an adhesive.  That said, a thick bead over the mating sections of the pieces (bolts torqued down already) is all that is needed to seal the wheels up.

So I previously used a manual caulking gun (those hand-pumping ones you see at Bunnings) and they were horrible to use - hard to get a consistent bead and a mad workout on the forearm muscles.  So I bought a pneumatic caulking gun.  Sealing 3-piece wheels is something I'm not willing to cheap out on, and after seeing my wheel specialist use one for one of his jobs I decided it was something that I needed too.


And what a massive difference it made.  It took all of 20 seconds to completely bead the wheel.  A smear over the bead using my thumb finished it off.


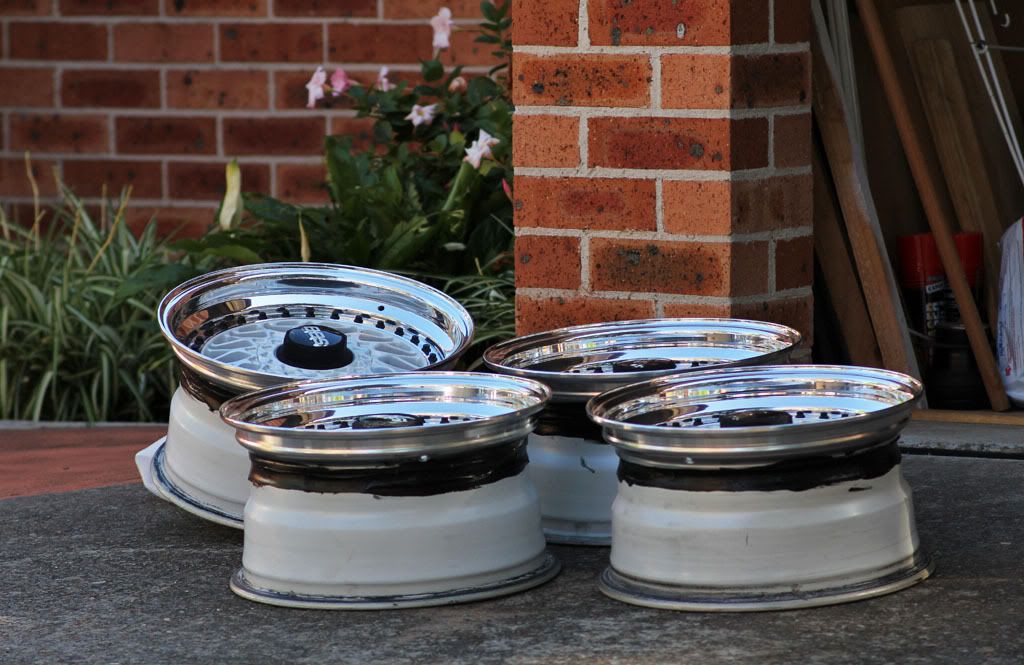
And that's done.  Took two days to cure (still felt soft after leaving it overnight).  Here are some pics of the wheels in its completed form:


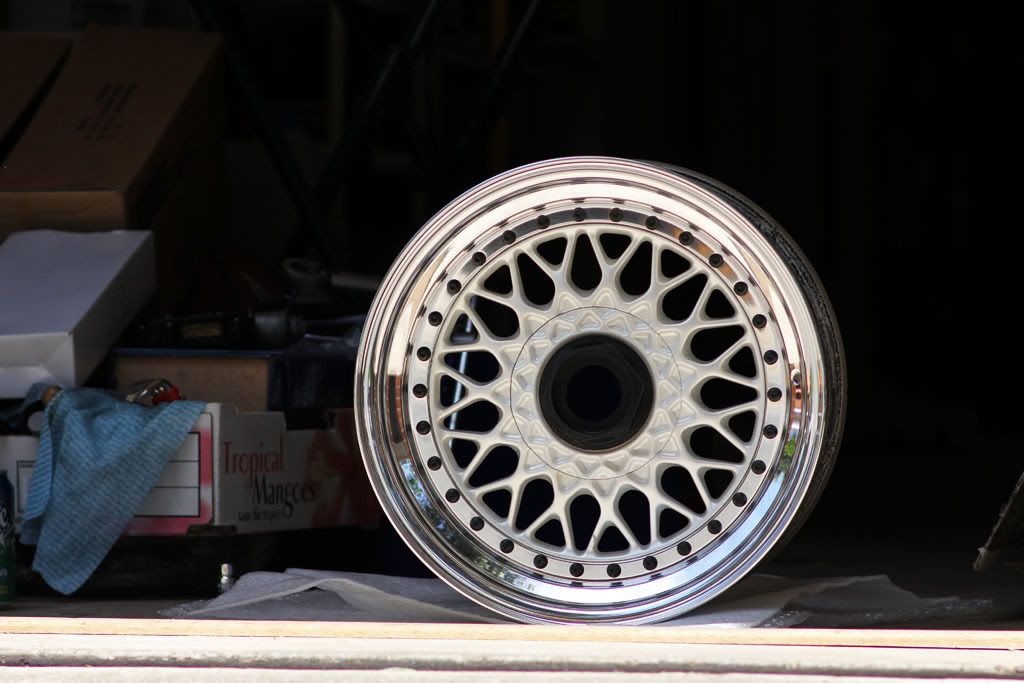
Black chrome bolts weren't really chrome at all, more of a satin-look, but I prefer that.
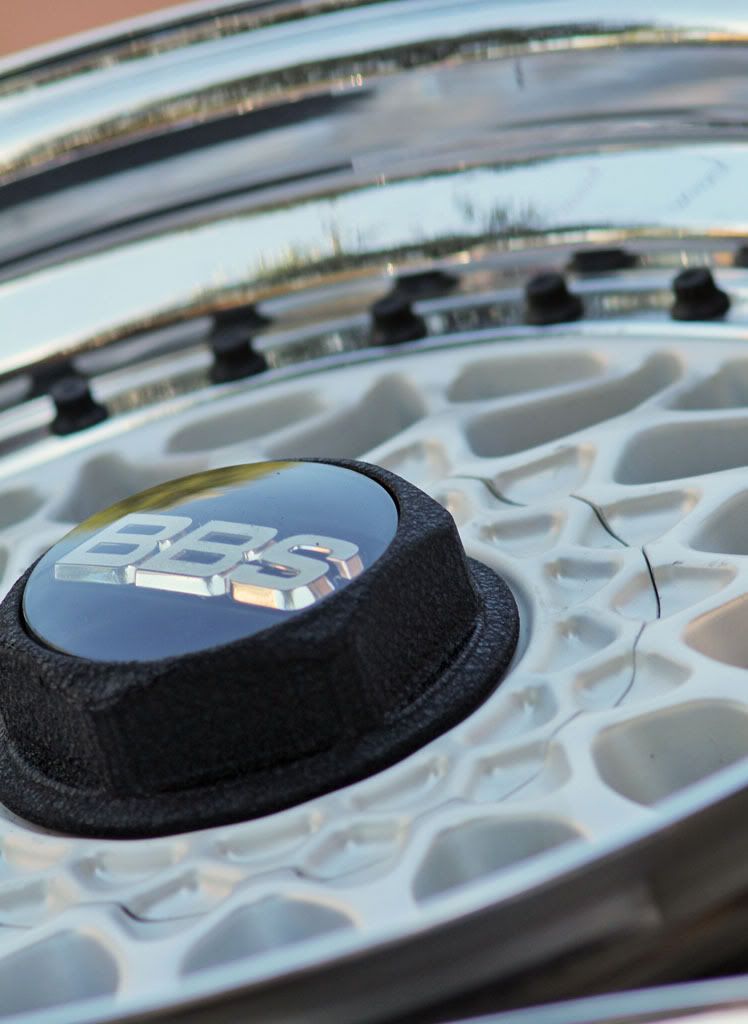
Wrinkle-black cap.

And finally some pics with 195/45R15 tyres mounted up and on Tony's EK.


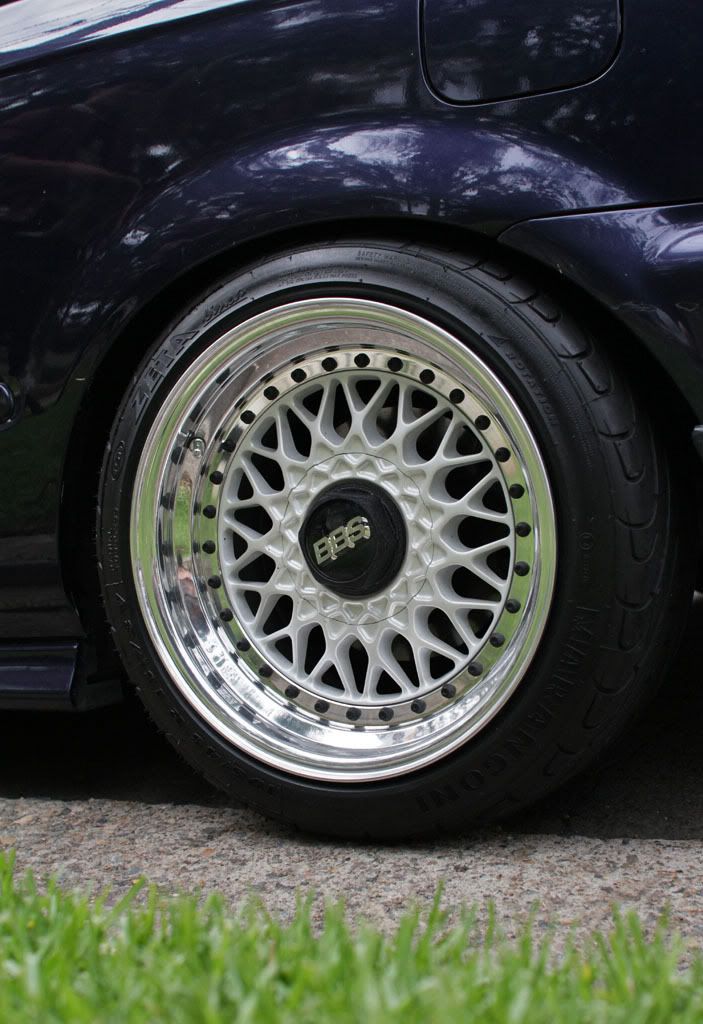
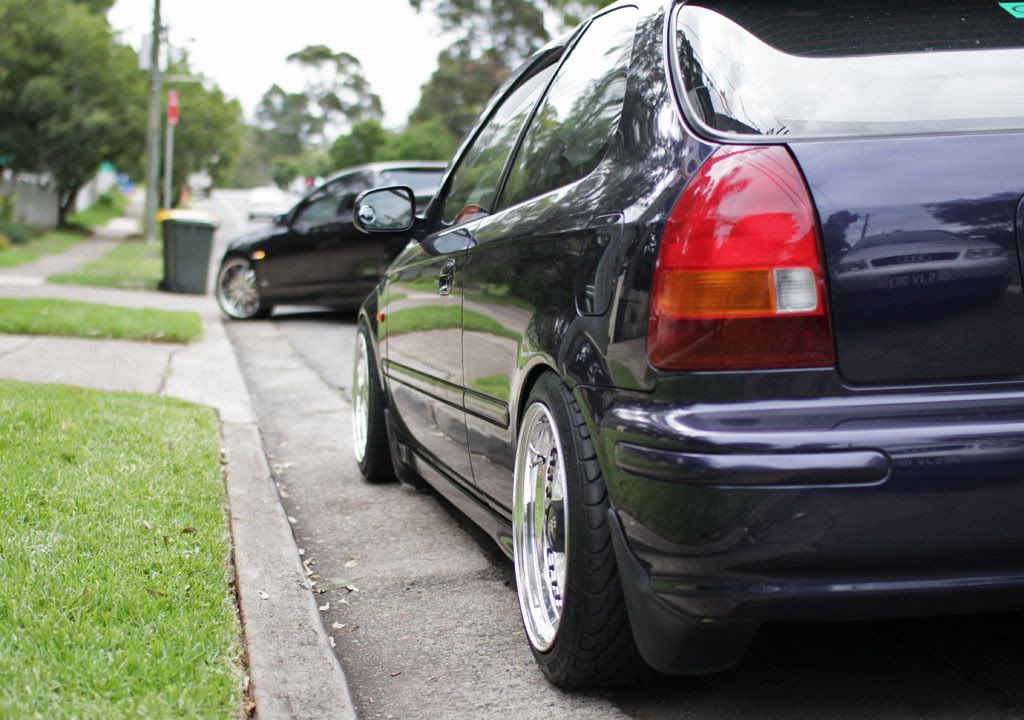
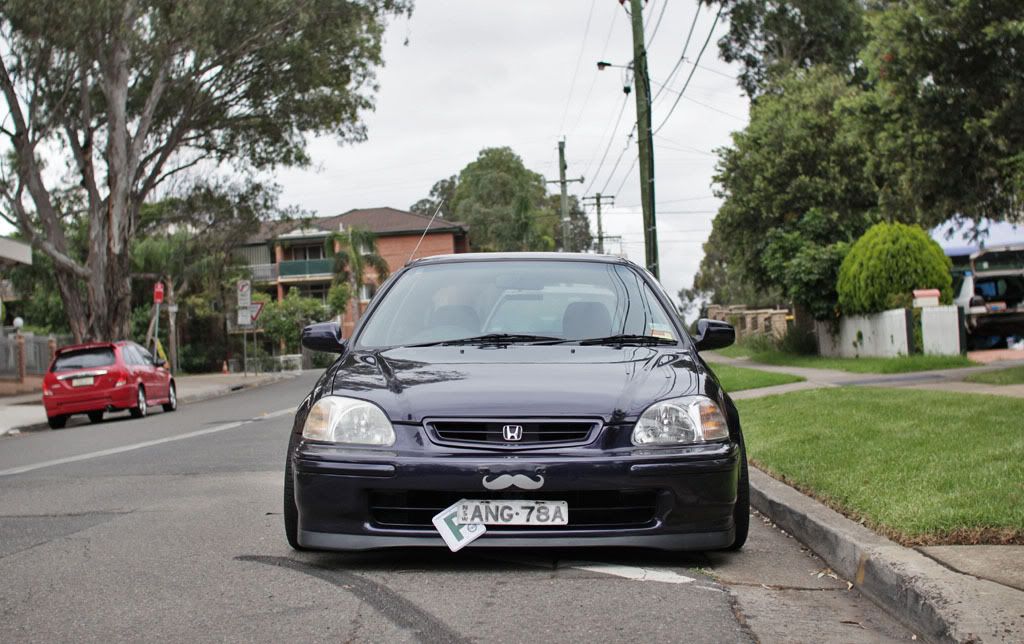
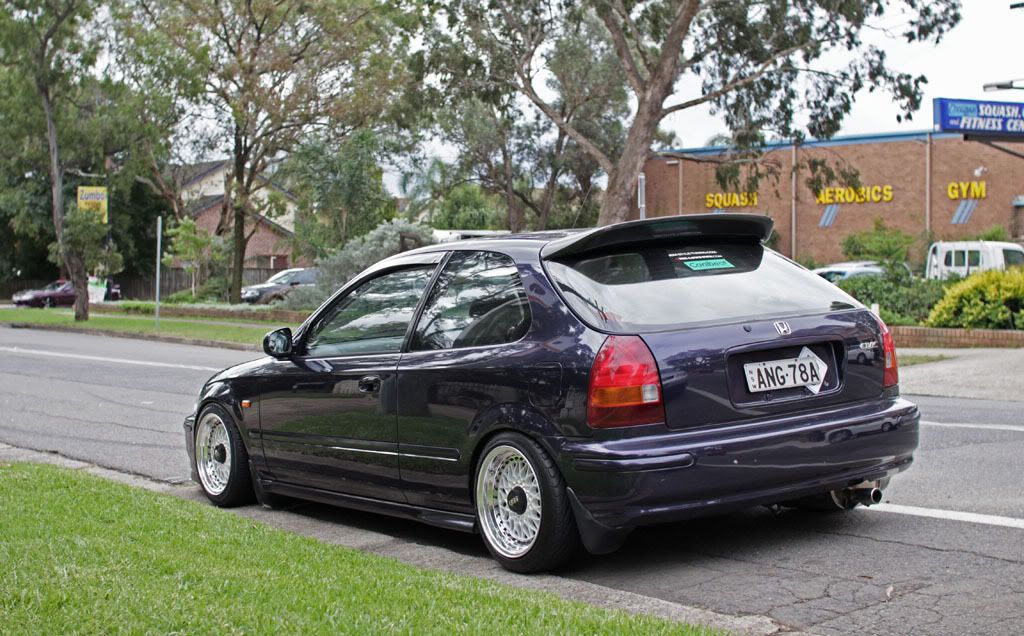
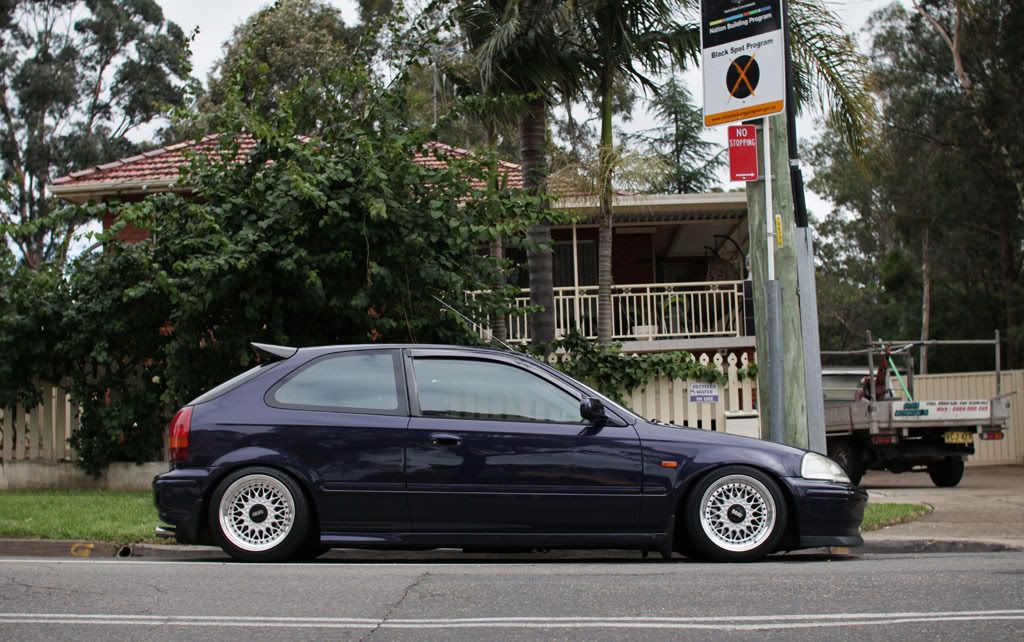
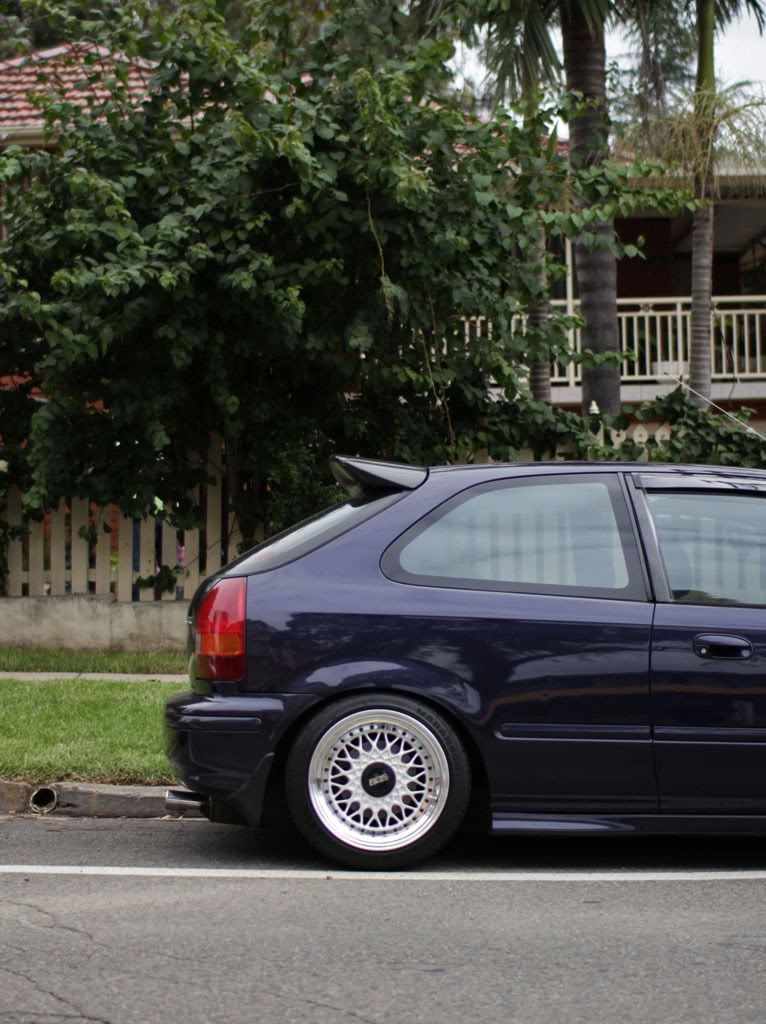
Final specs ended up being 15x8 ET12.3 with a 2" stepped lip.

Cheers.

No comments: